Let’s wrap this up, shall we? This fourth (and final!) segment will be all of the satisfying stuff. Now that all of the fabrication and test-fitting had been completed, I could move on to the fun stuff; making everything pretty and bolting it all back onto the car.
I’ll start things off with all of the parts that were painted.
The accelerator cable mount received a few coats of wrinkle black…
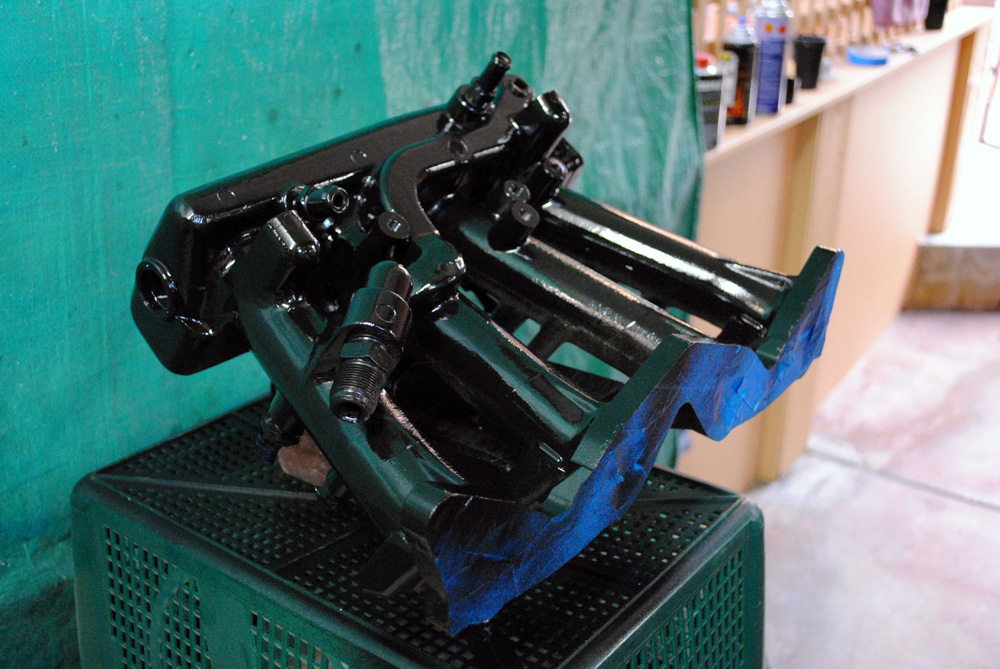
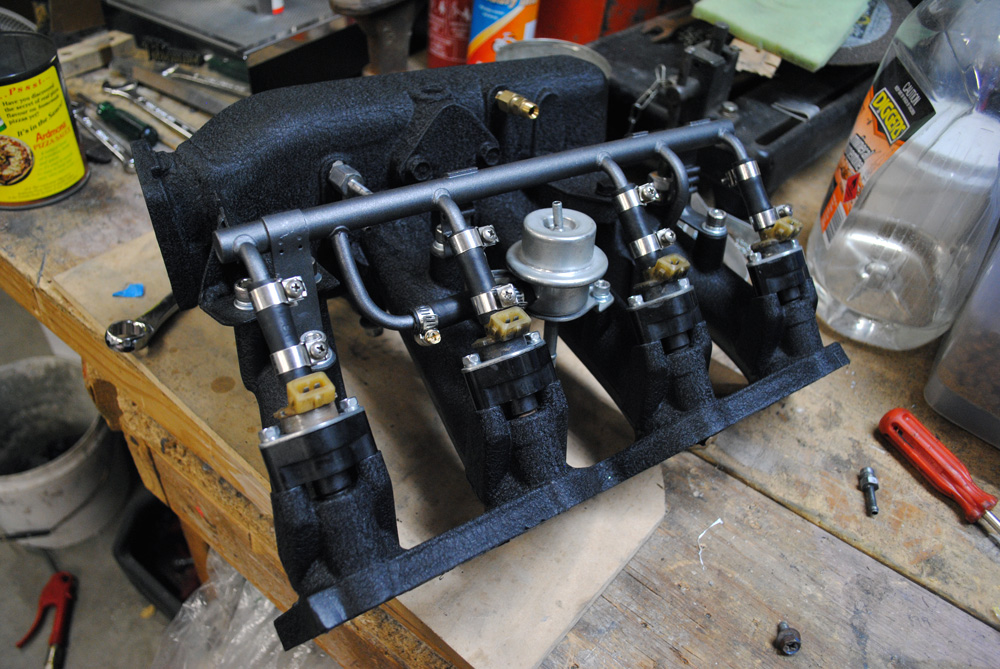
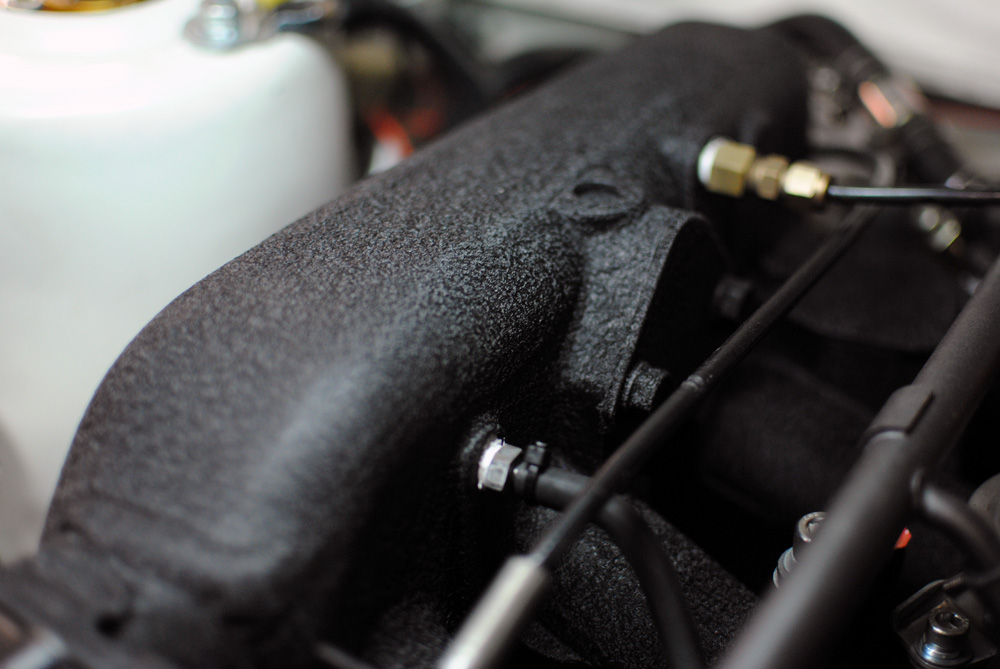
…along with the intake manifold. If you’re wondering how to get good results with wrinkle paint, you can check out my DIY guide here.
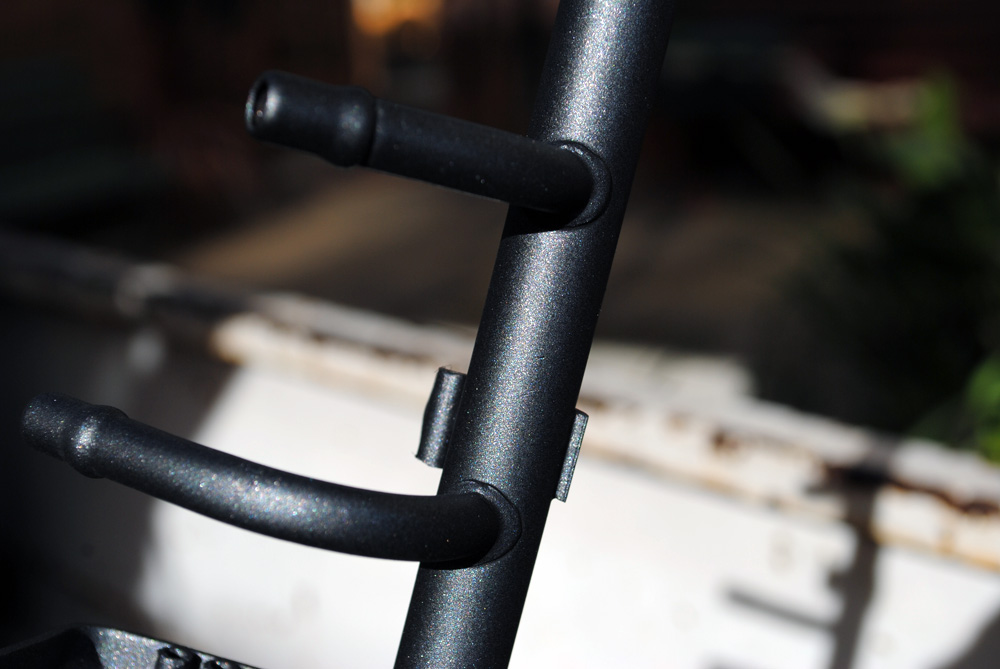
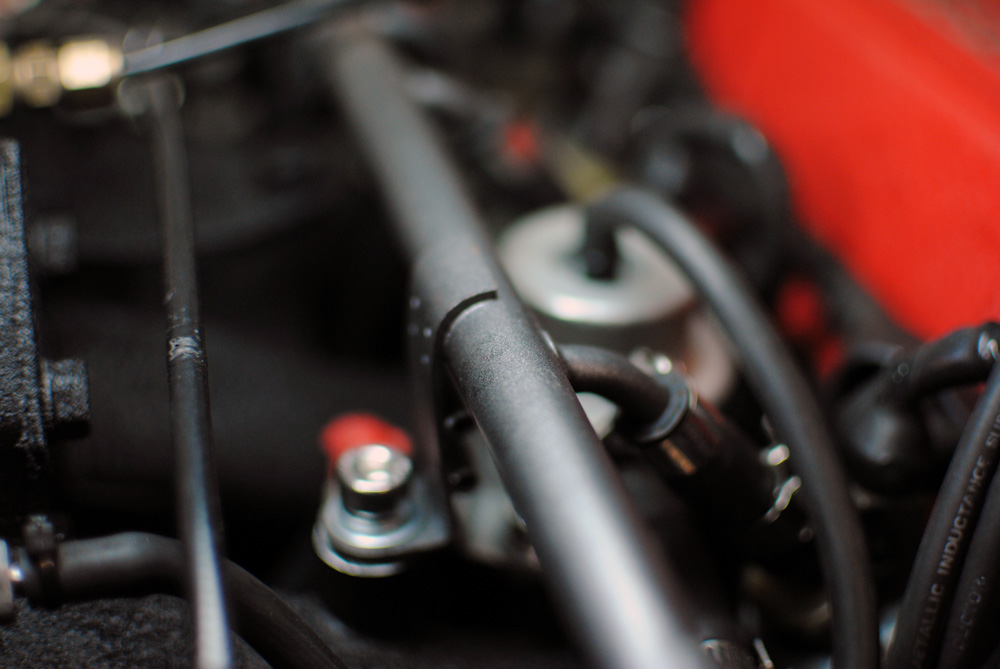
The only part that didn’t get coated in some form of black paint was the fuel rail. I painted this in a metalic grey colour called ‘cast alloy’.
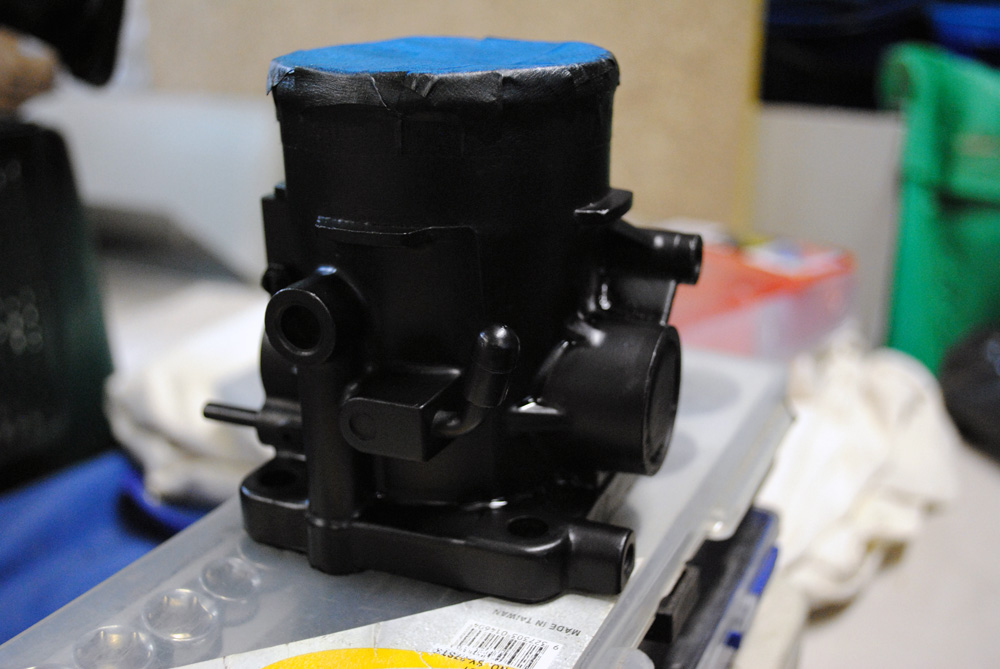
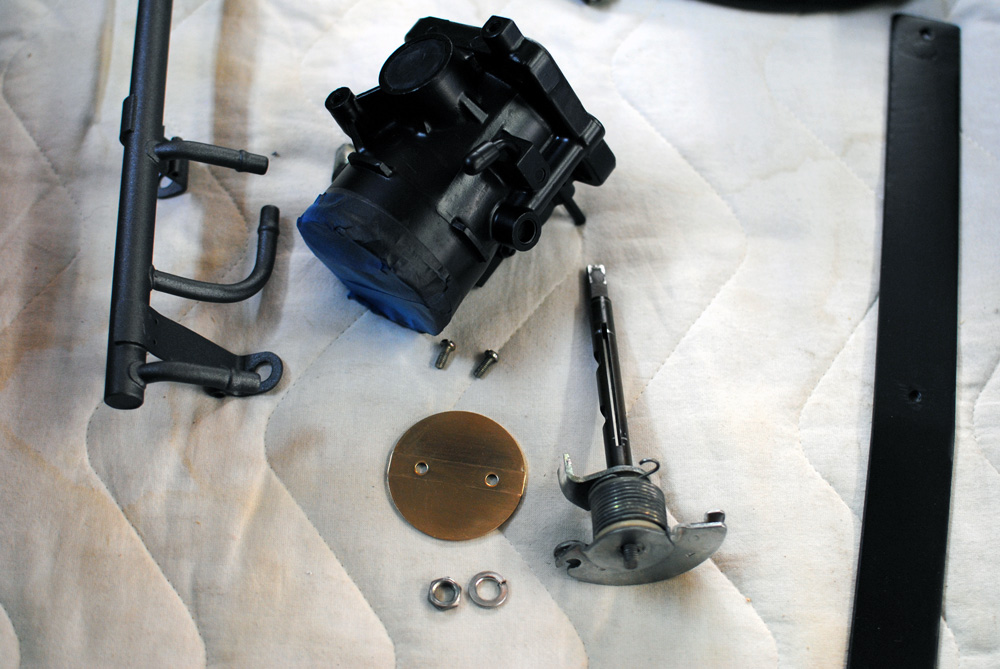
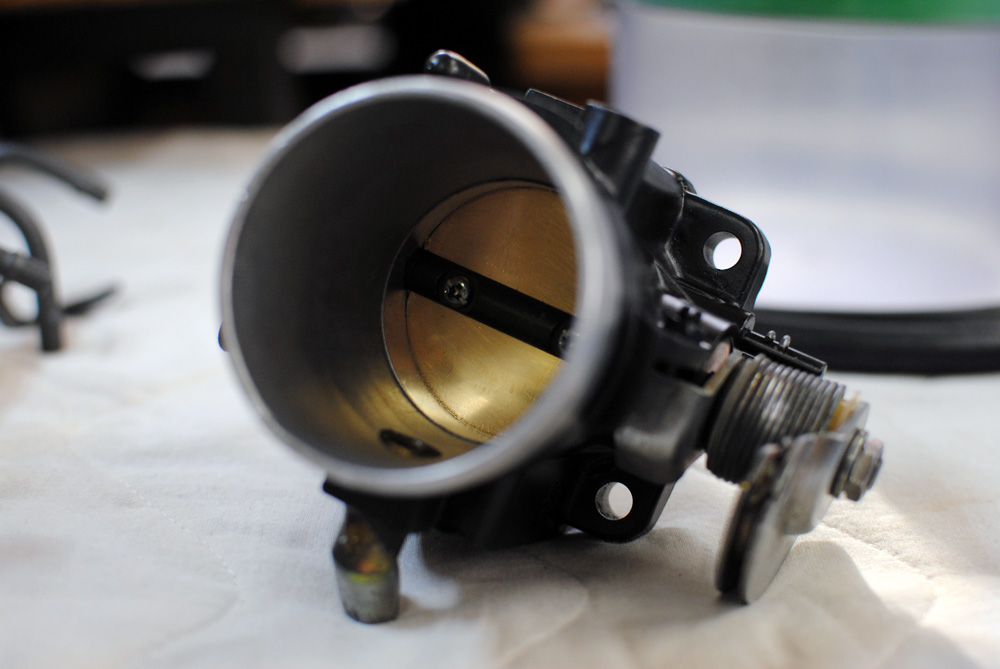
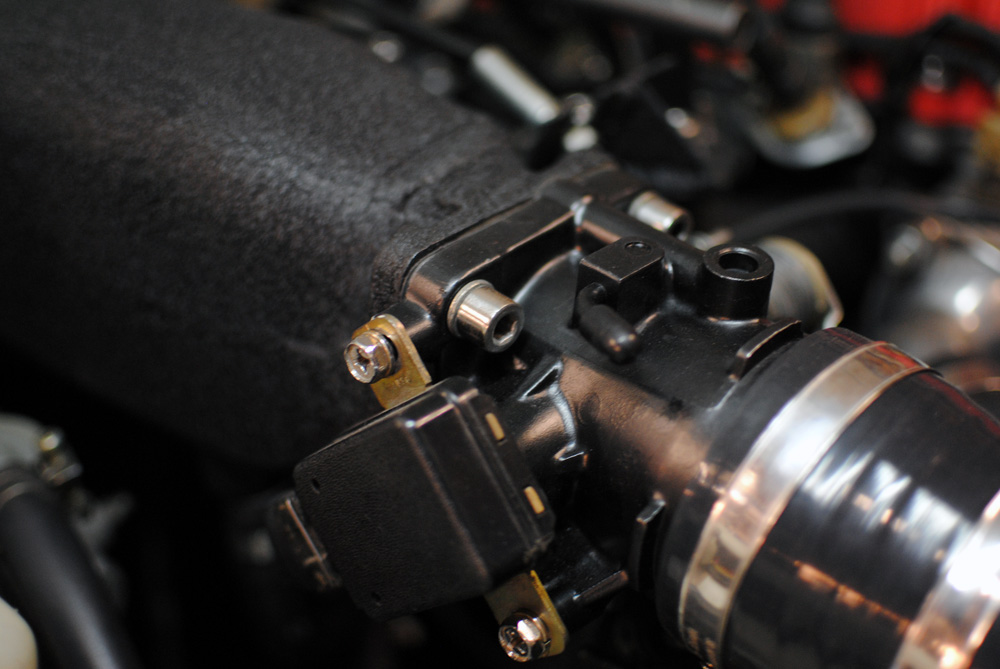
Satin black was the colour choice for the throttle body.
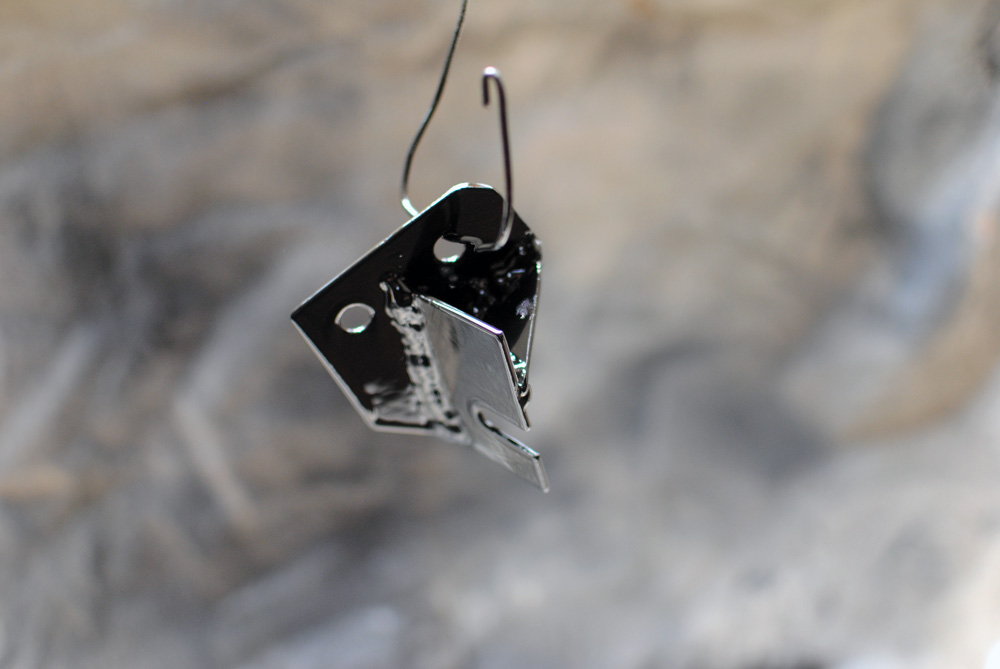
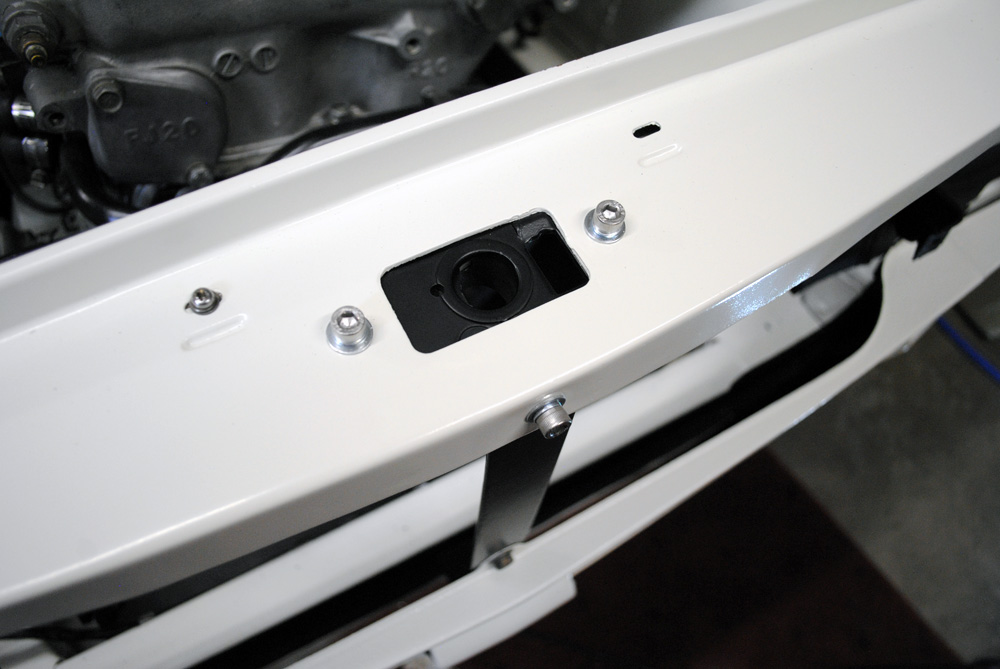
Throttle body pieces all cleaned up, including the butterfly. You can also see the radiator support panel bracket to the right, this also received some satin black.
Throttle body reassembled.
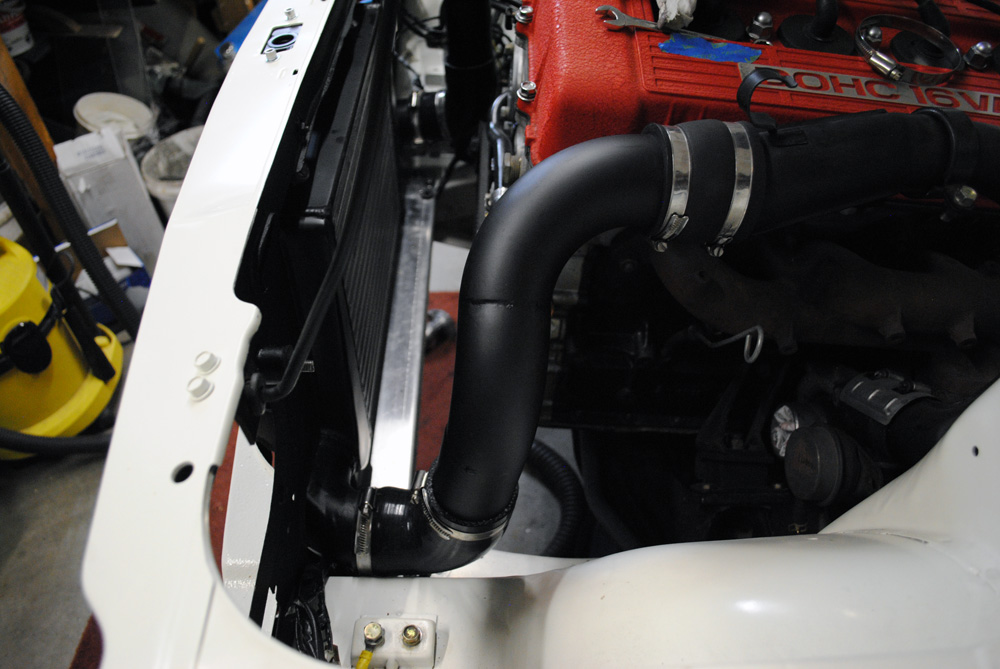
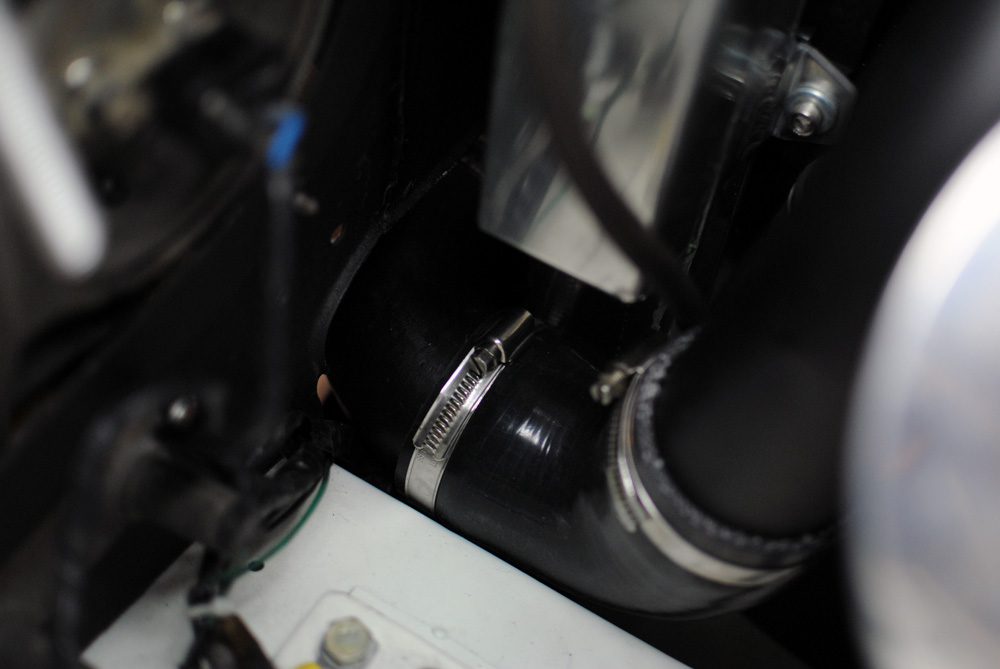
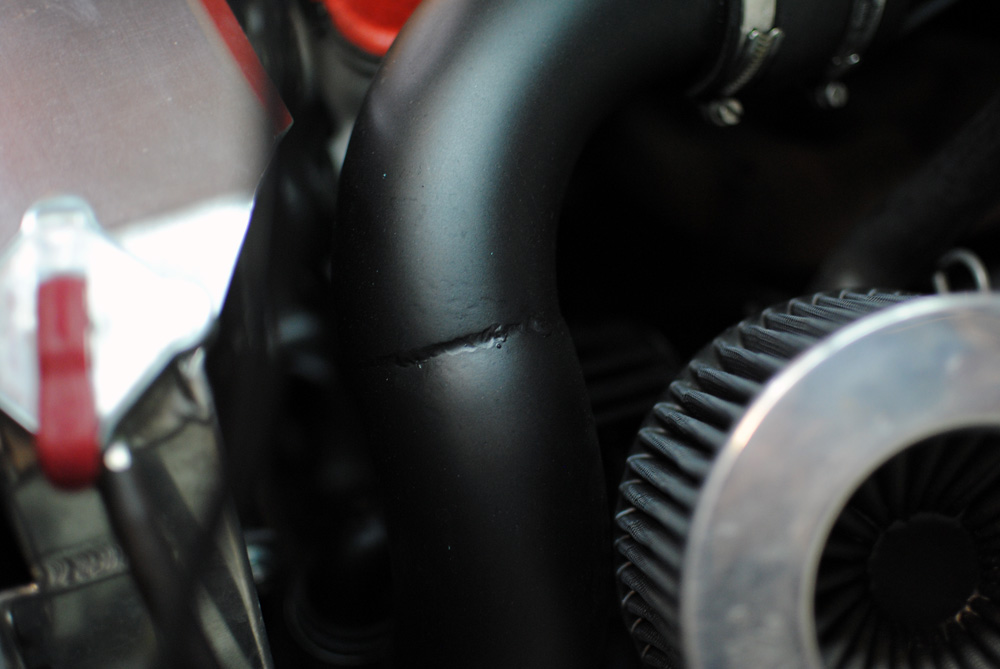
The intercooler pipes were etch-primed, hit with some high-build primer, and then satin black.
Once the intake manifold dried, I was very pleased, the finish came out nice and even.
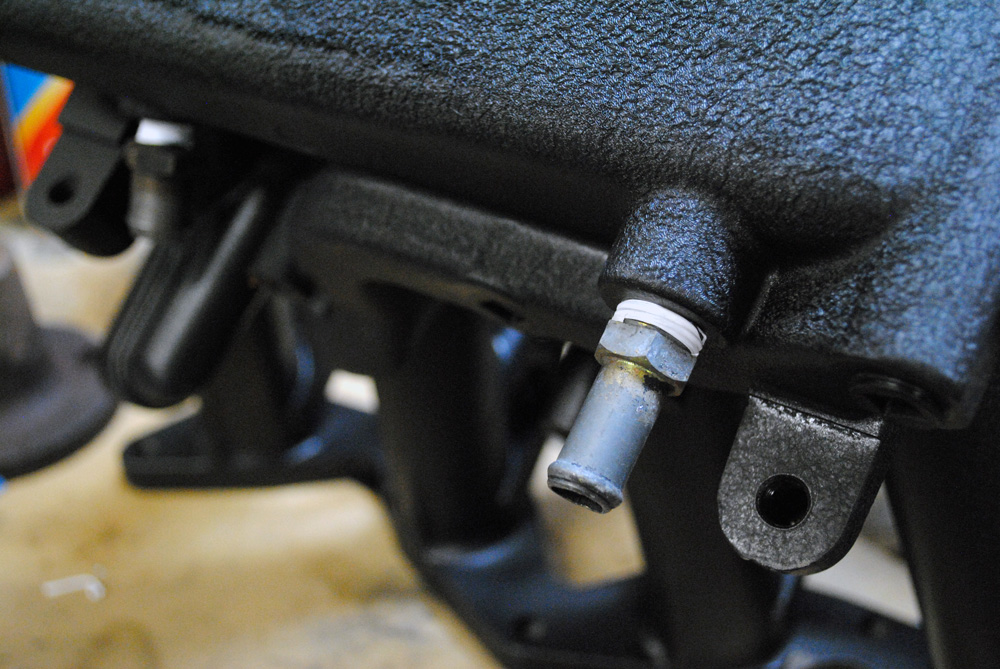
I used all new thread tape on every fitting in the manifold.
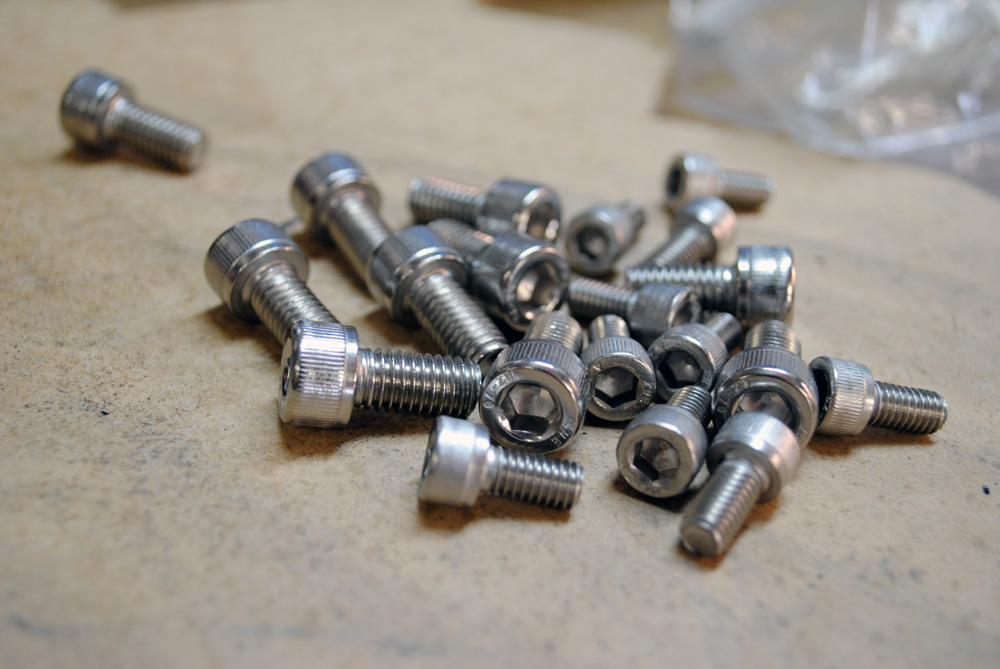
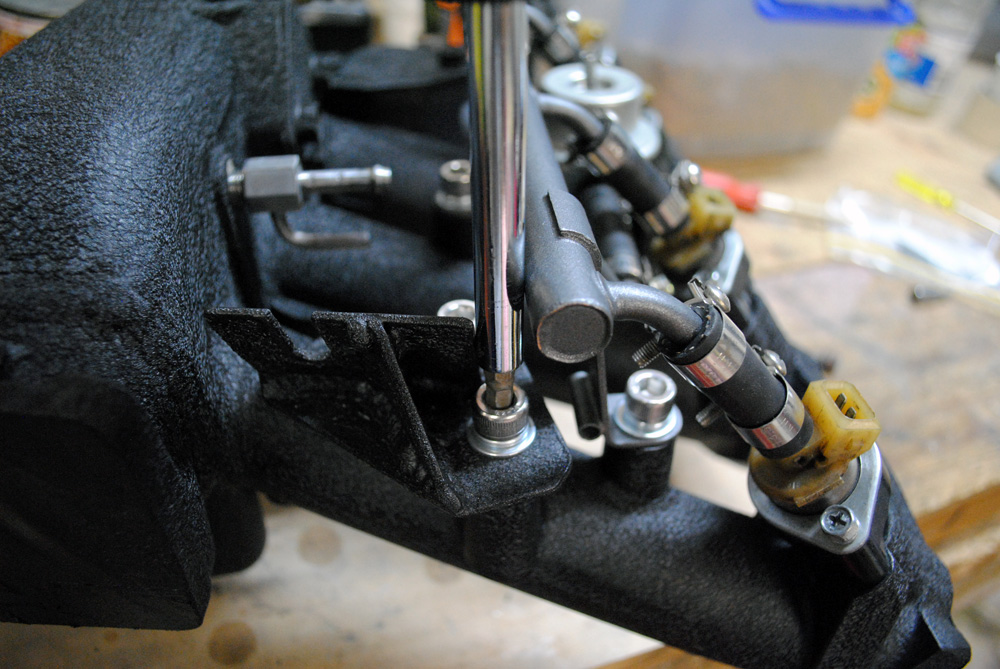
I also bought a bunch of new stainless steel cap screws to complement the freshly painted parts.
Another new item I bought was EFI fuel hose. For the small amount of money it costs, it would have been silly not to do it.
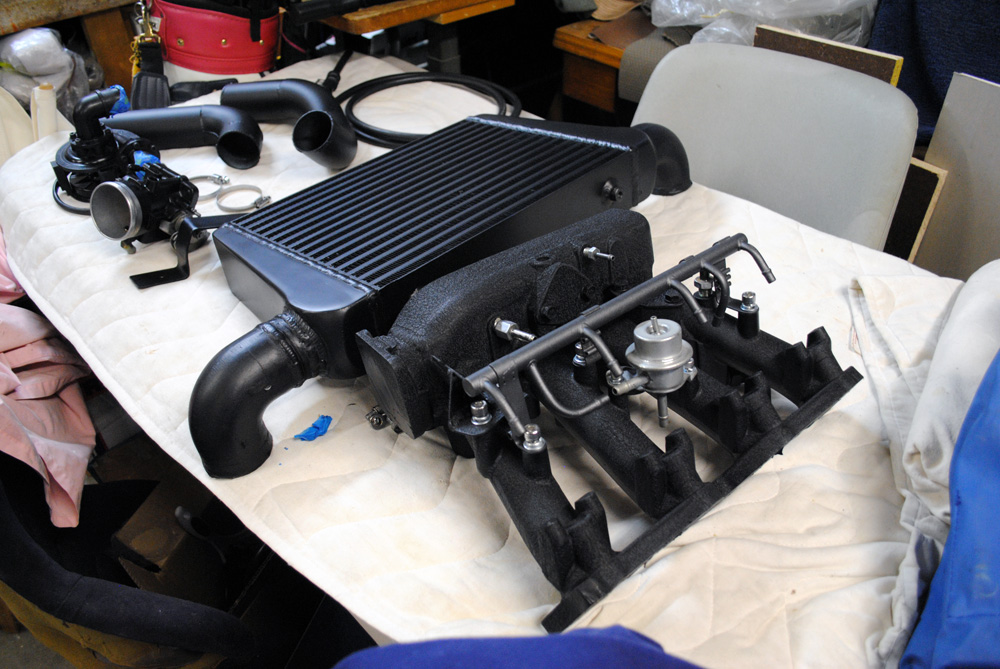
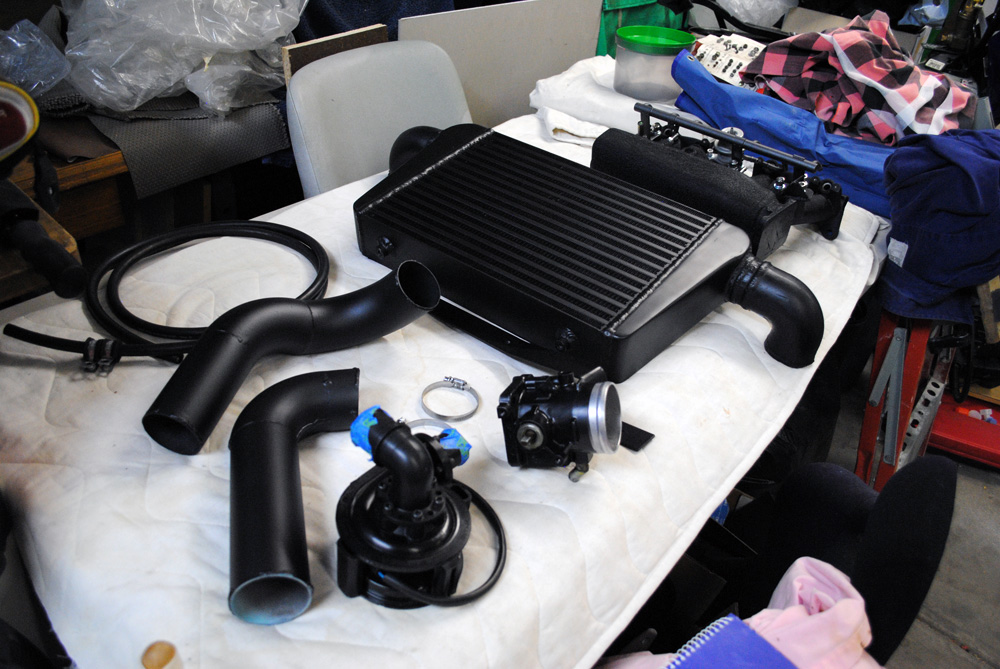
My table of freshly painted parts. Lucky for me the satin black spray cans are cheap!
Not sure if building Datsun, or stealth bomber.
Once I started to bolt things together on the manifold, I started getting a little bit excited.
When I began bolting-in the accelerator cable mount, I realised I got very lucky with the clearance between itself and the fuel rail, there was just enough room for me to tighten up the bolt.
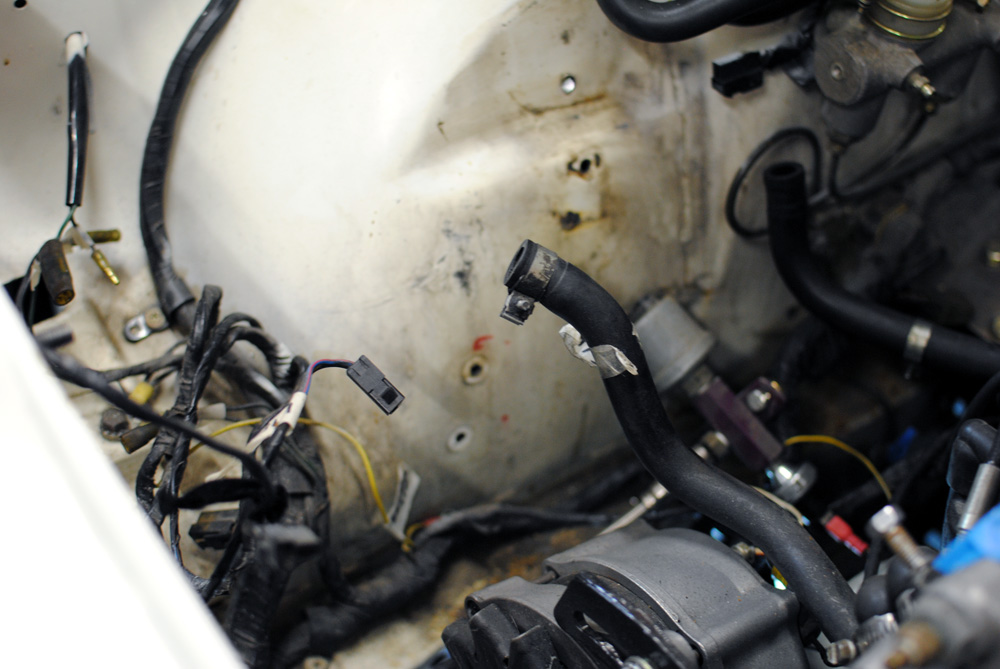
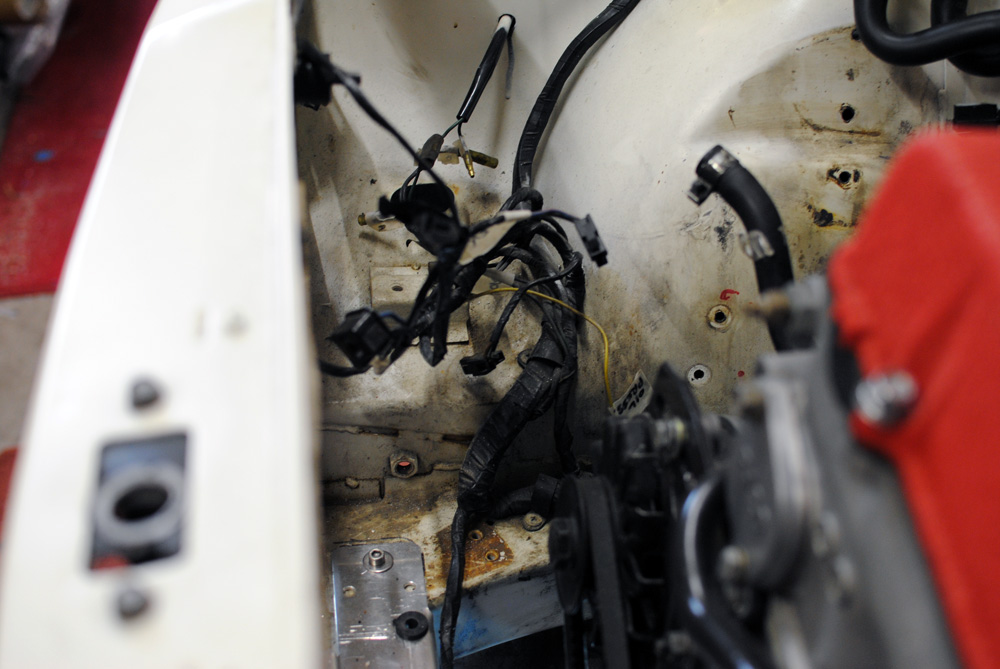
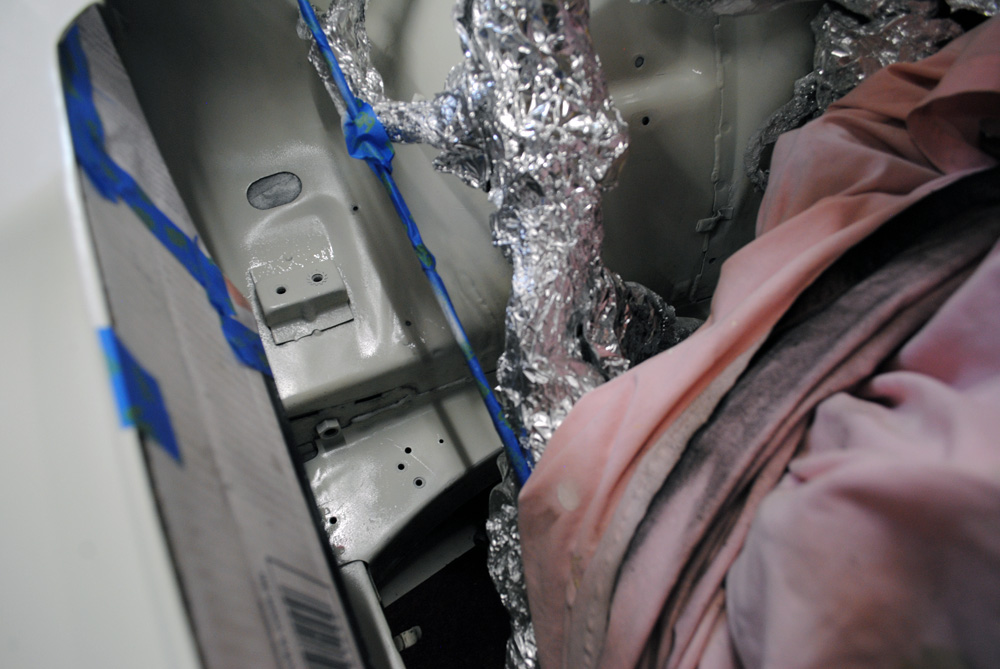
Now that my parts were all painted and ready for fitting, it was time to clean up the engine bay. Most of you will remember that I did an engine bay freshen-up not long ago, so I only needed to paint the areas under and around the intake manifold, seeing as I couldn’t get to them last time. I also needed to paint the radiator support panel after welding up the holes that were in it.
Underneath where the old radiator used to sit was also a bit nasty.
Drivers side engine bay.
In the center of the image you’ll see a bracket, this used to be where the horn was mounted, it was a very bulky and very crusty. I replace and relocate this later on.
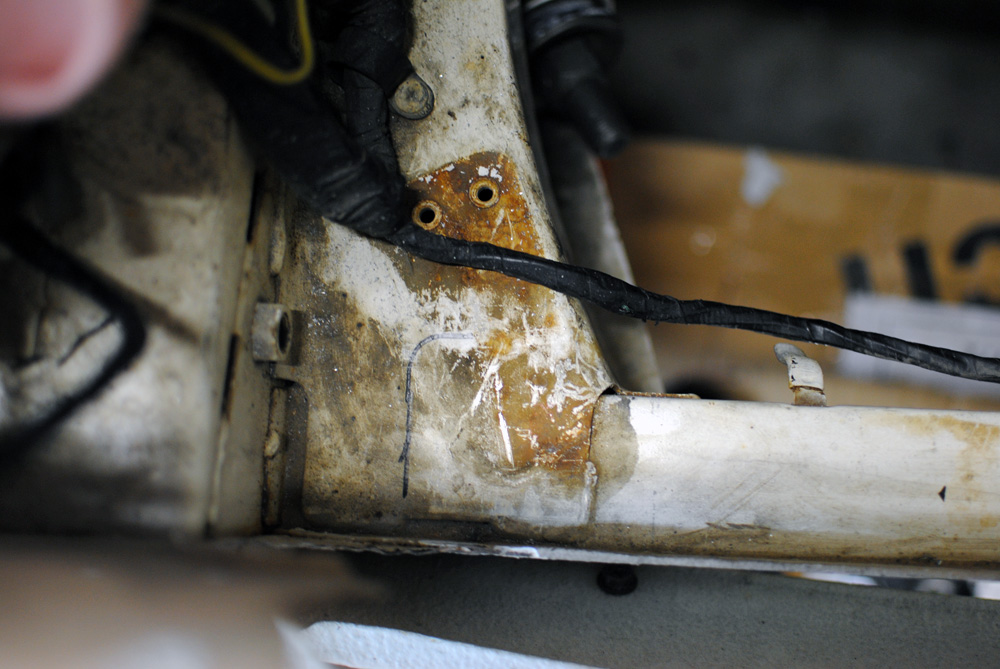
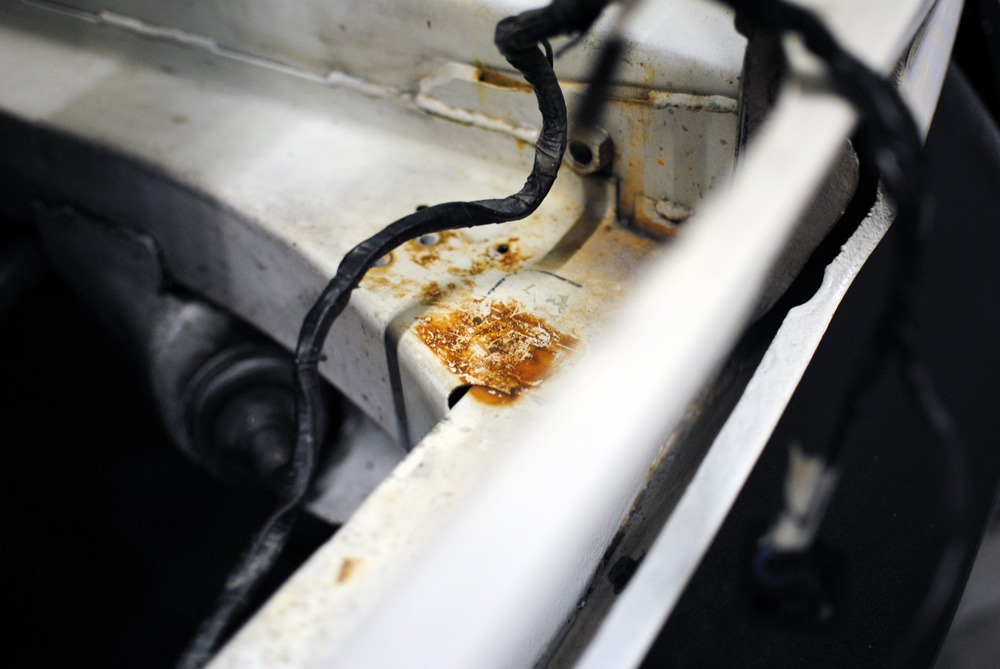
The drivers side chassis rail was particularly bad. It looks like brake fluid had made it’s way down from the reservoir and deteriorated the paint.
But it’s poor condition made it easier for me to scrape and sand it all off.
I then etch primed it so it would be ready to paint with the other sections of the bay.
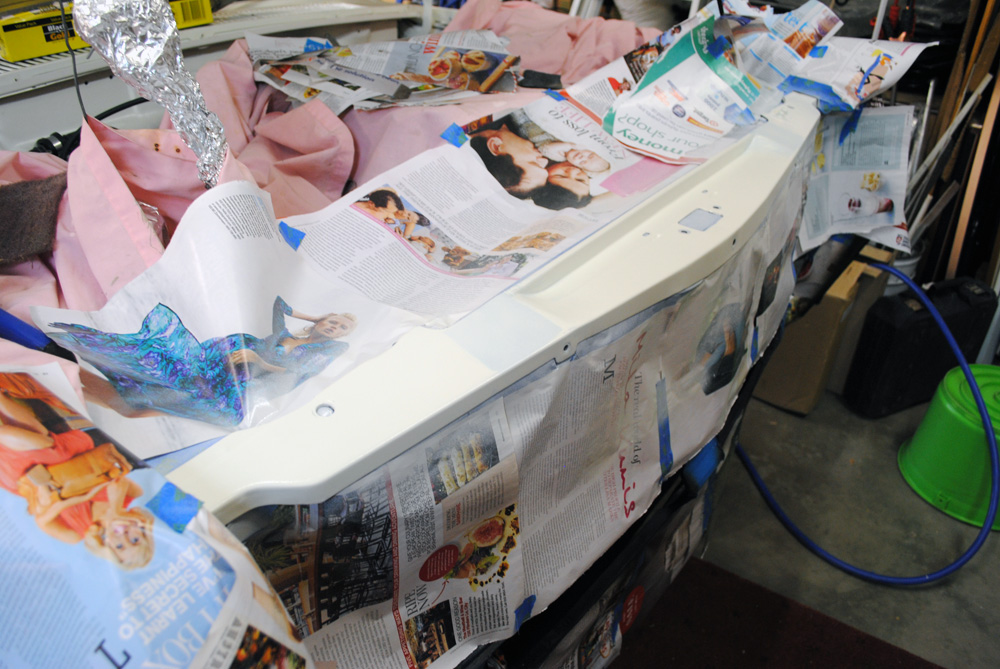
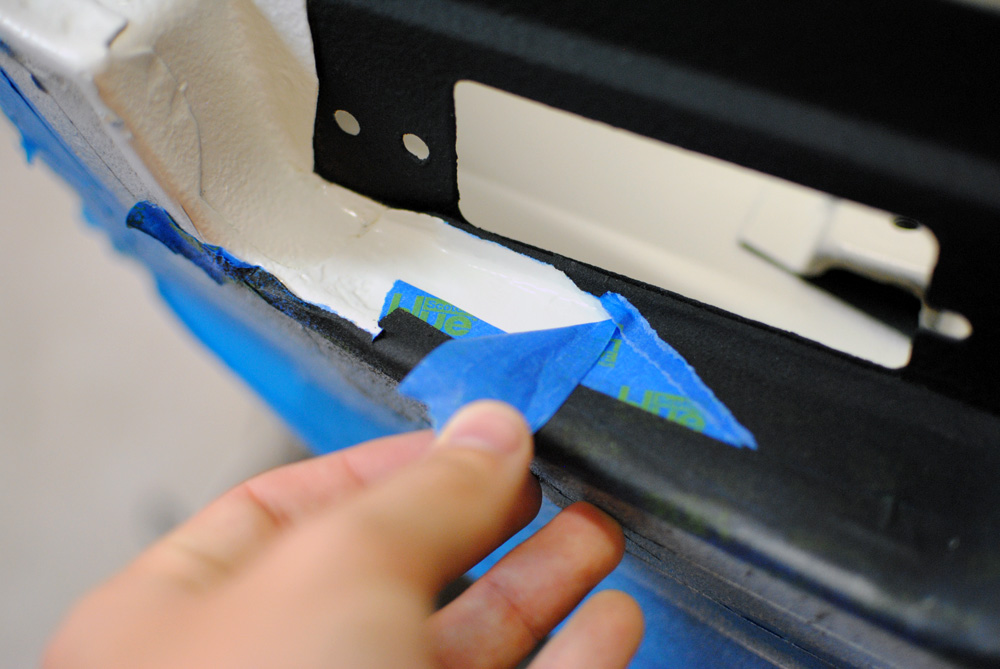
The first part of the body to actually receive any paint was the top section of the front apron. I spent so much time masking different areas up during this time, it took so much longer than actually painting.
Painted.
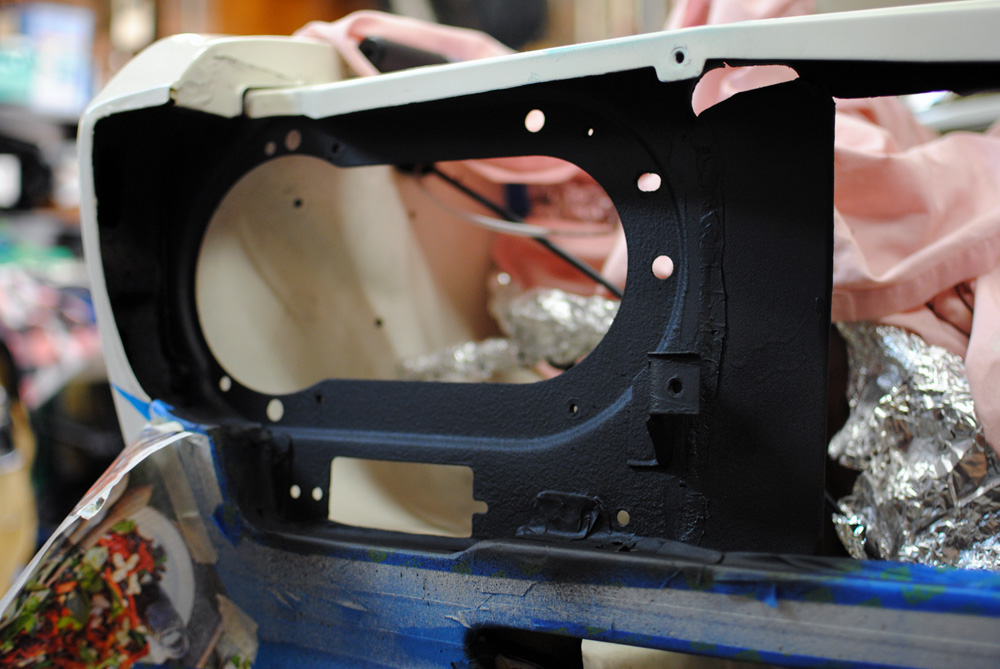
Once that was dry I moved onto the back of the radiator support panel. Again, more masking.
I went with a texturised sound deadening paint. I wouldn’t recommend this paint, it looks good but it never completely dries and stays a bit soft, and if you go near it with a prepsol-soaked rag it will smudge, even after it’s fully cured.
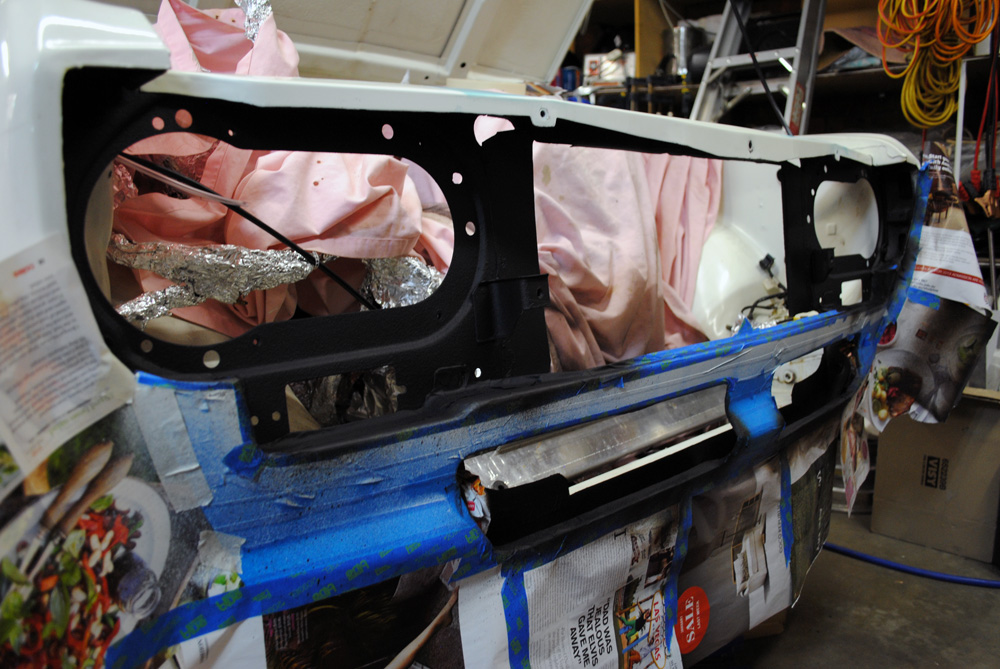
Next the front of the same panel got the same treatment using a series of light coats.
It definitely had the look I was after, but not the durability. I should have gone with something a bit tougher. I only painted this panel because of the new metal pieces that I welded in.
Front panel complete.
Next up was the top of the radiator support, the first of many light coats.
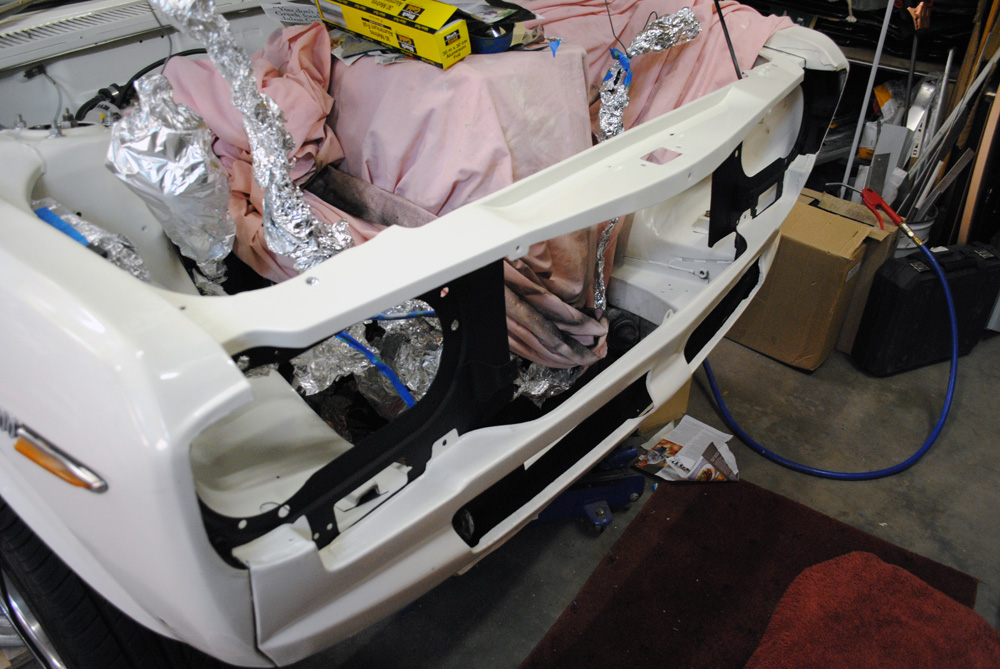
Finally, after feeling like my hand had morphed into a roll of blue 3M masking tape, I reached the final areas to be painted.
This was a fun day, let me tell you.
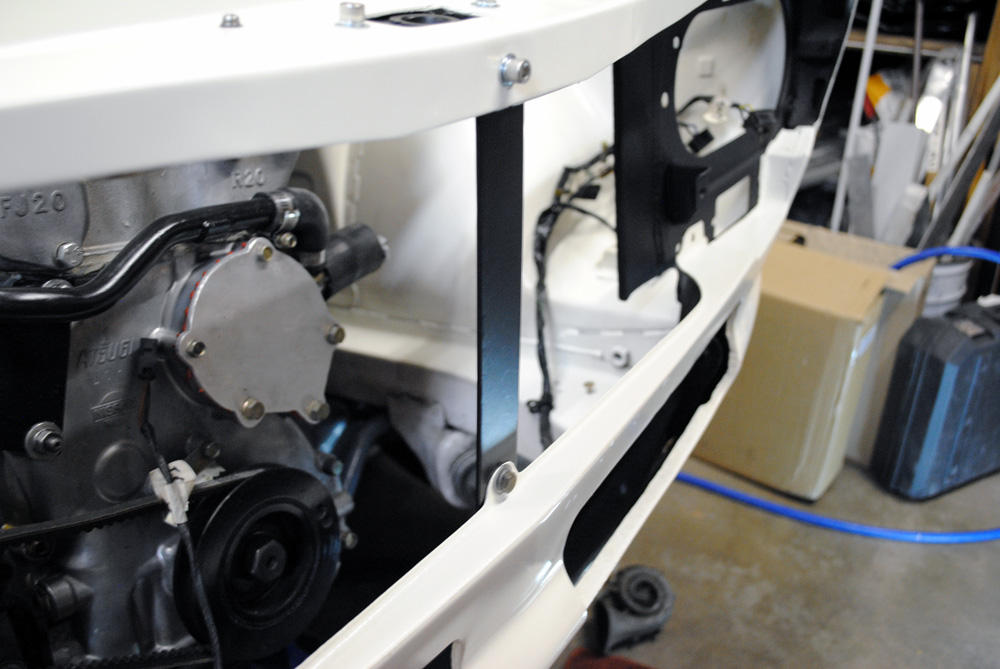
Front end painting complete.
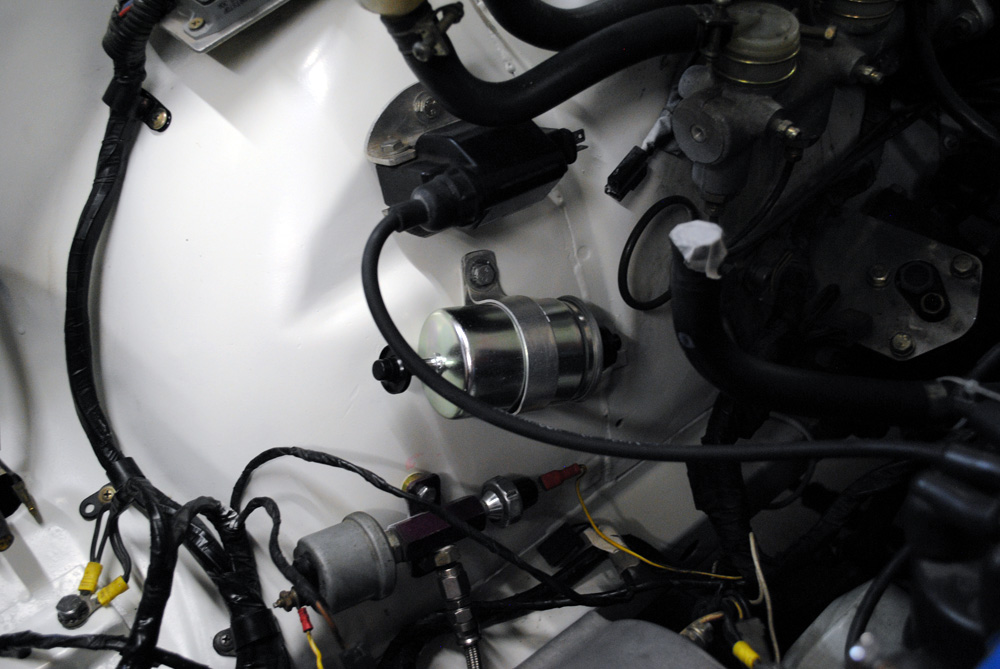
Starting to bolt things back in. I replaced the large and very dirty fuel filter with a new and smaller one.
Center bracket bolted in.
Stainless bolts.
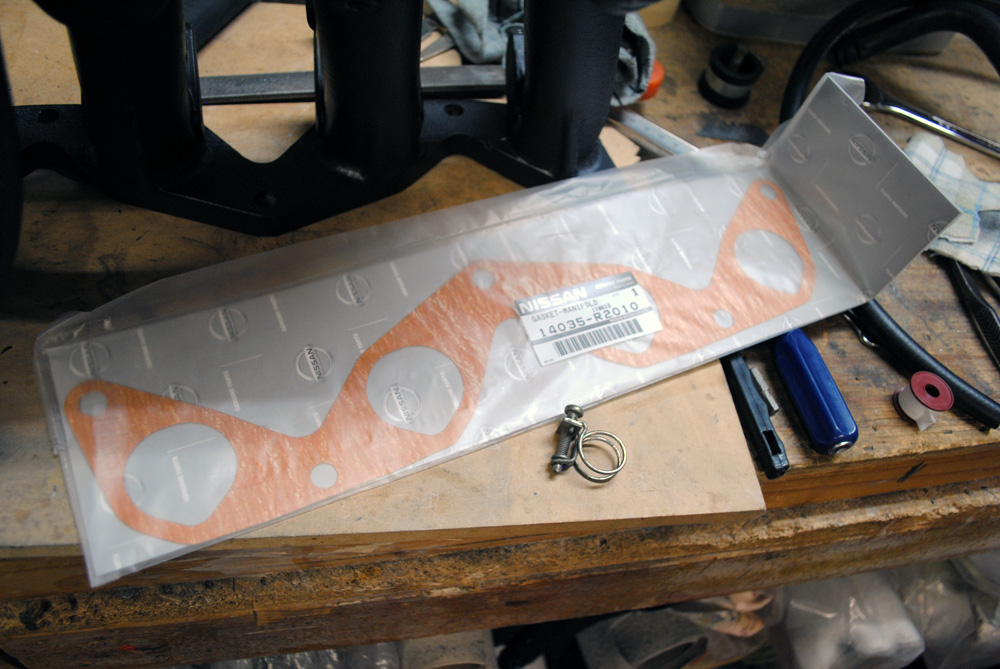
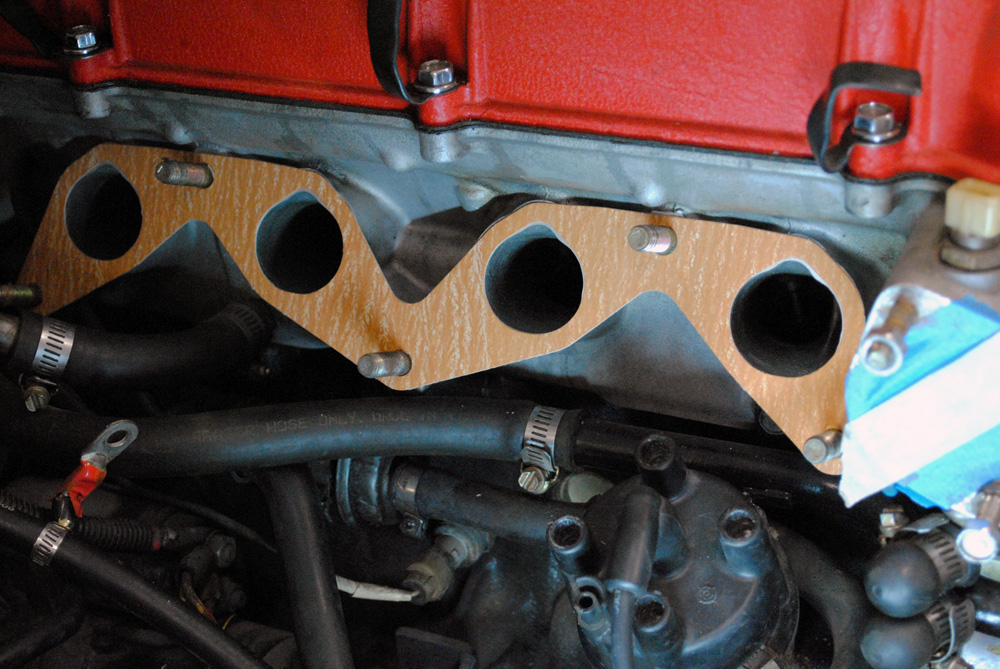
Before bolting on the intake manifold I made sure I used a brand new gasket, as my old one came off in pieces.
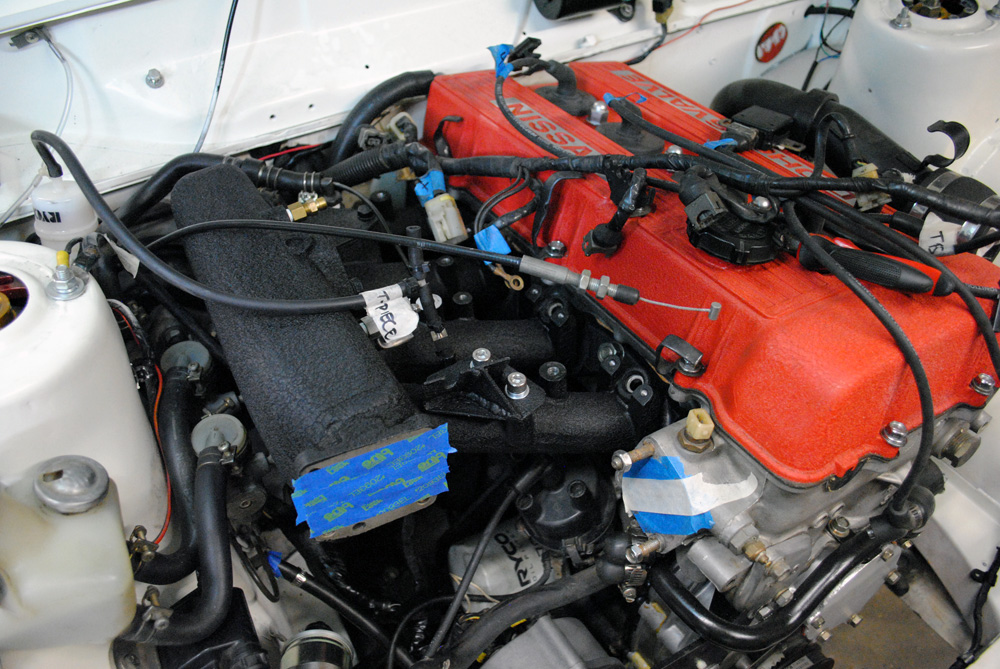
Finally! After countless test fits the intake manifold was firmly bolted in place for the final time.
One by-product of all this work is that I am now familiar with every wire and hose that runs under the intake manifold. This area was a big mystery to me before, so I’m glad that it’s now another part of the car I can say I know intimately.
Since the S12 manifold doesn’t extend as far back in the engine bay as the DR30 one, my brake booster vacuum hose no longer reached where it needed to. I got lucky here and was able change the fitting on the manifold for a 90 degree one, remove a section of the hose and rotate it until it fit perfectly. This is actually much neater than before, as it used to go up and around in an upside down “U” shape and bolt to the firewall. Sadly I am now stuck with a riv-nut and bolt on the firewall with nothing bolted to it. A job for another day.
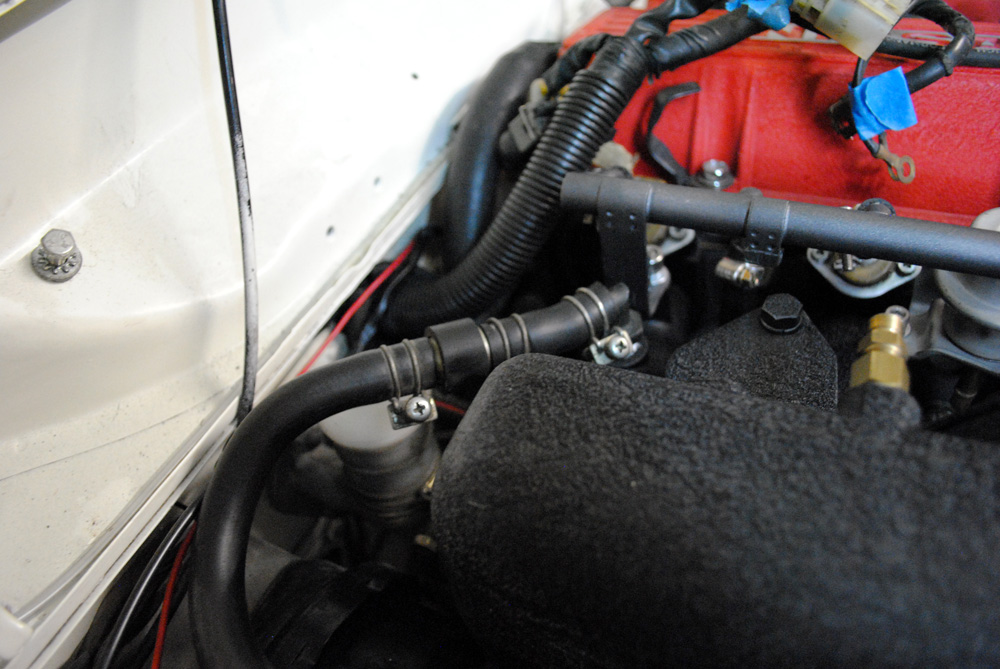
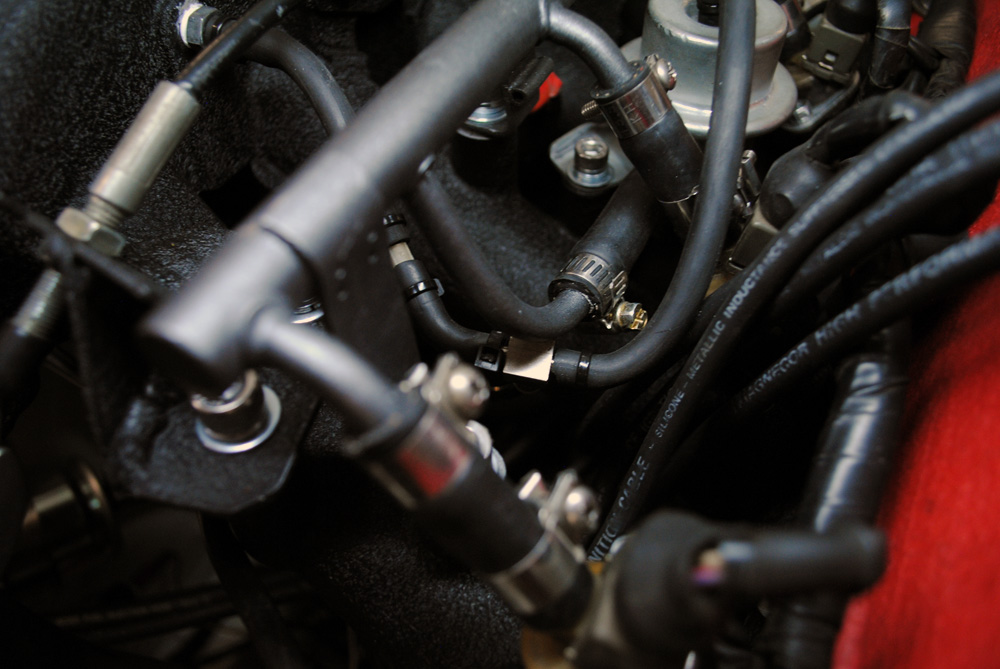
When re-installing various vacuum lines, I made an effort to run things as neatly as possible. In this case I was able to route a couple of lines underneath the manifold and out of view.
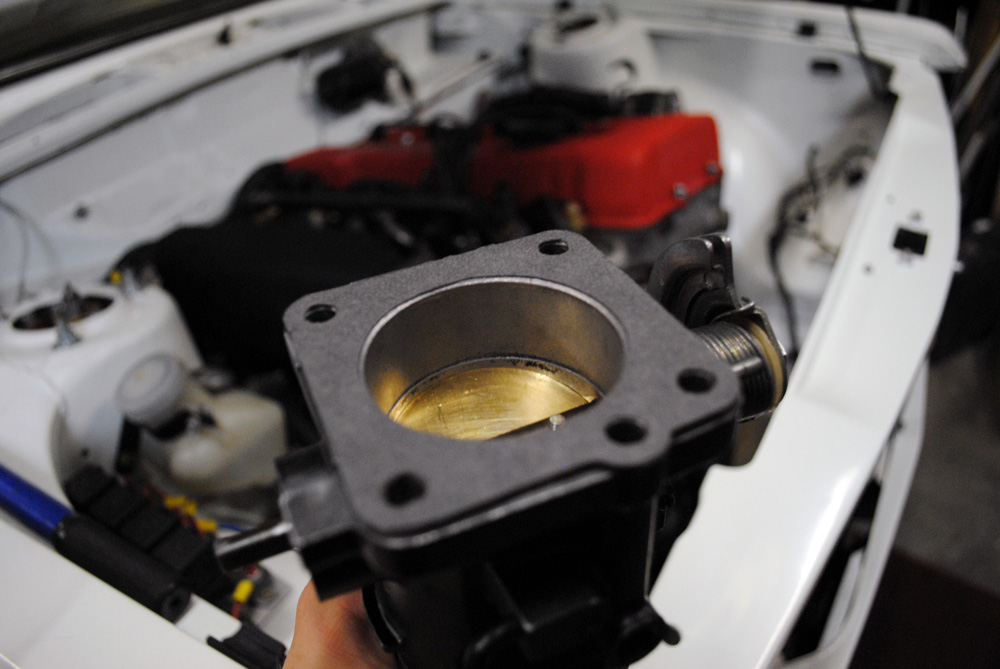
Throttle body with it’s new gasket.
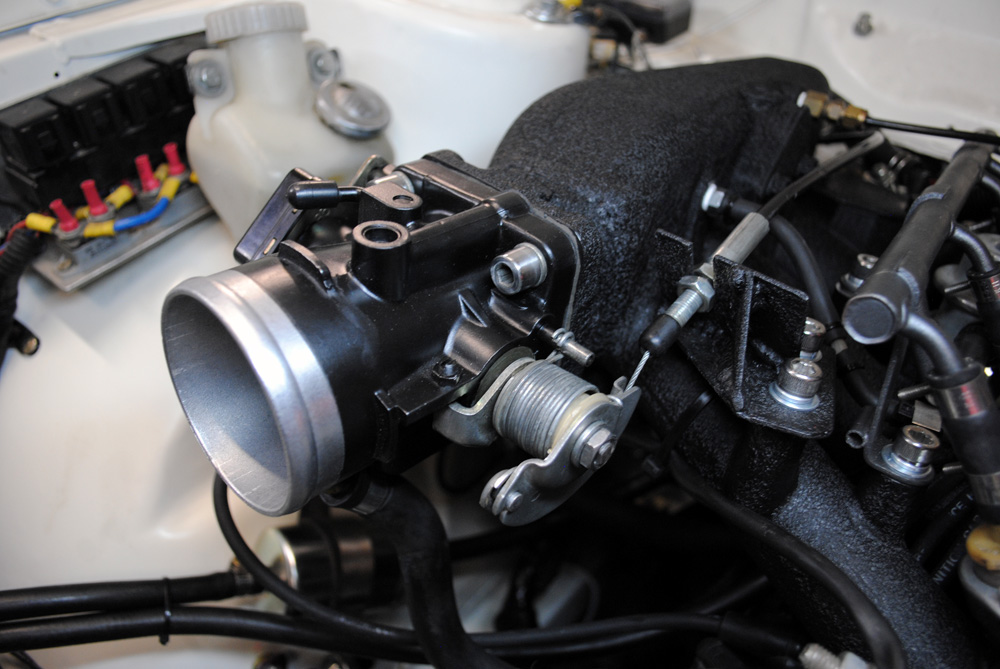
Bolted to the car and hooked up to the cable. It was such a great feeling to know I was bolting everything in for the last time, and taking a step back and admiring each piece was satisfying.
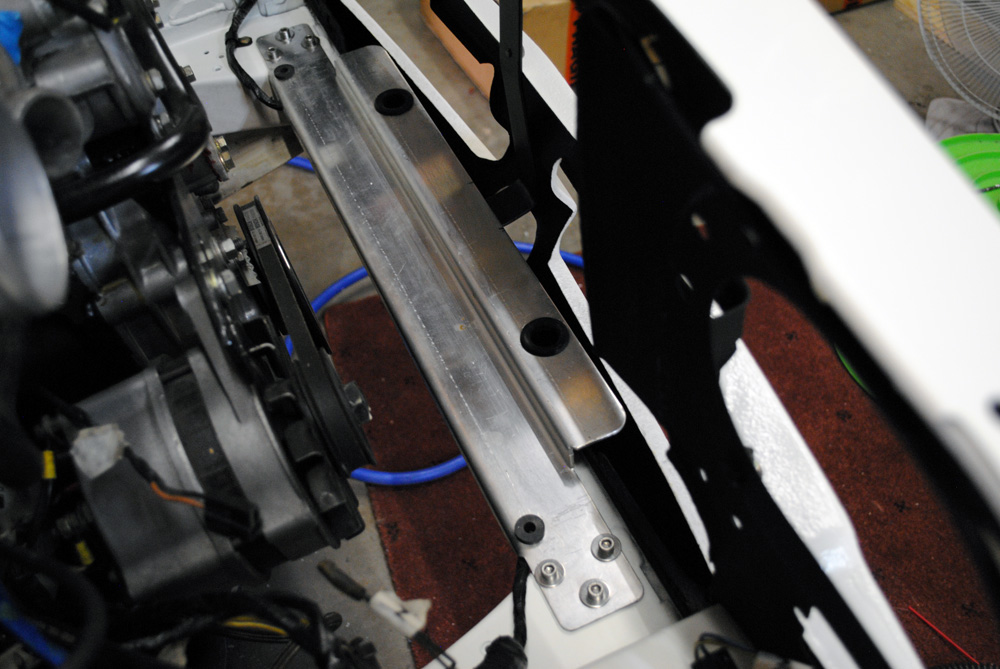
Bottom radiator/intercooler bracket bolted in using all 6 bolts.
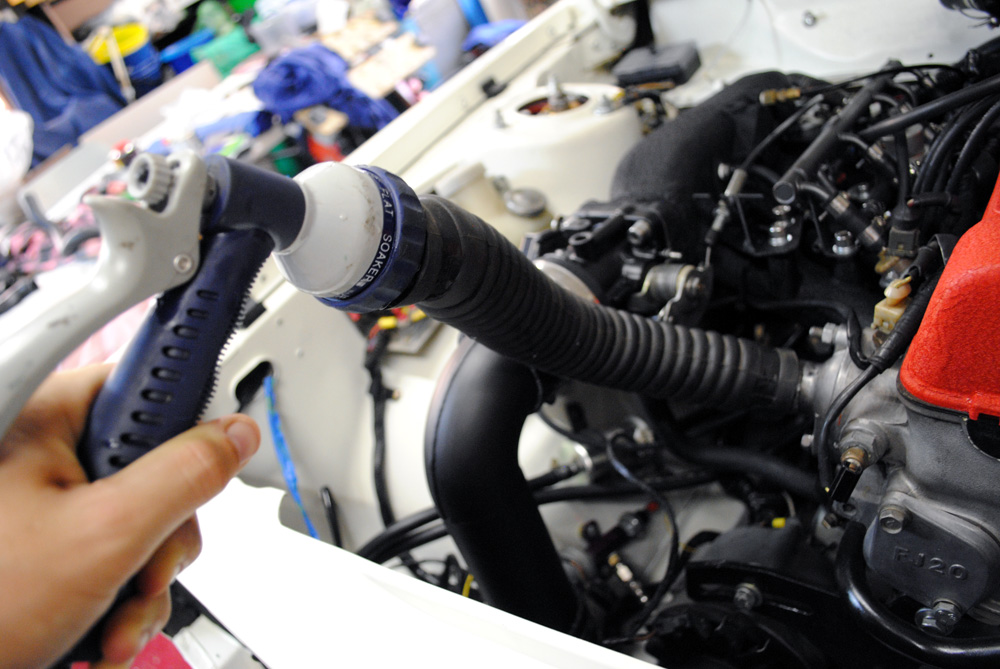
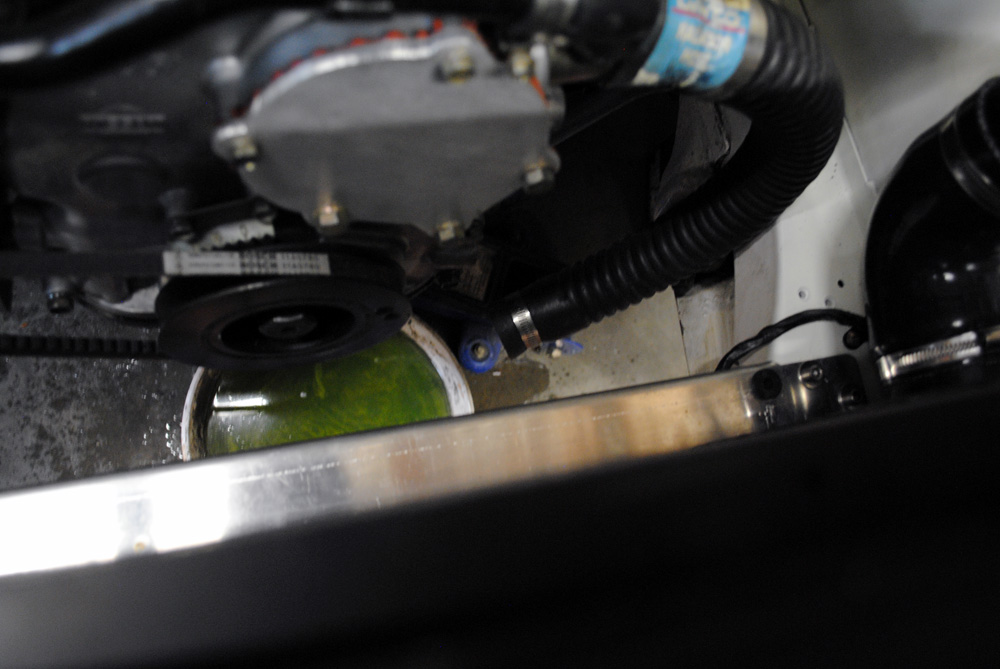
Before filling up the radiator, I attached my old flexible hoses to the thermostat housing and the lower engine outlet and then blasted water through the cooling system, to flush out all the old nasty stuff that was sitting in there and any dust that might have made it’s way in.
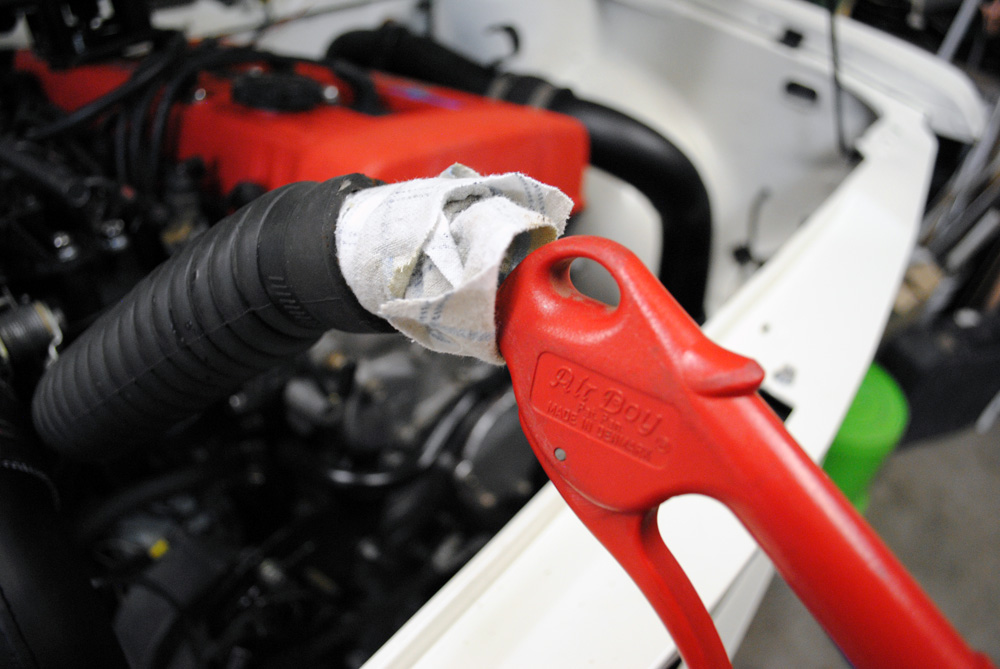
I then blew compressed air through it to remove as much the water that was still sitting in the system as possible.
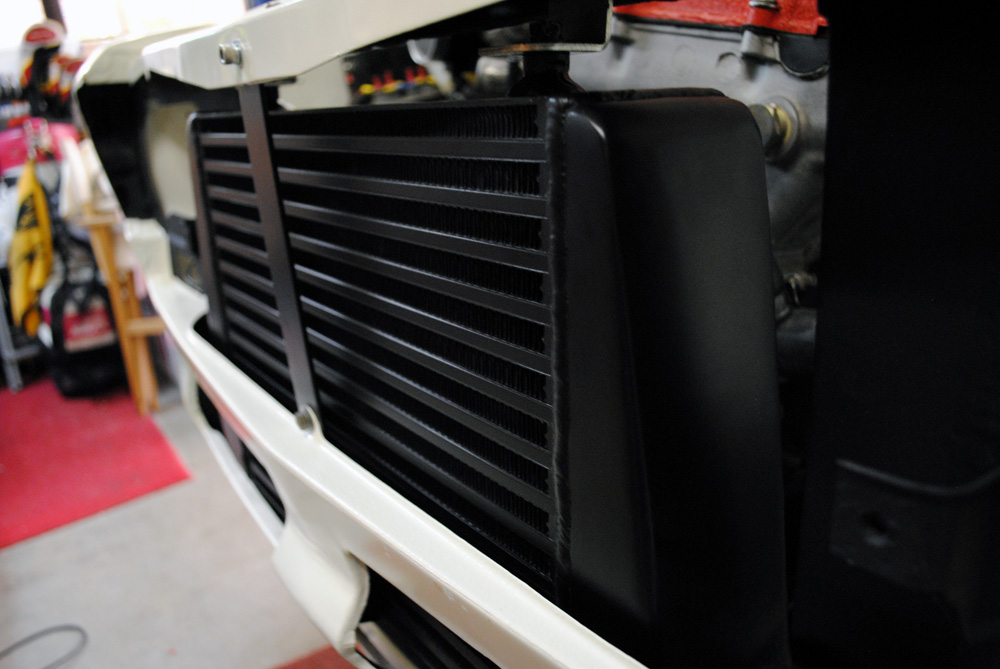
Next I bolted the intercooler into place.
Follwed by the hot-side intercooler piping…
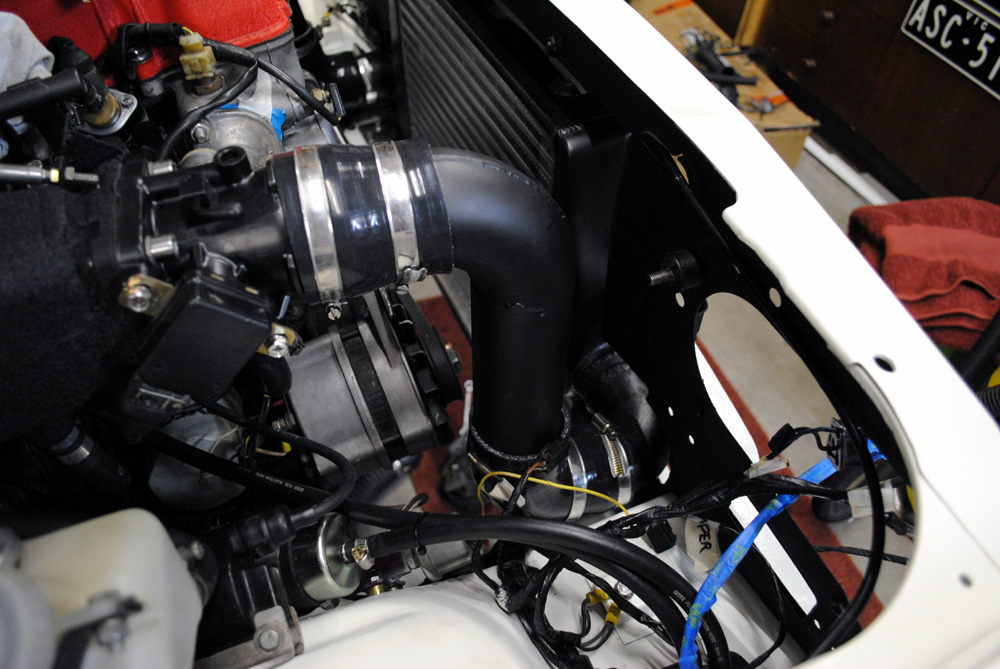
…and then the cold-side, along with a new black silicone joiner on the throttle body.
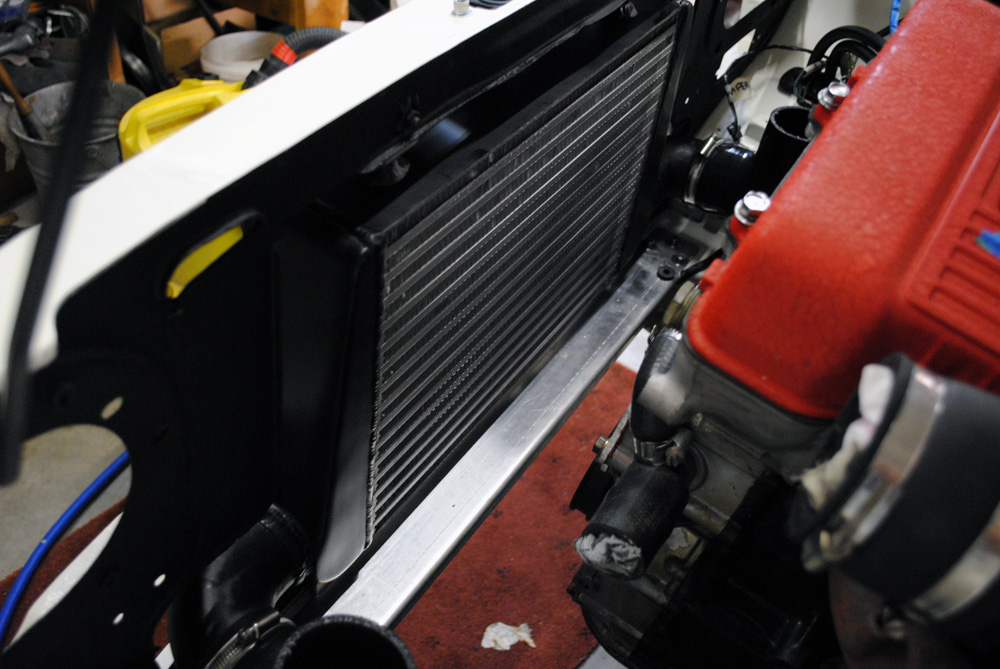
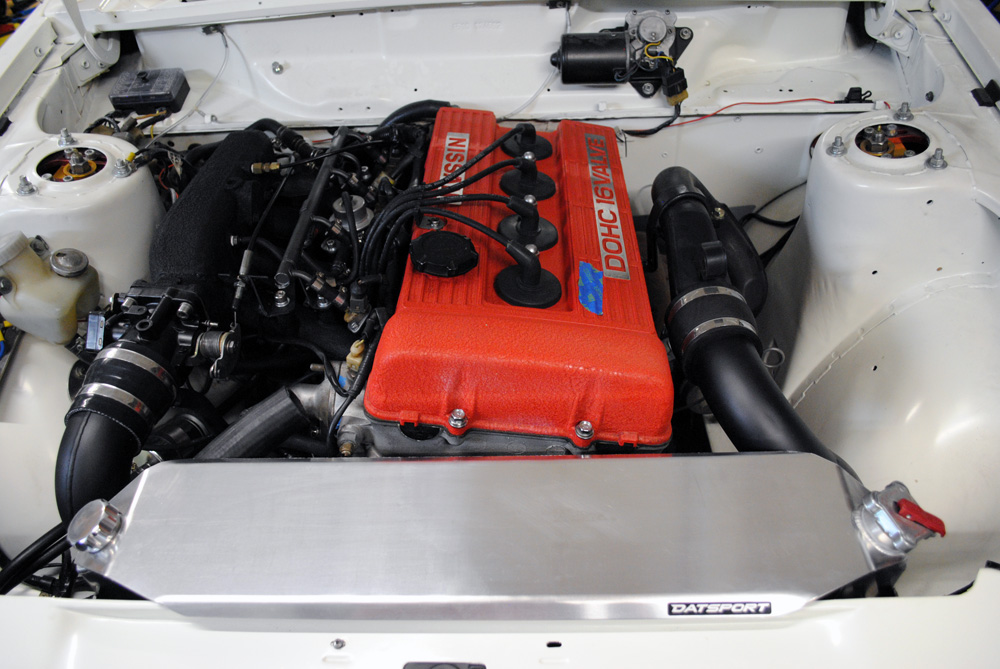
The radiator was the next item to be firmly affixed. I lost count of how many times this was test-fitted and removed, it must have been over 50 times. The large shroud is part of the design and helps with airflow and heat dissipation. I’m unsure whether I should leave it or paint it (wrinkle black?).
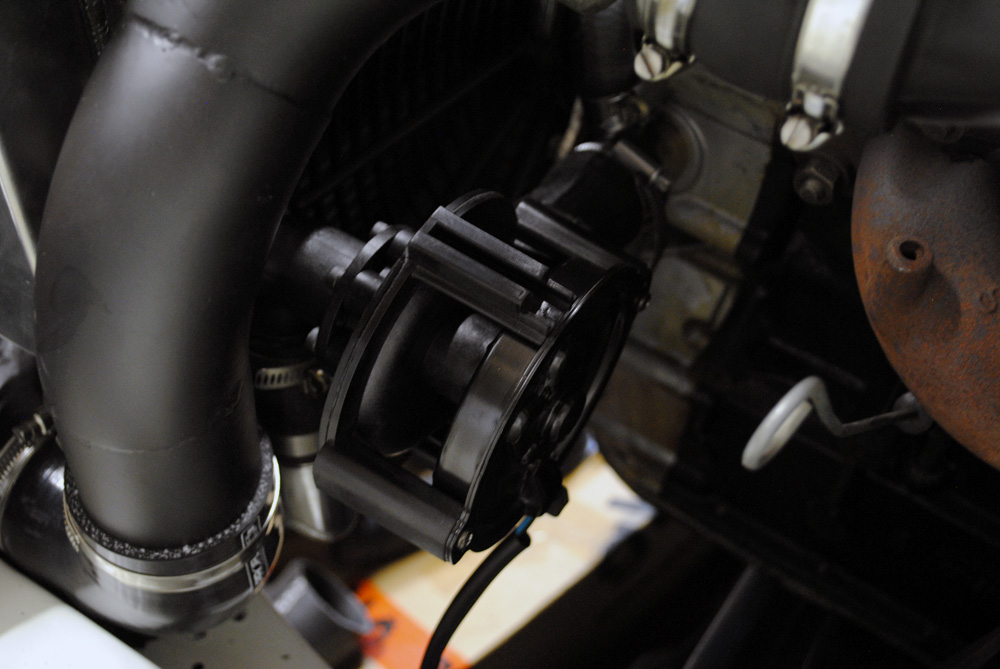
Electric water pump tucked away in it’s hiding spot. I actually drove the car down to my mechanics last year before I pulled it apart and had them hook up the water pump relay and wire the trigger into the ECU, that way I could simply plug-n-play when the time came to install it.
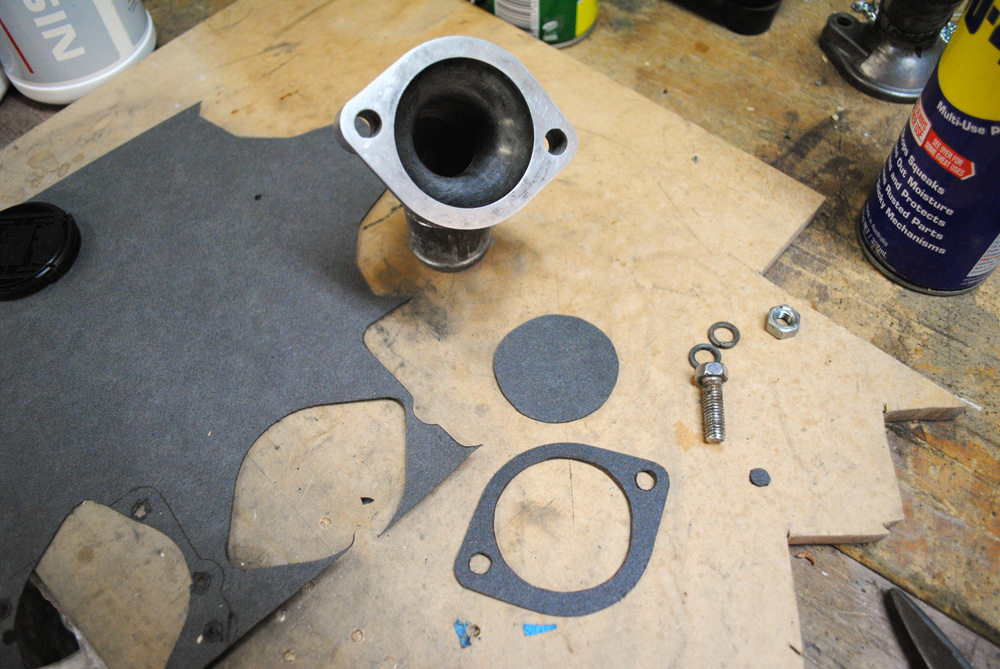
My thermostat housing had been cut and re-welded at some point during it’s life, and it was making it hard for me to find a suitable top radiator hose. I ended up sourcing a standard one, then I cleaned the mating surface on my custom mill (block of wood and some sandpaper) and made a new gasket. I also used a brand new thermostat.
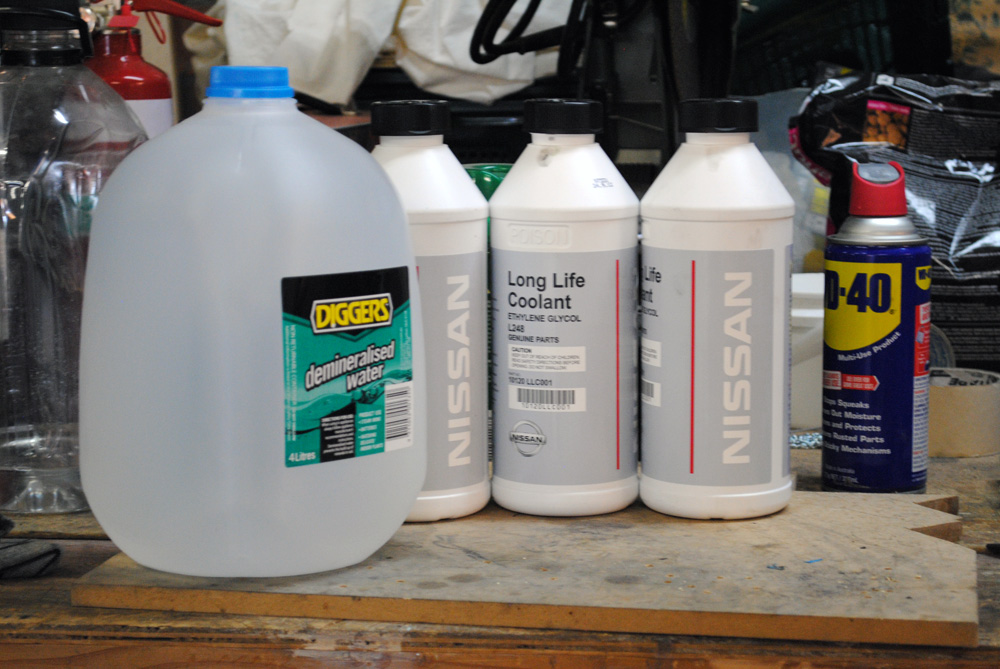
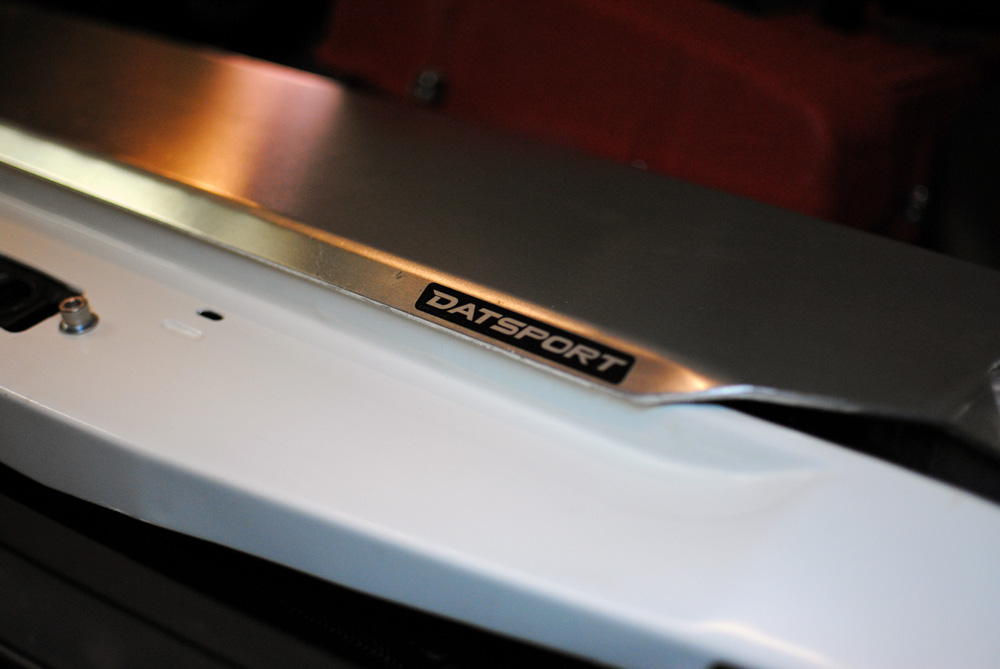
As per Datsport’s recommendation, I went with a 50/50 mixture of distilled water and Nissan coolant.
Once the cooling system was filled I was able to anxiously start the car. I removed the fuel pump relay and cranked it over a few times to build oil pressure (after jump starting it off my dads Hilux). I had visions of driving it around the block for a gentle test drive before taking it to my mechanics for a re-tune, but that wasn’t meant to be. Once I got it started, the engine ran rough, had a very low idle, and it would bog down when you tried to blip the throttle. I was severely disappointed.
The good news was that my alternator belt ran straight and true, and my waterpump block-off plate didn’t leak. This pleased me!
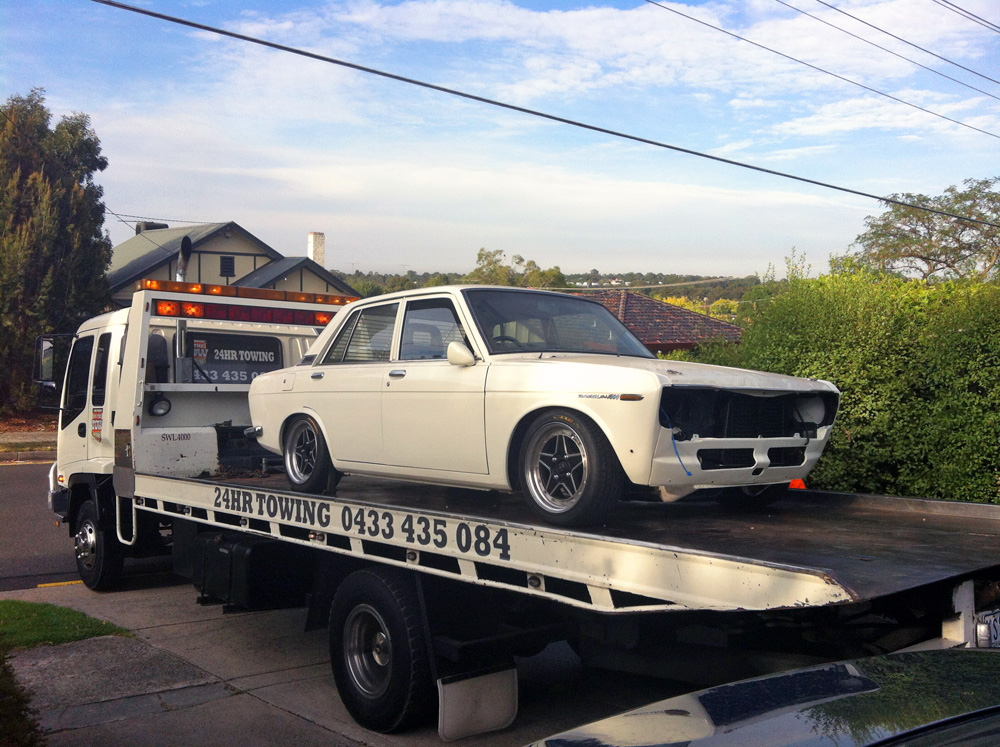
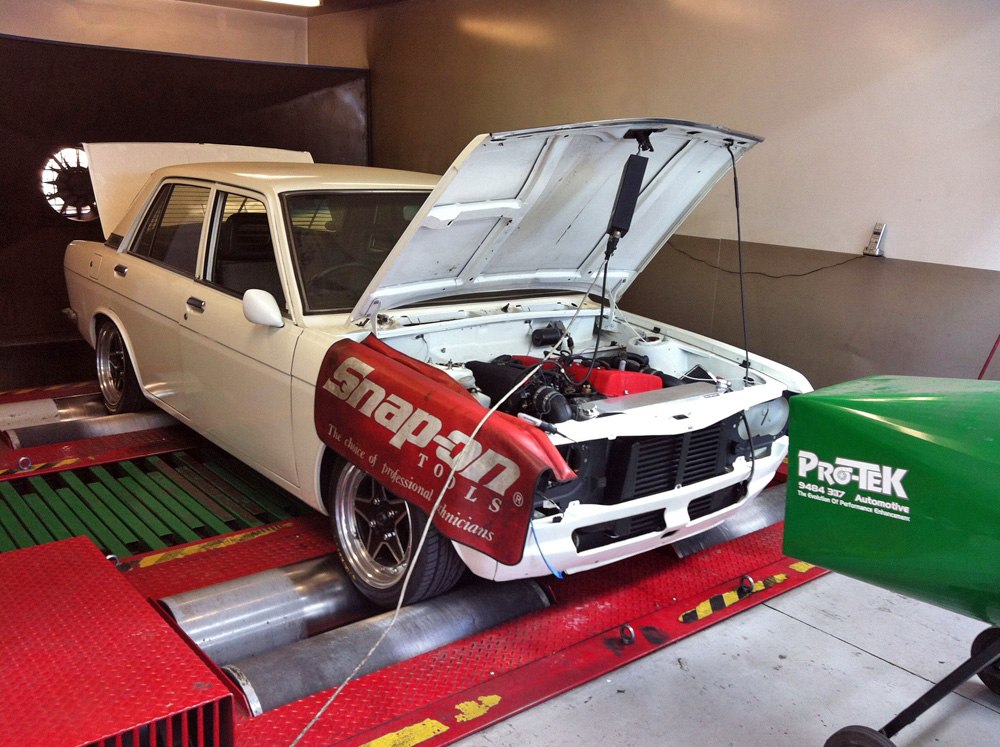
After troubleshooting a few areas to no avail (spark plugs, vacuum leaks), I decided to take it over to Protek to let them have a look at it.
Thankfully the issues were very simple, all stemming from the tune being out of whack with the new mods, and the throttle position sensor needing to be re-set. For a while there I really thought I had done something wrong, or missed something along the way, and was starting to second-guess undertaking such a big job.
The end result after a re-tune was 164kw at the rear wheels @ 14psi, or around 10kw and 2psi more than before. Apart from the gain in power, I’ve also got myself a nice new power curve, with power coming on quicker than before. Unfortunately this is my limit until I source some bigger injectors, as my current ones are out of puff, then I can screw some more boost into it. This won’t happen for some time though, I just want to enjoy driving the car again and worry about more power in the future if/when I get sick of the current setup.
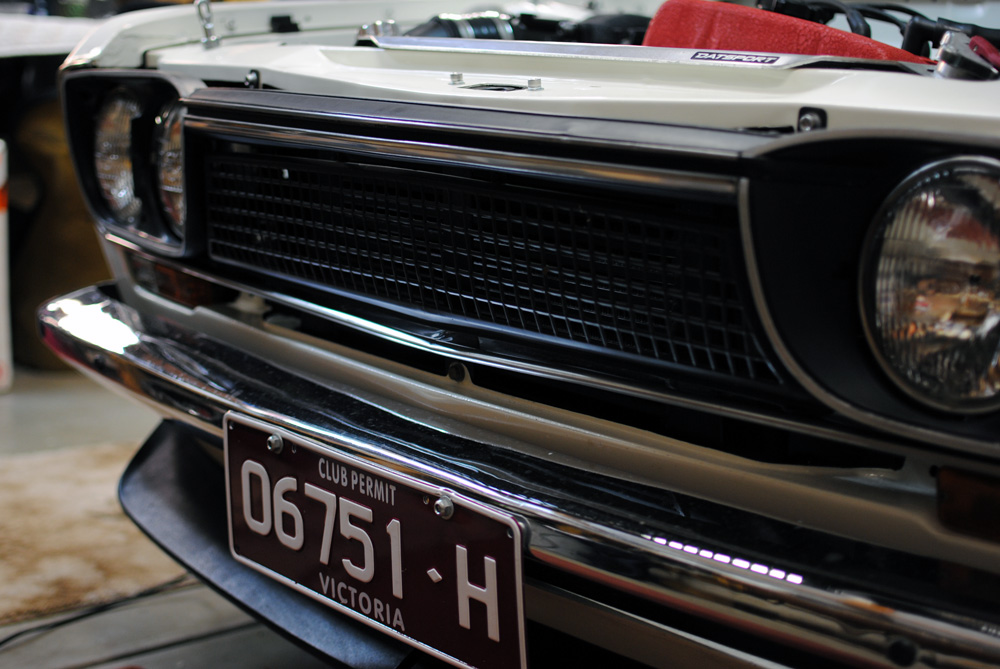
With the tune complete it was time to bring it home to finish off the rest of the assembly. I roughly bolted on my lights and grill at the workshop, cable tied my numberplate to the grille and drove it home in it’s very dusty state, with a grin from ear to ear the whole way. Once I was back home I gave it the wash of it’s life, removing 8 months of dust, and began installing the last remaining items…
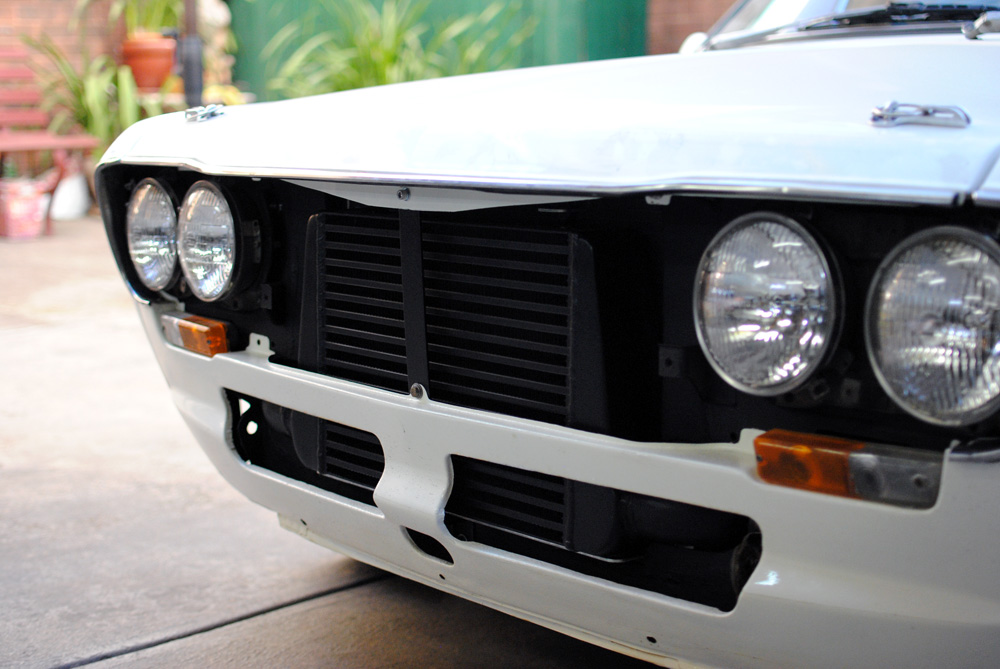
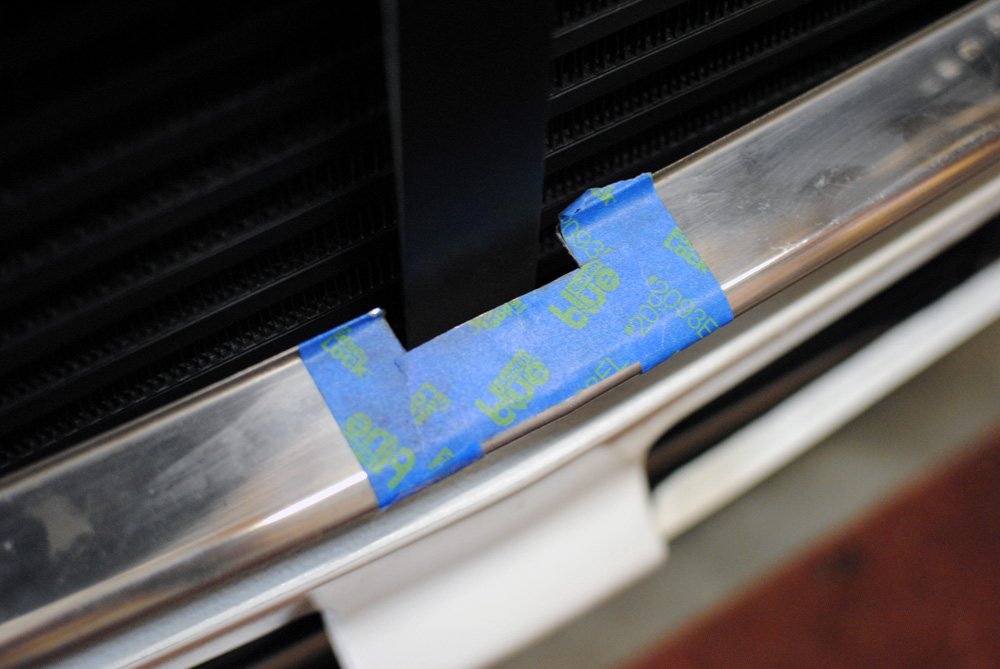
The lower grill moulding interfered with the reinforcing bracket I made, so it needed a quick haircut with the Dremel.
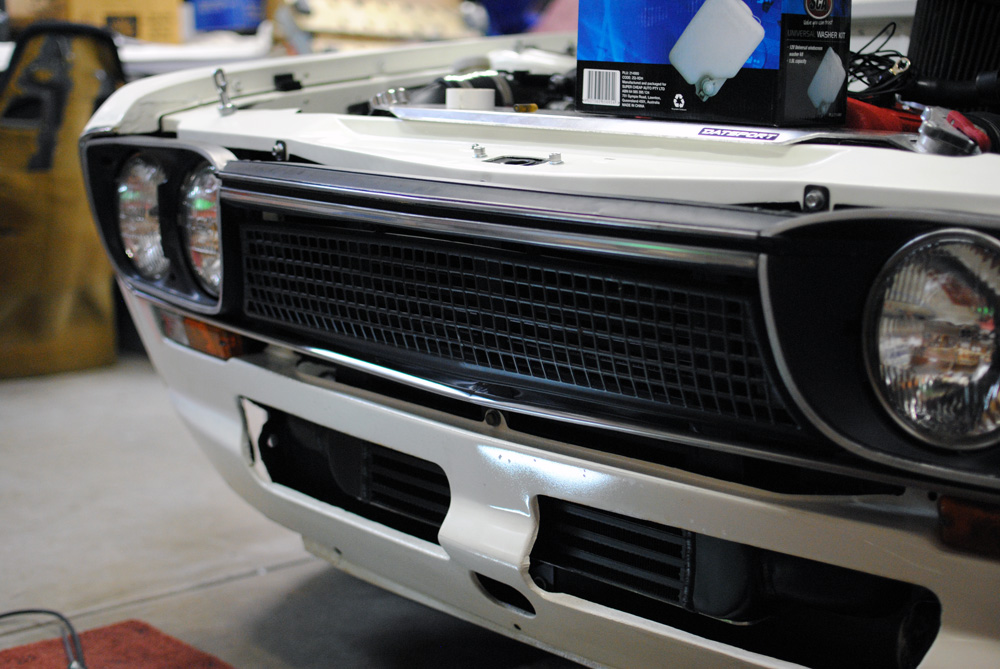
Grille re-installed. I’m happy that you can’t really see the intercooler at all, stealth mode! I really wanted to clean and/or re-paint all of these front-end items before putting them back on the car, but I was working on a tight deadline. I had promised a mate I would have the car ready for his wedding, and all of this final assembly work took place the night before his big day until 1:00am, with a few mates over to help out. Thanks to Rob, Gaz, and Troy! I also have to thank Adam for lending me his drop saw for the cooler piping which I forgot to mention in a previous post, it pays to have good mates.
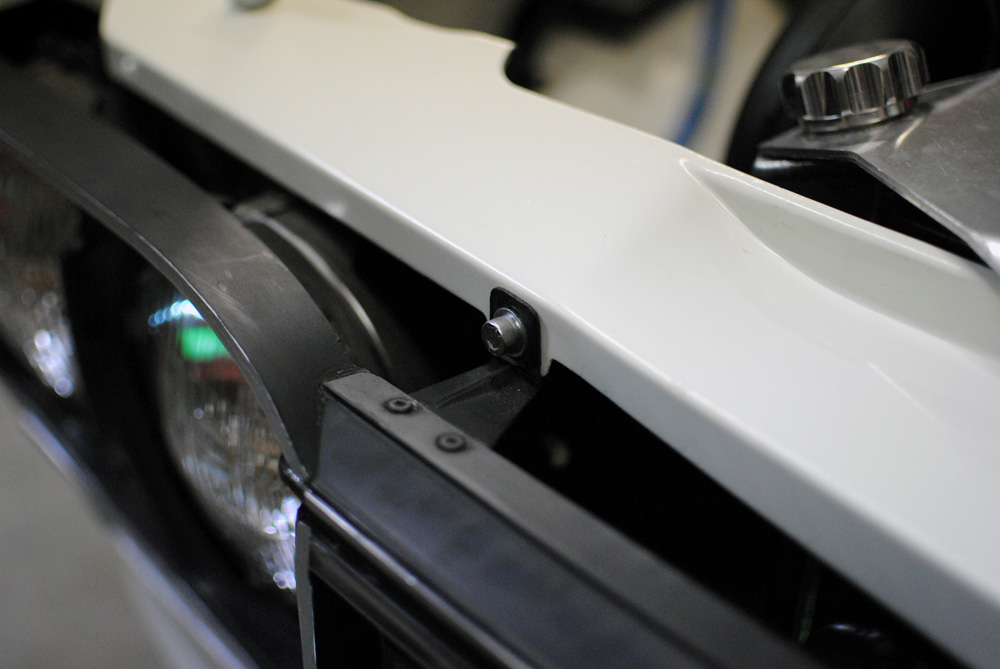
Stainless bolts for the grille.
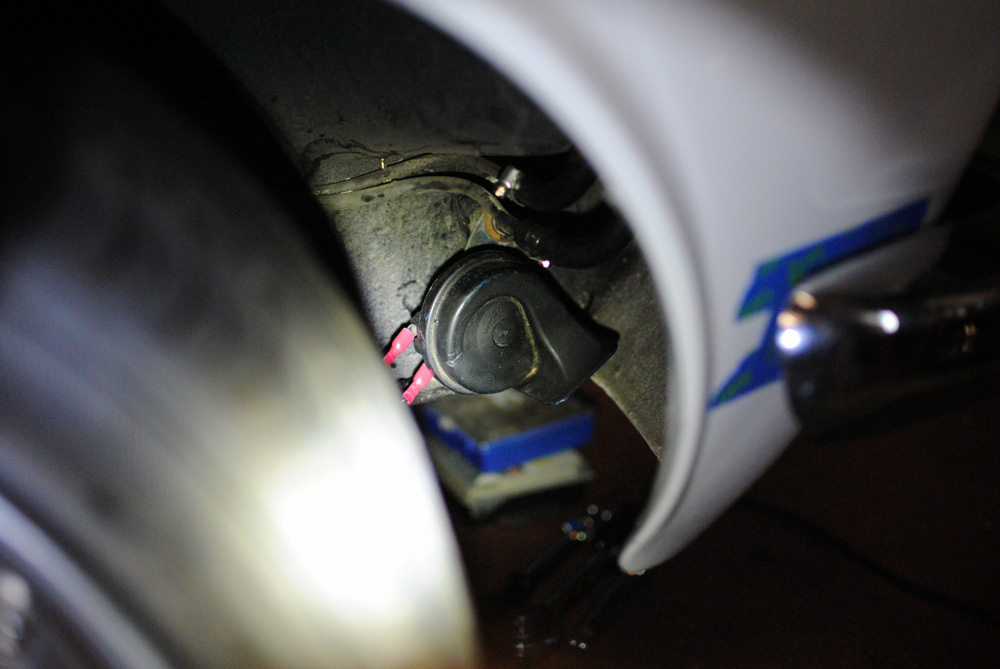
Here is where the horn was relocated to. I used an S13 horn that I had left over from the 180SX I parted out years ago, as mentioned in this post. It was much smaller and louder than the one I replaced it with. My old one was quite comical and good for making people laugh, but it didn’t do much good out on the road when I needed to be heard.
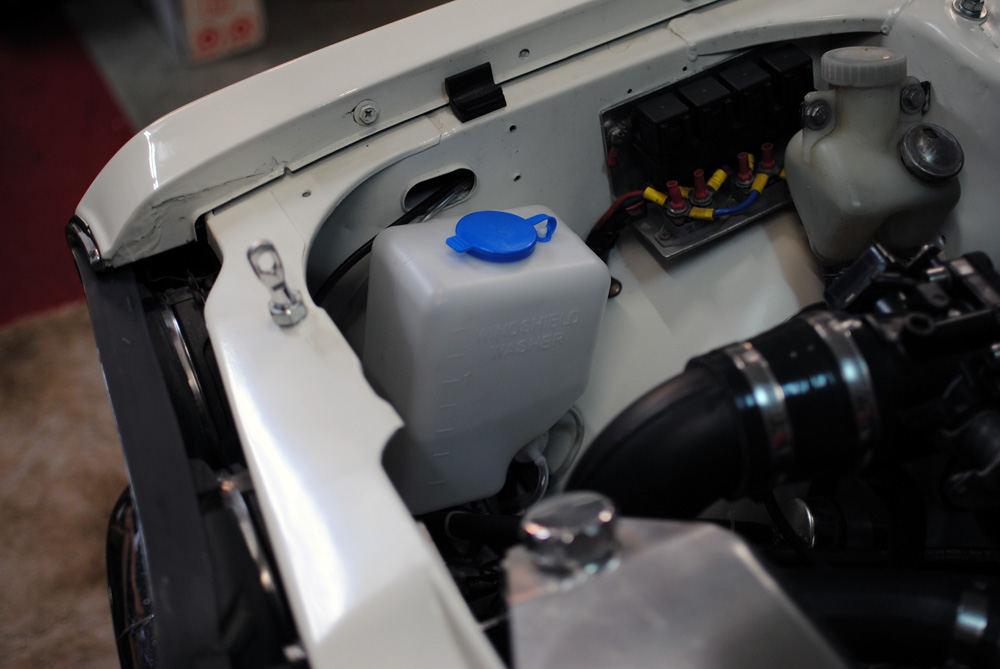
I bought a new windscreen washer bottle, as my old one was a bit dirty and yellow. I managed to mount it a bit lower and more forward in the bay, now that my old radiator overflow bottle was removed.
Finally, I had my car (and my garage) back.
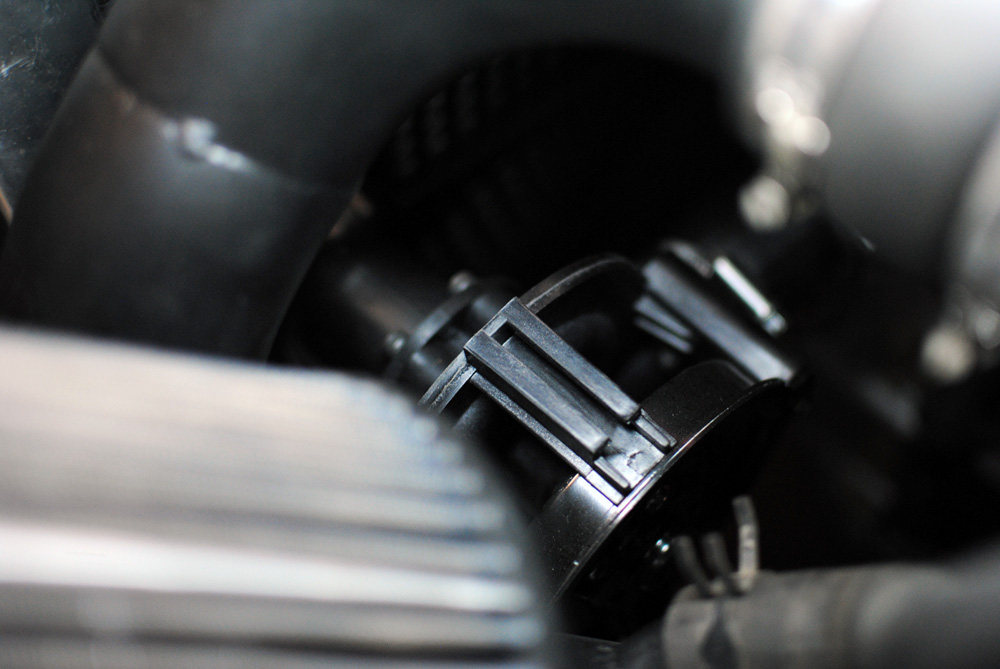
Some detail shots…
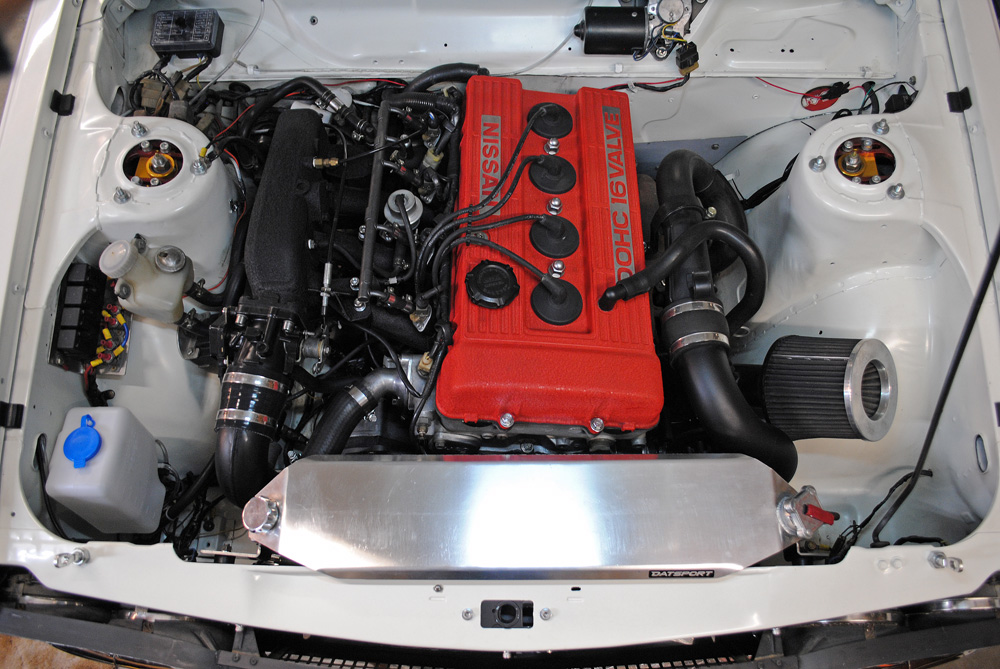
The grand finale…
Here is a picture of the previous setup to refresh your memory. There are still a few things I want to clean up, like hiding the red power wire for the electric water pump, a new hose for the rocker cover breather, some gas struts for the bonnet, and I’m also planning on fitting an airbox with a high-flow panel filter to replace the pod. But for now, it’s done! I definitely learnt a lot over the past 8 months, at times my patience was really tested but I’m glad I stuck through it and achieved what I wanted to. Plus now I have a welder!
Thanks for reading.







Nice work for someone who has ‘office hands’ as I like to call them. Nice ride!
Nice work!! That looks great!
I can’t help but stair at that last pic and dream doing something similar to my 7mge. I had originally planned on a full blacked out look but now I like the idea of a POP of red on the valve covers.
It has given me a lot to think about..
Great work with the intercooler setup. One would look at it and have no idea how much effort it took but, it is its own reward.
thanks buddy!
cheers!
Thanks Franco, definitely a lot of work involved, but the end result was worth it. I’m also partial to all-black engines, but I already sprayed the rocker cover red not long ago. I think all-black engines work well with polished piping and accessories, or even copper/bronze accents.
looks absolutely sexy! Black and red engine bay rocks 🙂
thanks Nils, keep up the good work with the S30!
Awesome build!!
So much win.
My only comment on this thing is that the open element air filter “cheapens” things a bit. I really feel like building an air box (even if it still mounts the pod style filter enclosed) would be the finishing touch to make it look perfect. I would look as though it were totally OEM and showroom fresh.
Otherwise keep up the FANTASTIC work.
so sick, awesome job dude.
i love it.
Hi Tom, I totally agree with you, already got plans in place to build an airbox with high-flow panel filter 😉
thanks Jace, need to come and hang out one day soon now that it’s back on the road.
Its really looking great now. Good job and really nice detailing.
Looks great and love the wrinkle paint!
The amount of detail on this build is amazing 🙂 I love the fact that you take everything down to bare bolts, very similar to the amount of time I spend on my Justy project 🙂
What grill is that off?