This Honda City Turbo II seems to be a hit with you guys, and it just goes to show that it’s not all about big horsepower and expensive cars. In the previous post you saw the engine being removed and torn down in preparation for a refresh. While the whole engine won’t be receiving a rebuild, the head will be getting some special attention, along with a fresh set of seals and gaskets. Oh, and a nice new turbo! On we go with another very detailed installment…
Part 1: Introduction
Part 2: Teardown
Words by Ryan Lewis.
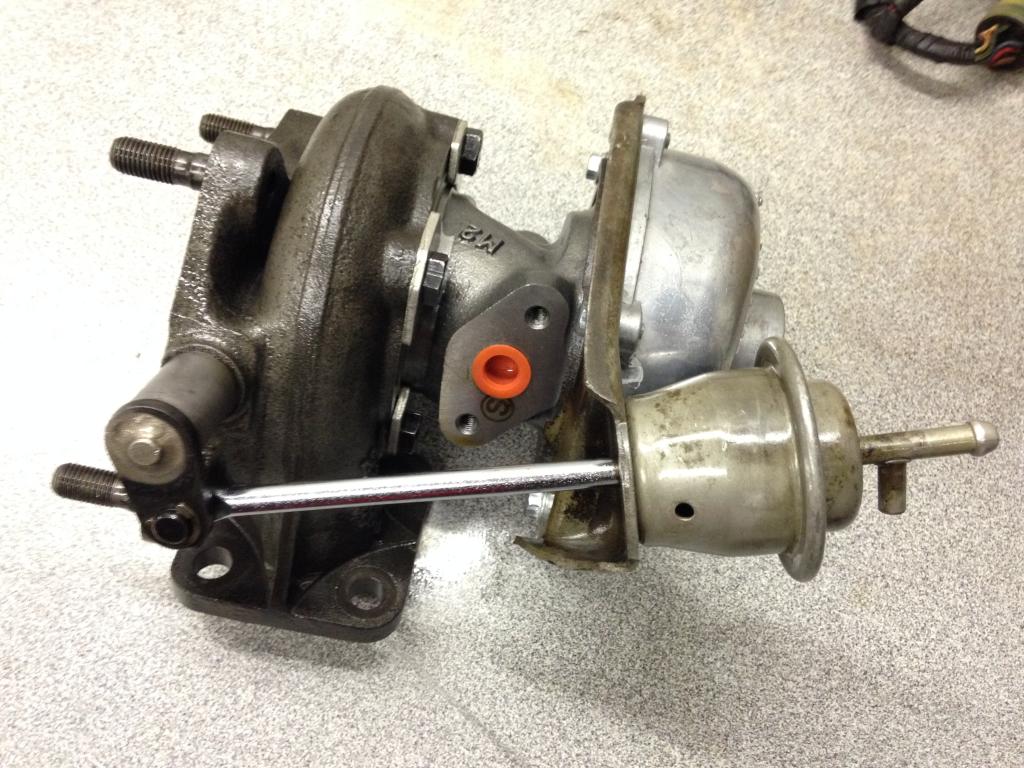
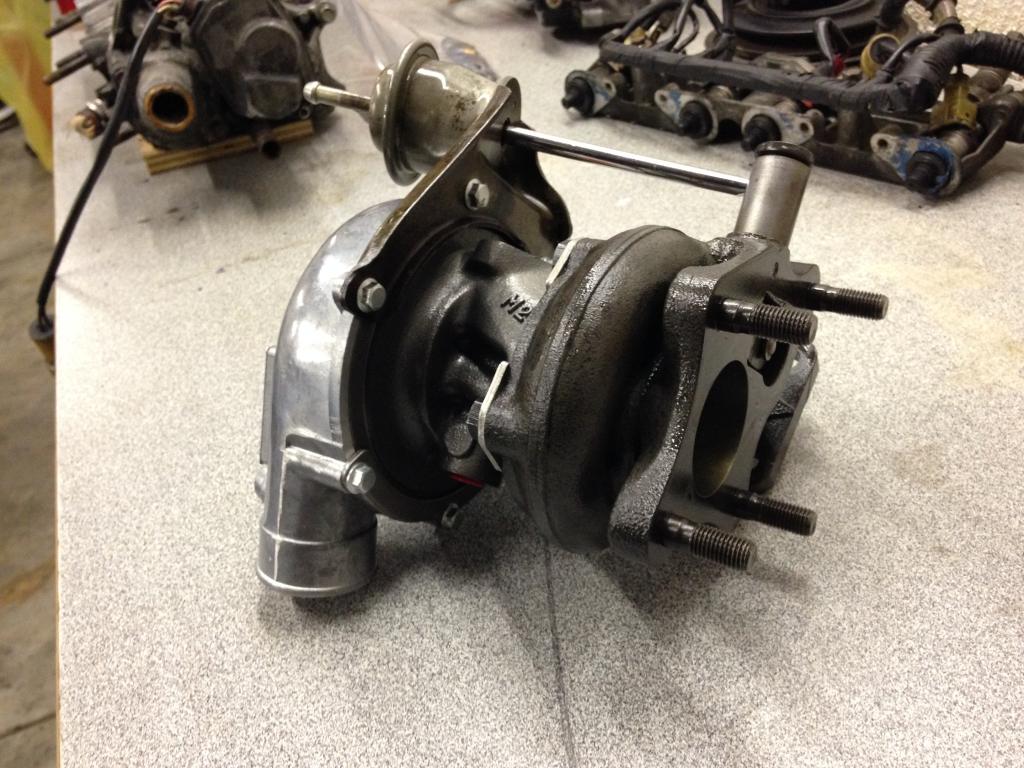
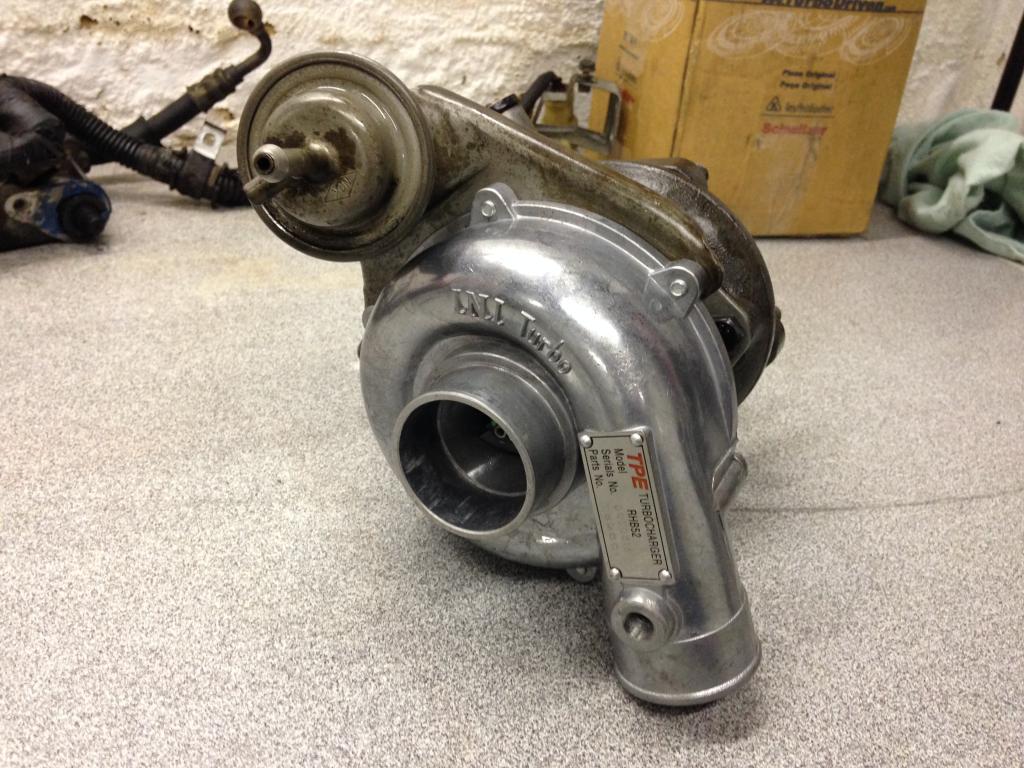
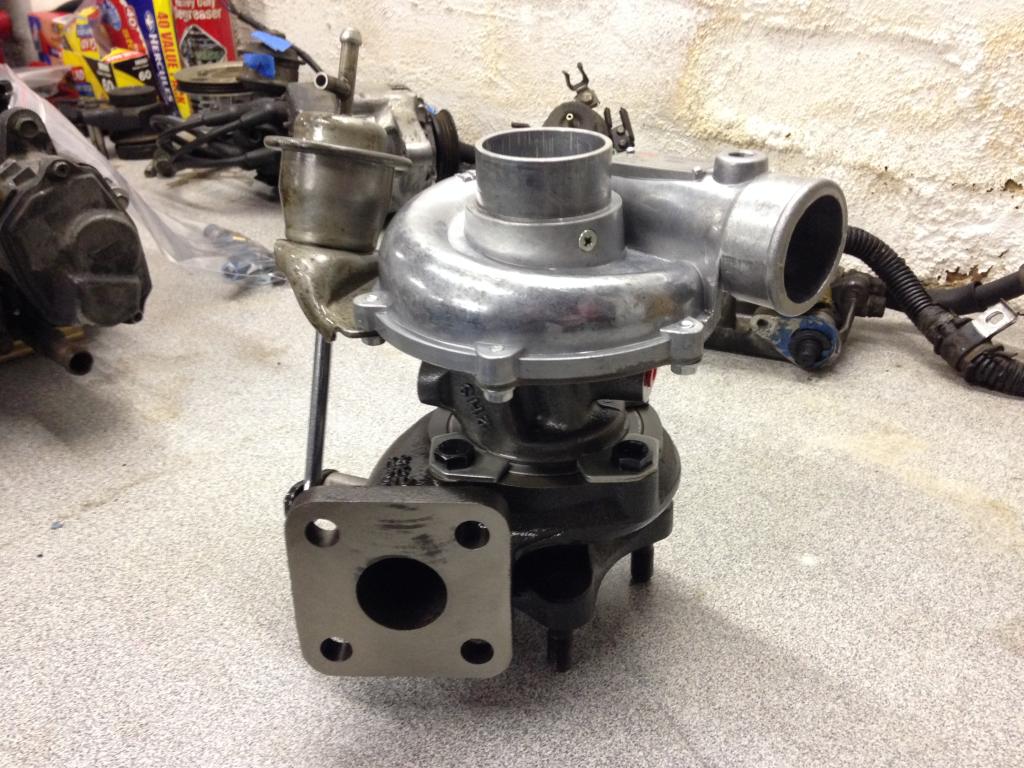
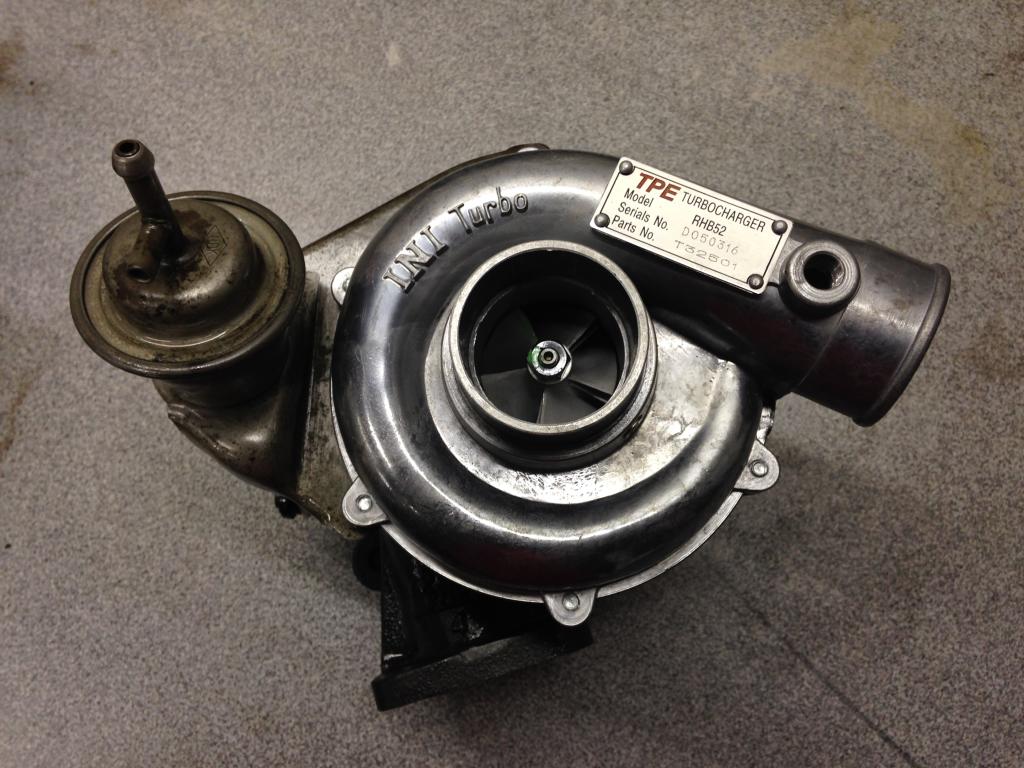
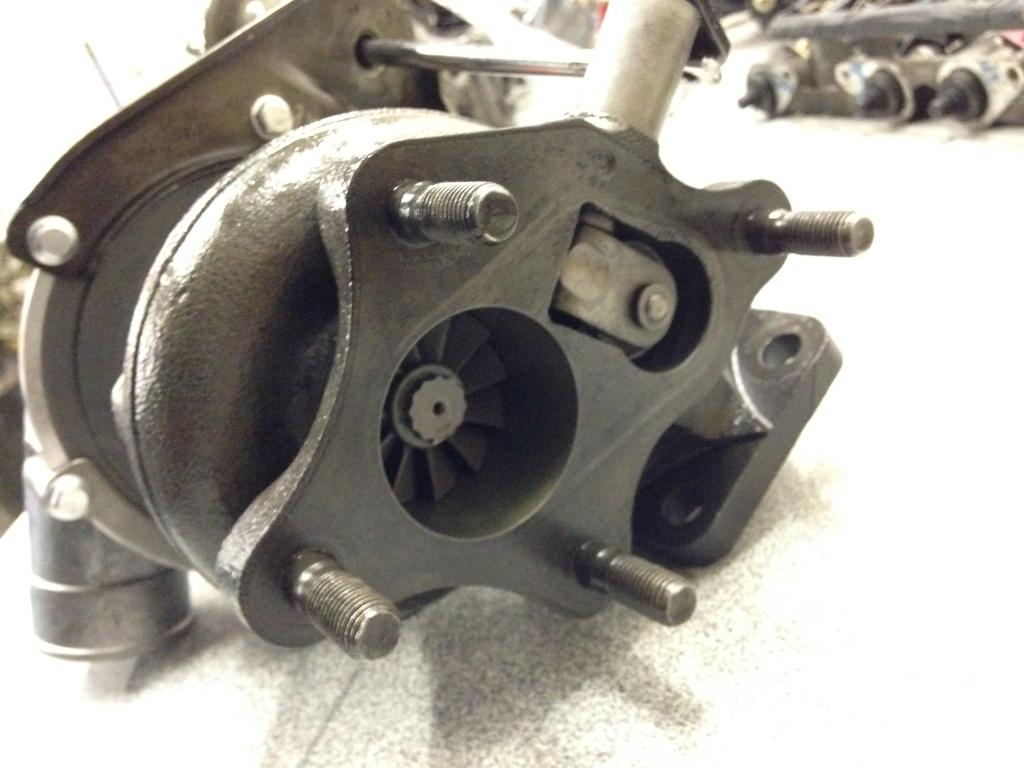
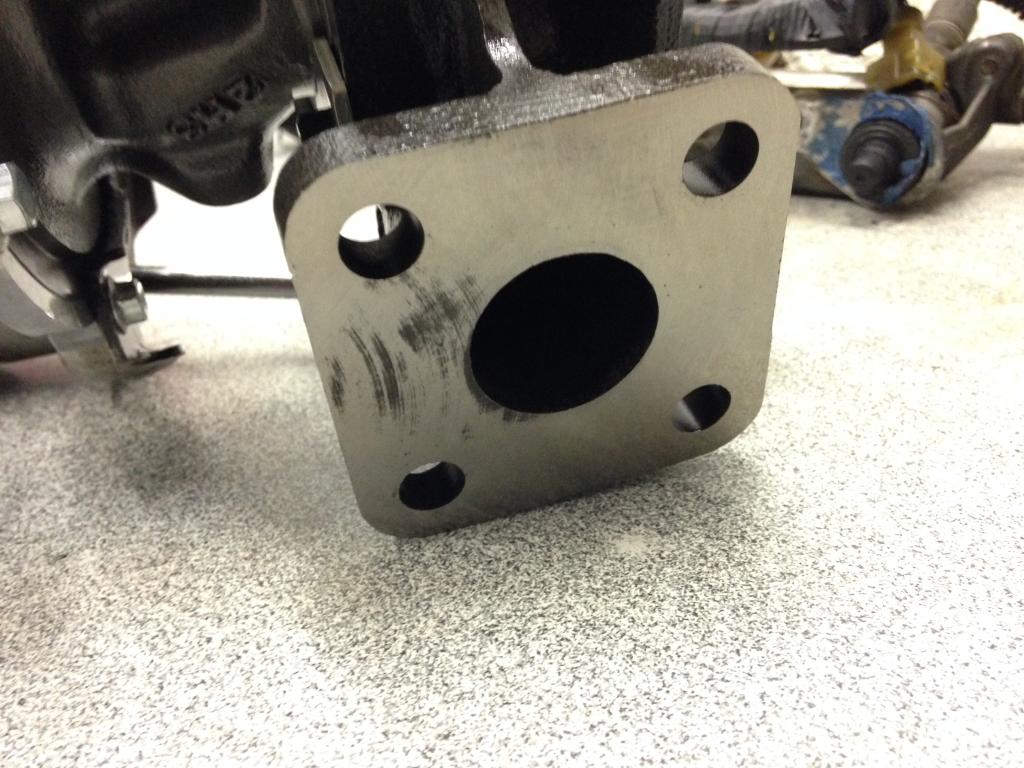
Max boosties arrived. Looking good. The machining is nicely done. They even honed the mounting flange on our old exhaust housing as well. Brand new core and compressor housing, with our original actuator and exhaust housing machined to suit the larger turbine wheel.
Next up we started the head rebuild. We’re replacing valve stem seals, cam seal, bunch of other seals, gaskets and washers and the thermostat. The head, rocker assembly and camshaft will all go off for hydroblasting.
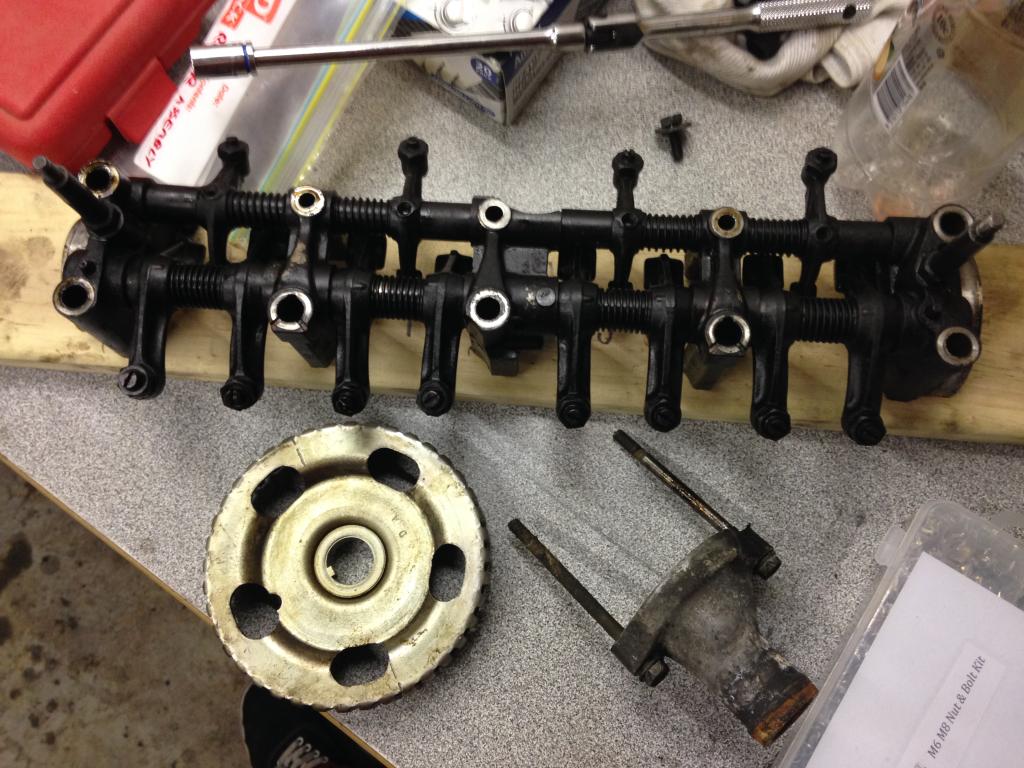
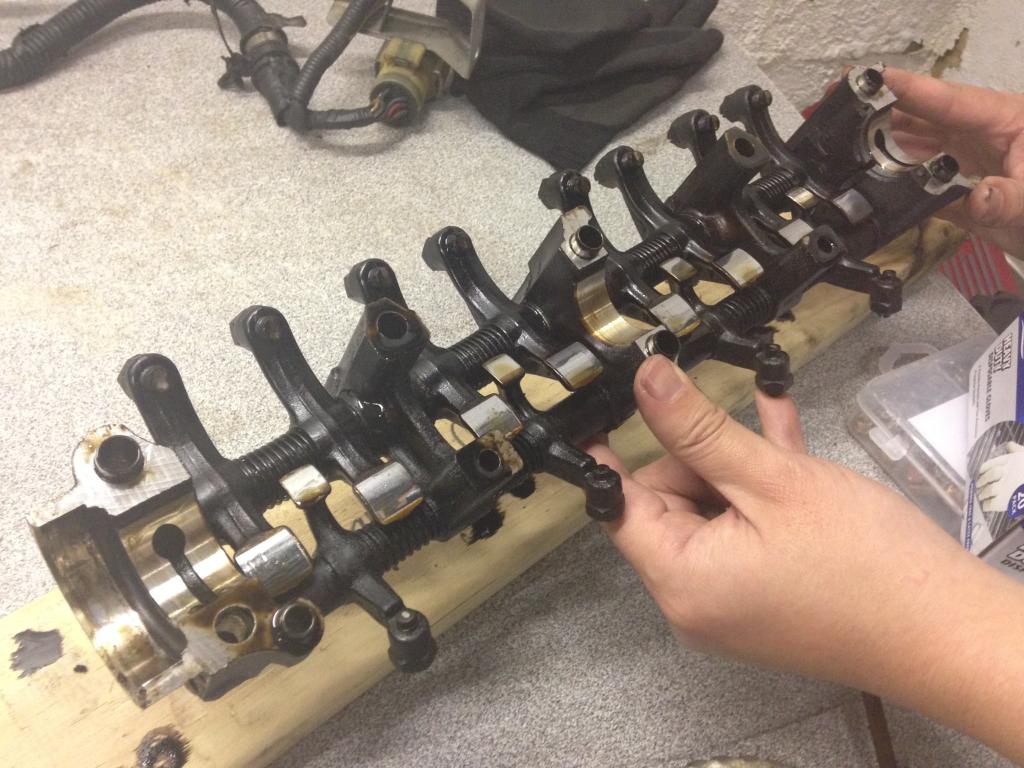
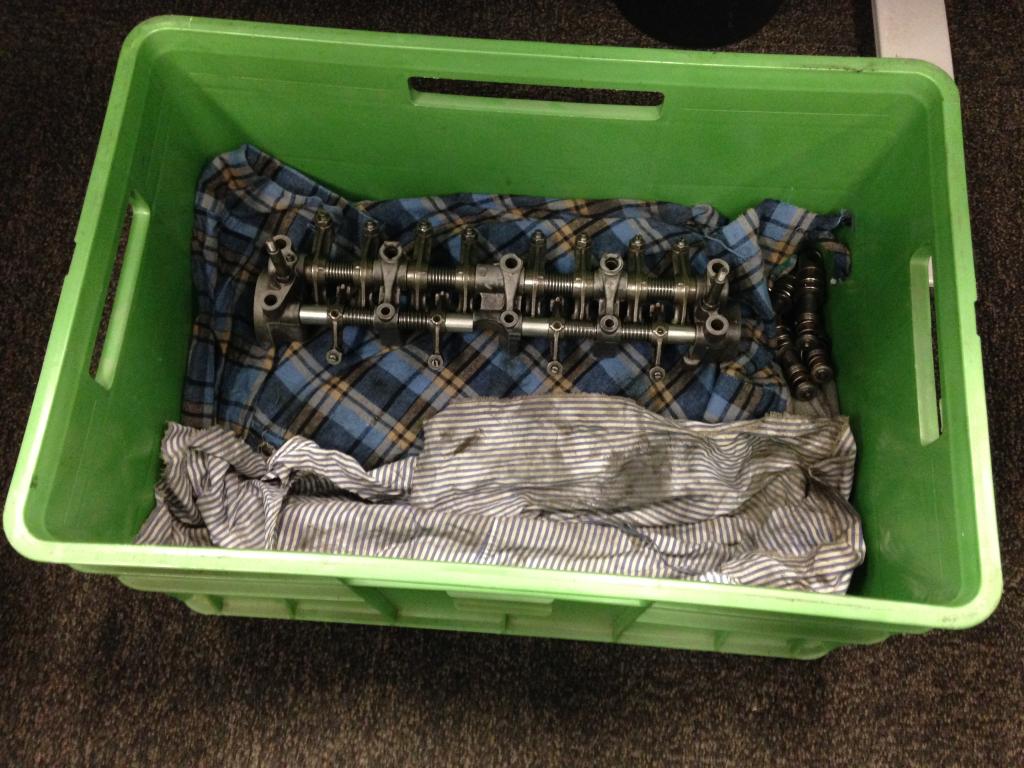
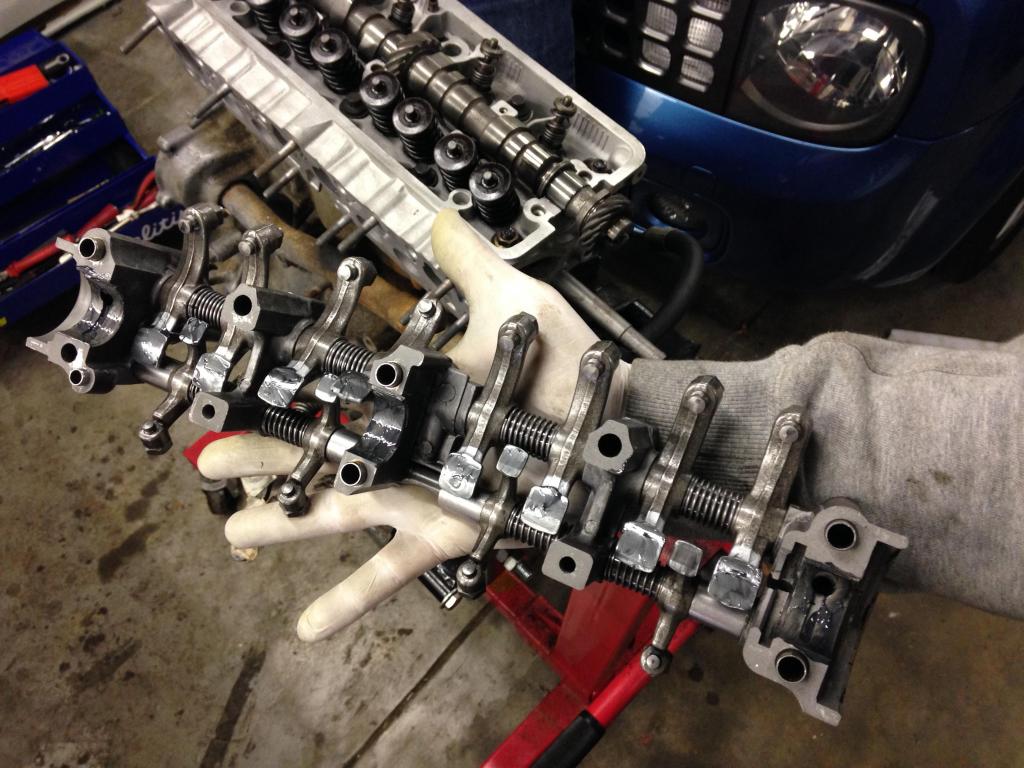
First thing to remove is the rocker arm assembly. 10 easily accessible bolts hold it down.
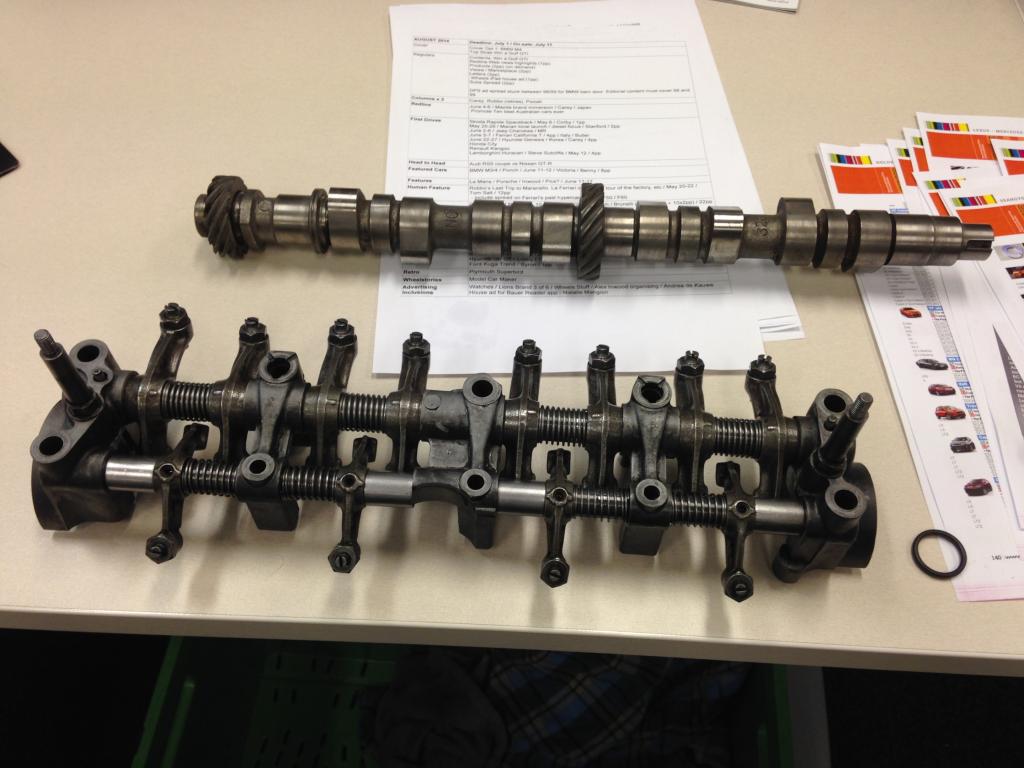
Despite all the grit in this engine the wipe surfaces look really good.
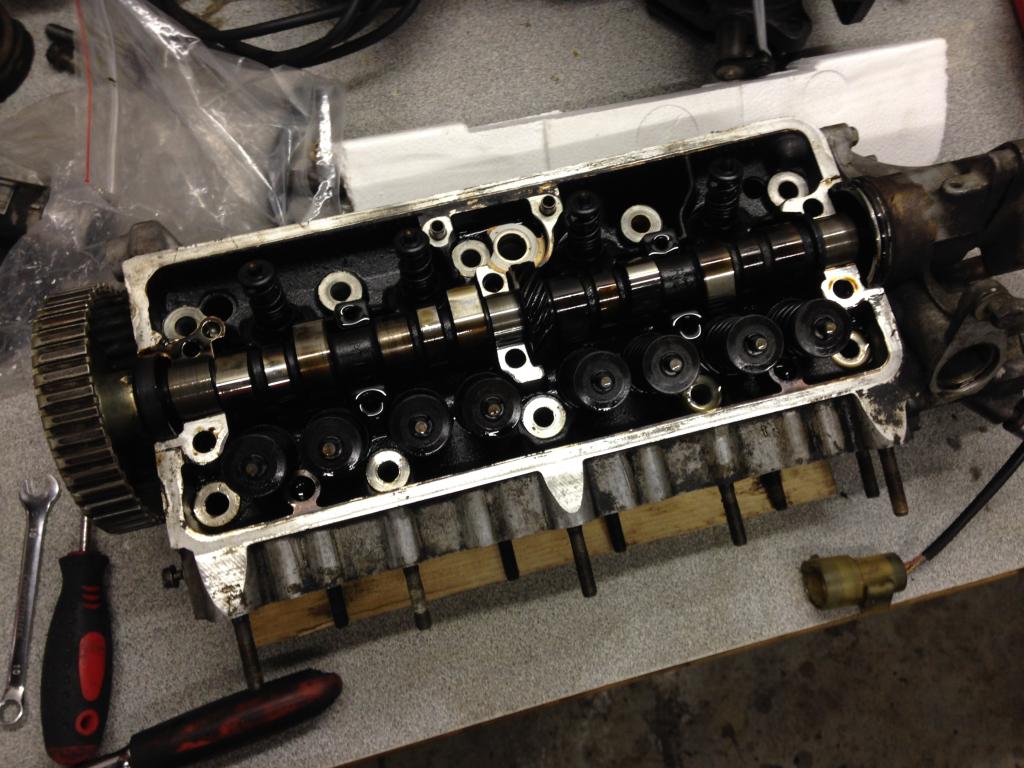
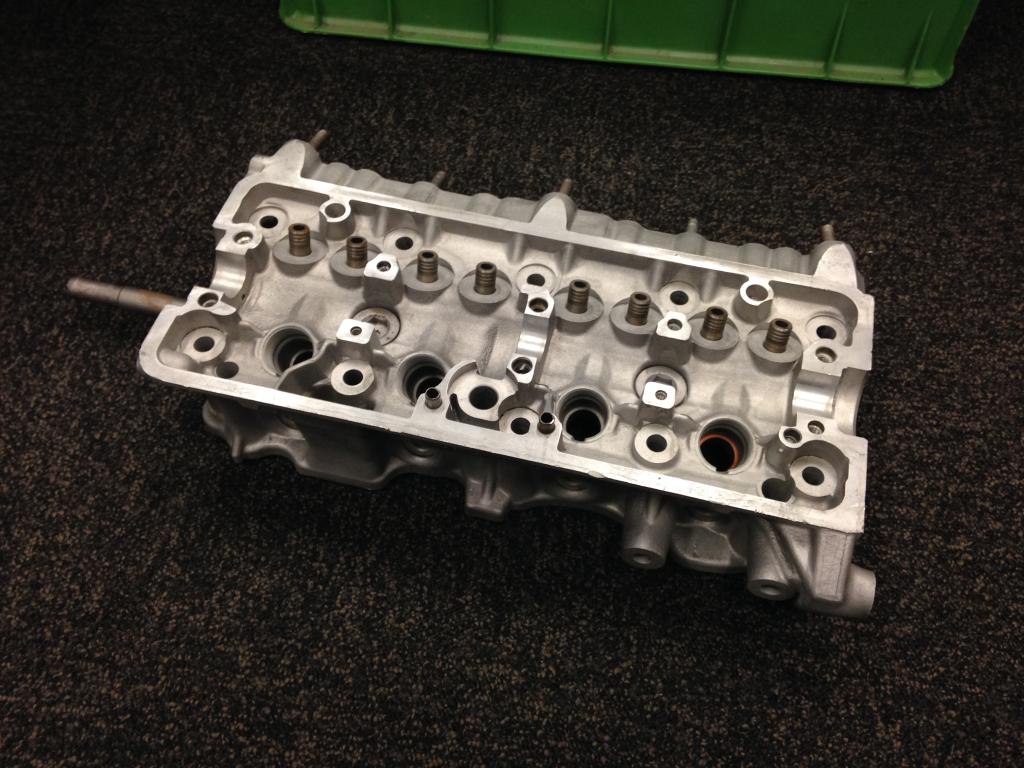
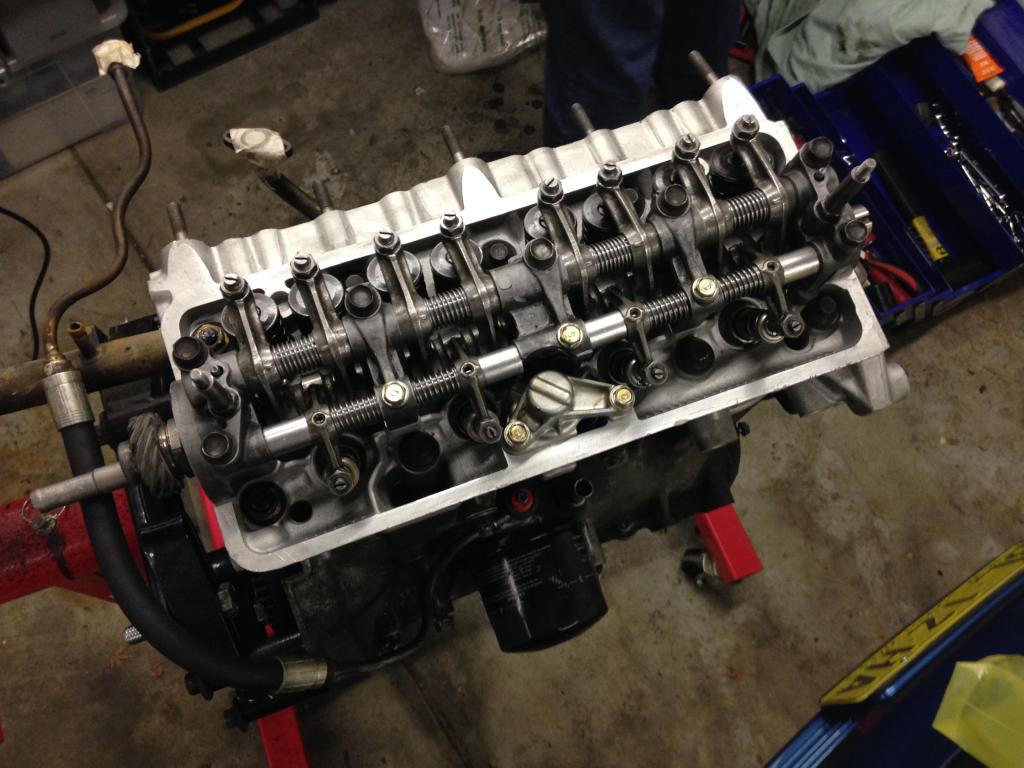
Here’s the head on the bench sans rocker assembly. Camshaft is next. The only thing holding it in is the cam angle sensor and thermostat housing which are combined into one bulky unit.
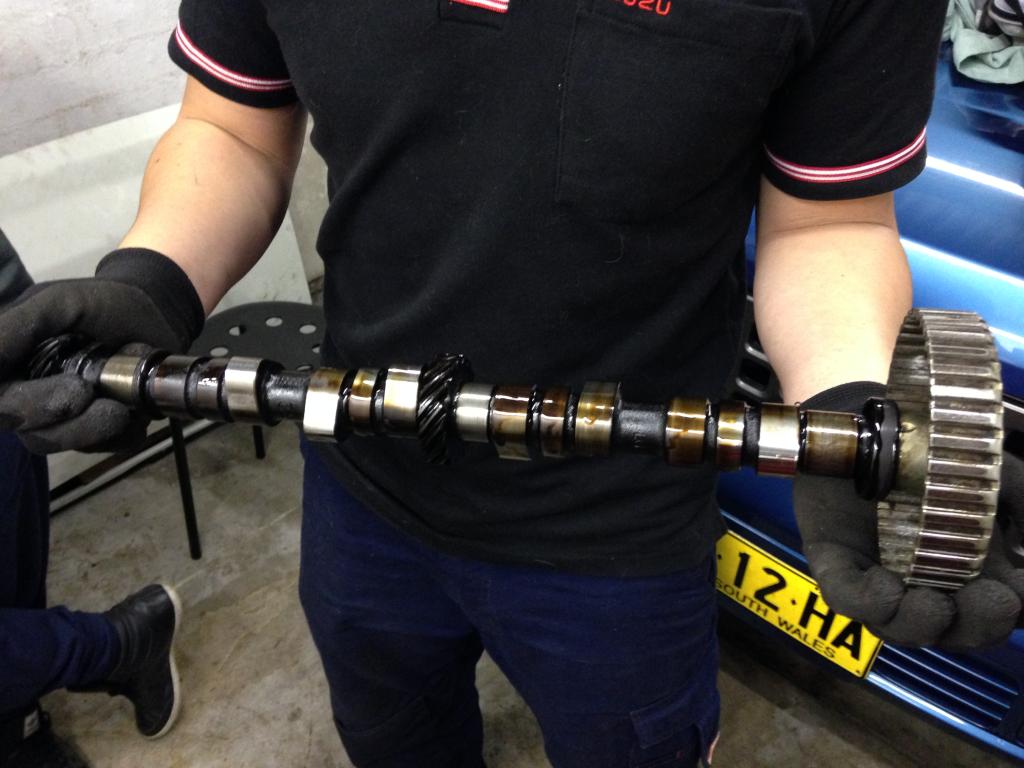
No problems with cam lobes.
Journals for the cam are spot on. Now we’re down to the valve assemblies.
This illustration relates to Honda B-series engines, but it’s near identical to the City Turbo. If you’ve never removed valves before this photo should help you to understand the procedure as outlined below.
I borrowed photos from another head rebuild thread to help explain. This is a close-up shot of the valve assembly. Those little half-circle ‘clips’ are the valve keepers. They jam in between the valve stem and the spring retainer so that the assembly works in unison. Those little keepers are what we need to remove in order to separate the assembly.
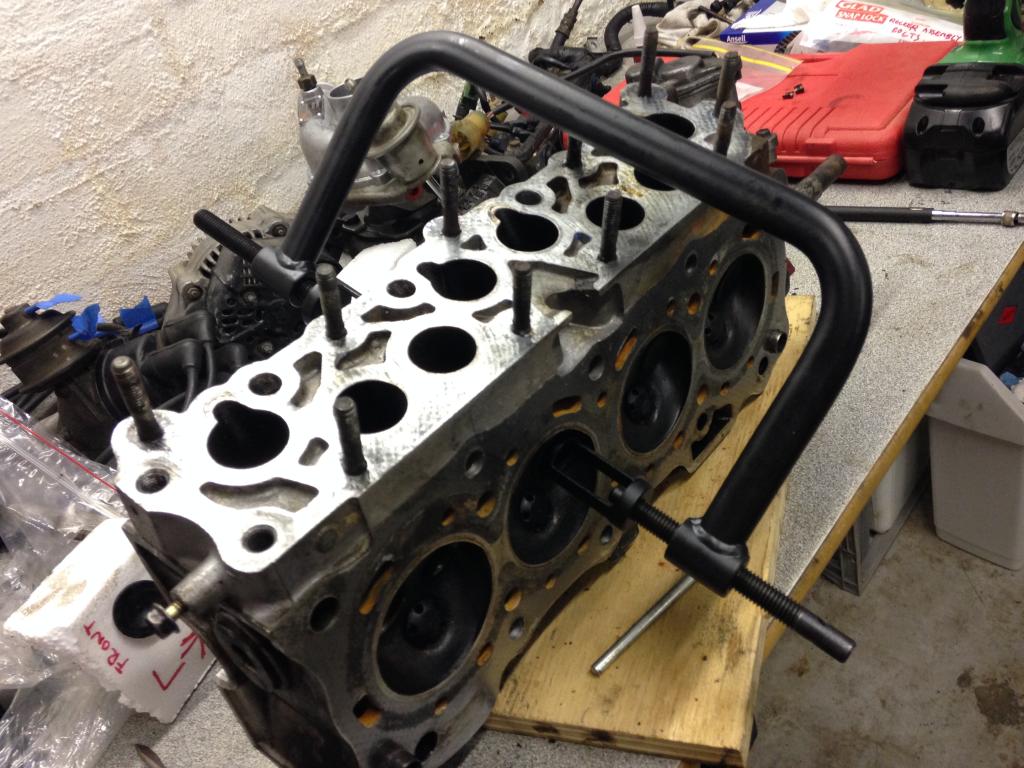
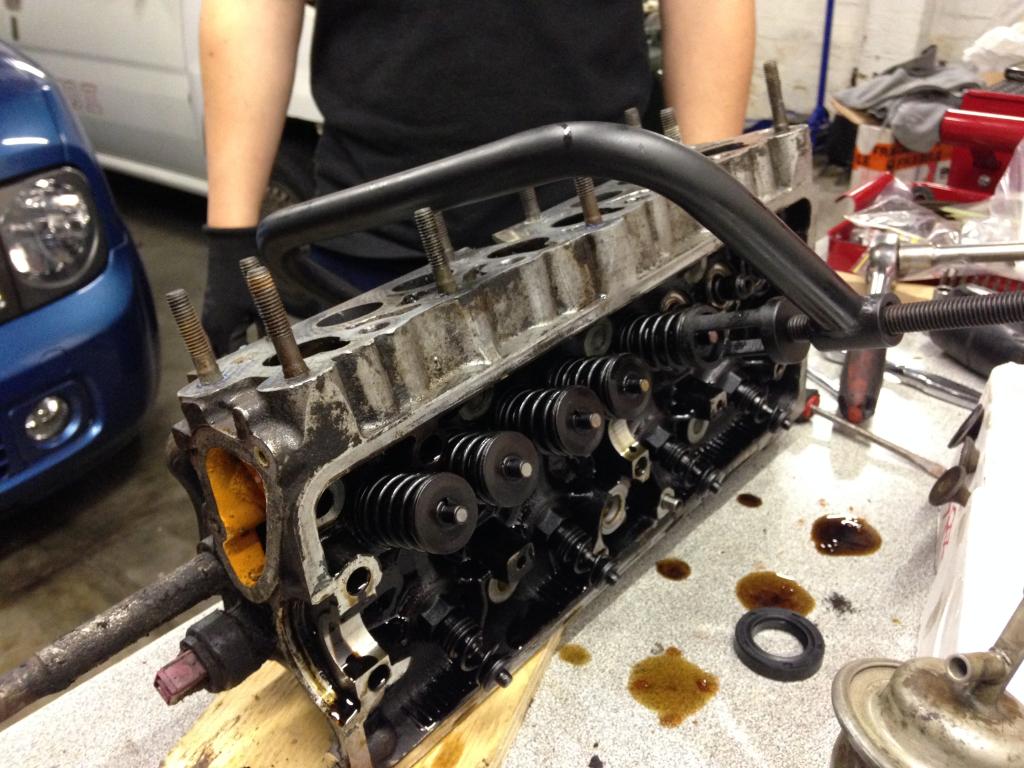
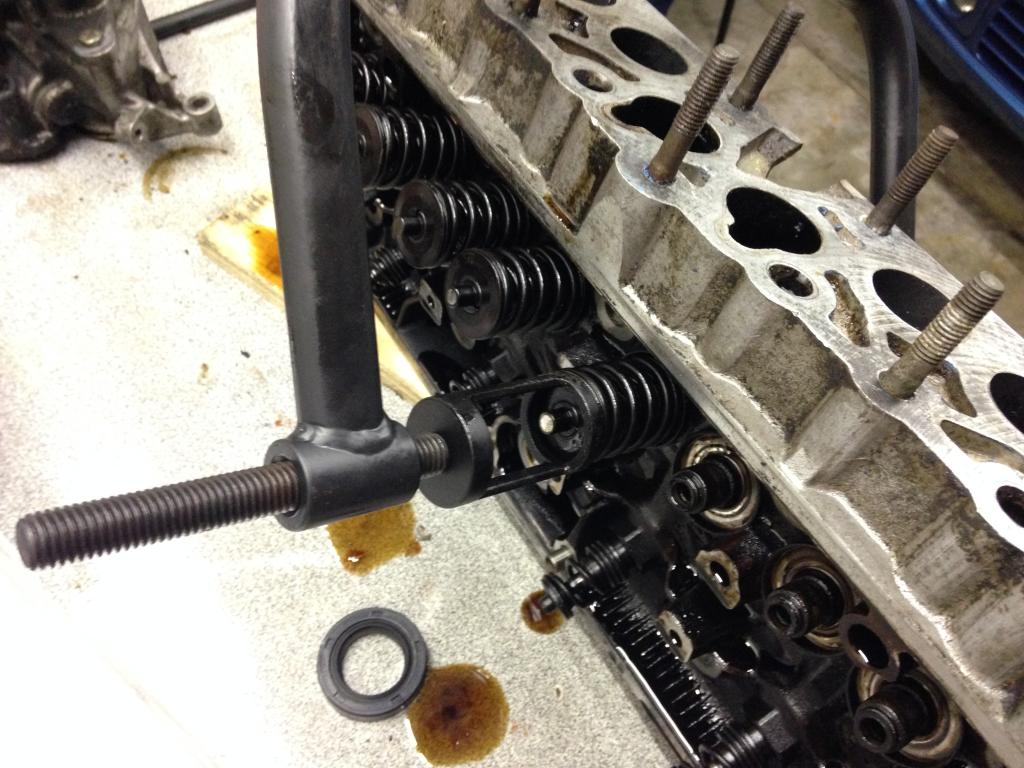
There’s a couple of different valve removal tools out there. If you’re gonna do this with the head out of the car, get one of these g-clamp style devices. With this type of tool you can wind the valve spring down and access the keepers before you release the spring tension. Obviously it’ll only work if you have the head on a bench so don’t buy this type if you want to do stem seals with the head still in the car.
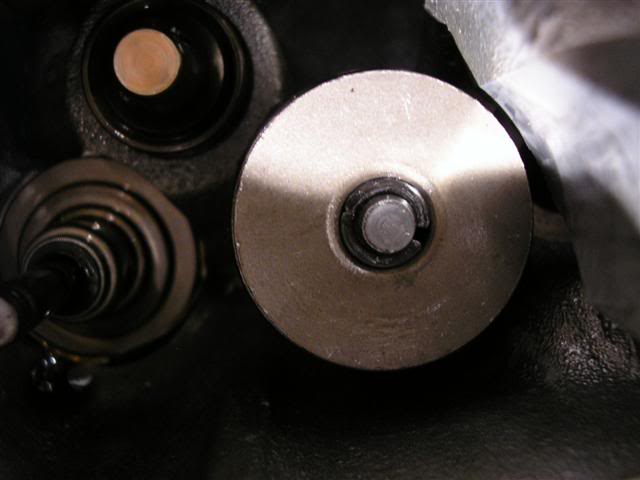
One side of the clamp sits on the spring retainer …
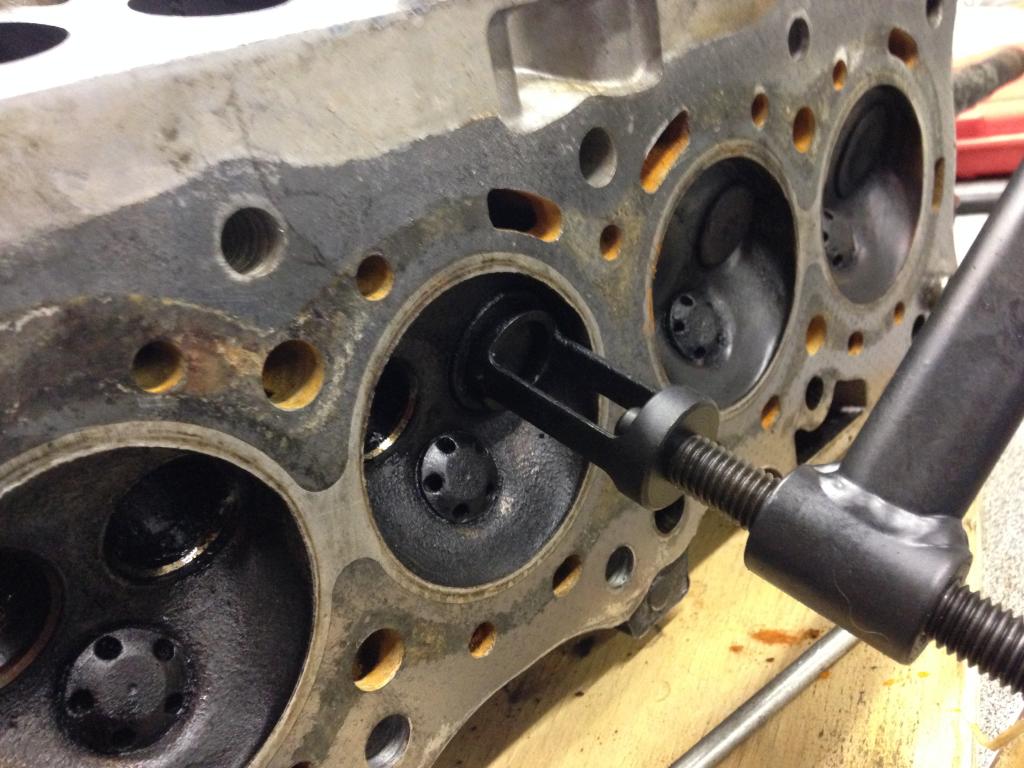
… while the other side sits on the face of the valve.
As you wind the clamp closed, the spring compresses and the valve keepers pop out. Use a telescopic magnet or a similar to catch them.
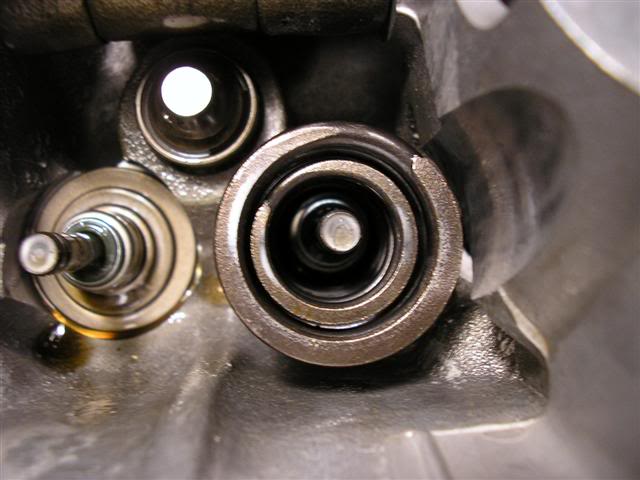
Here’s what it looks like with the keepers removed from the middle of the spring retainer.
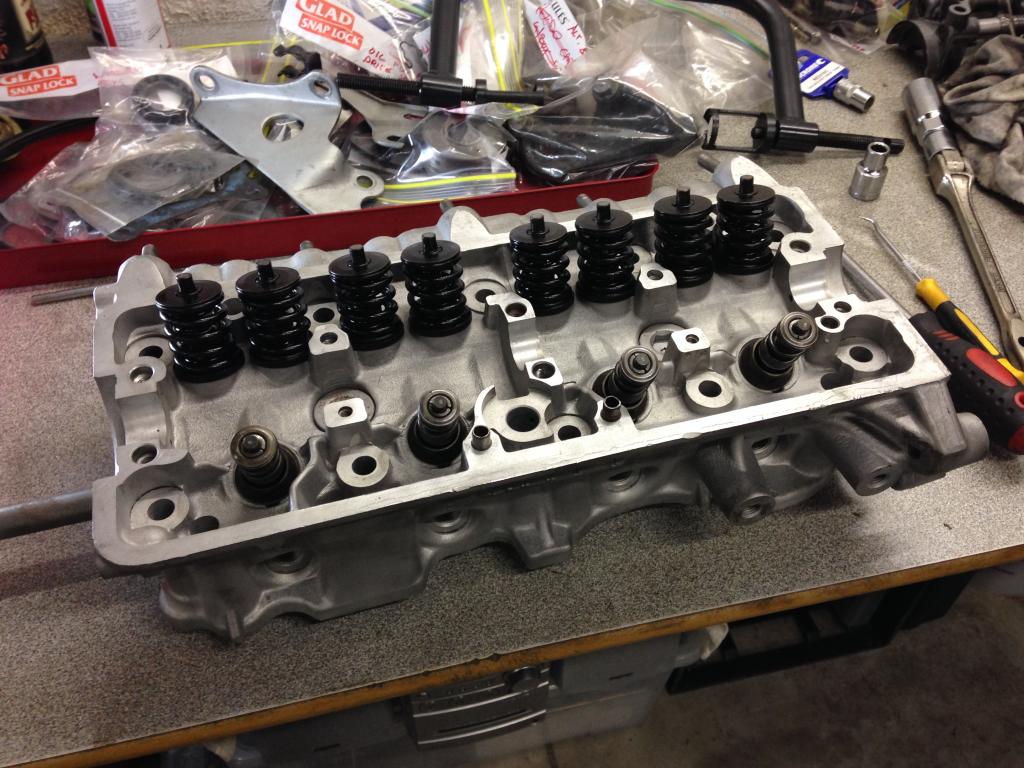
Take off the retainer and here are the springs (inner spring and outer spring).
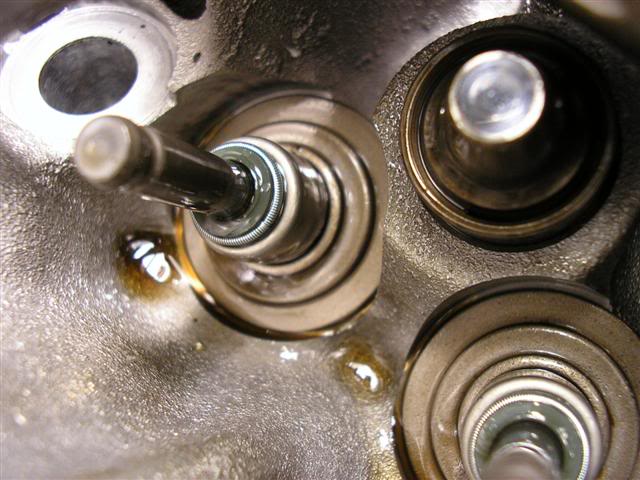
Slide off the springs and there’s your valve stem seal and the valve stem itself. Push down on the valve stem and pull the valve face from the combustion chamber side. The valve will slide through the valve guide and out of the head.
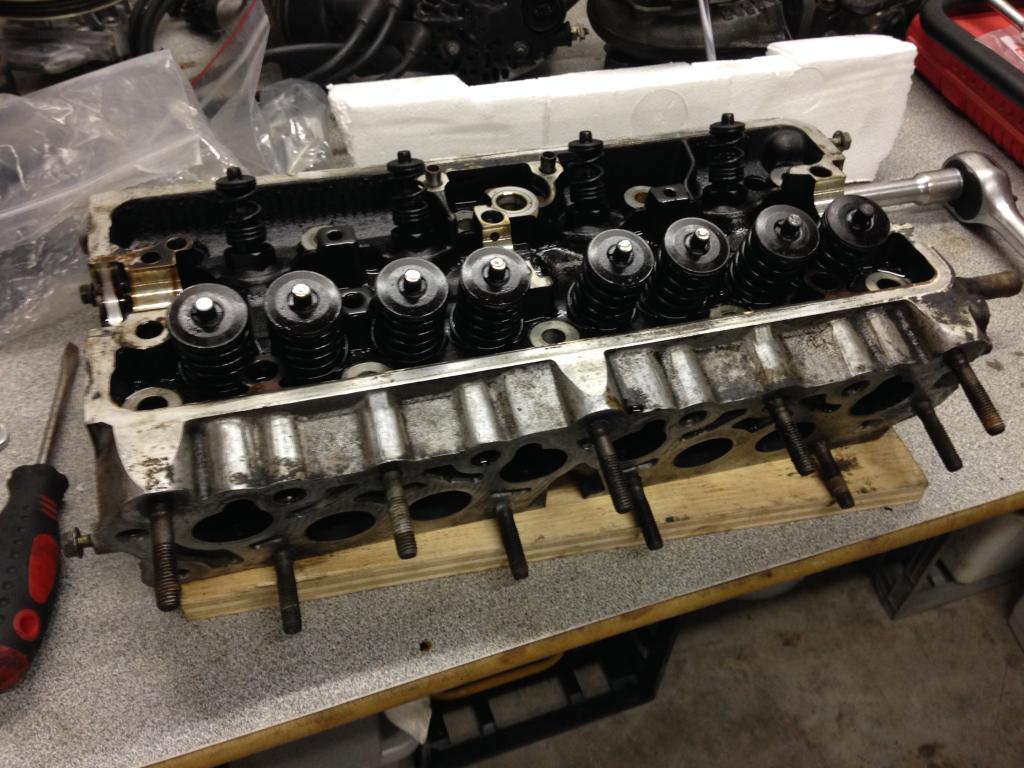
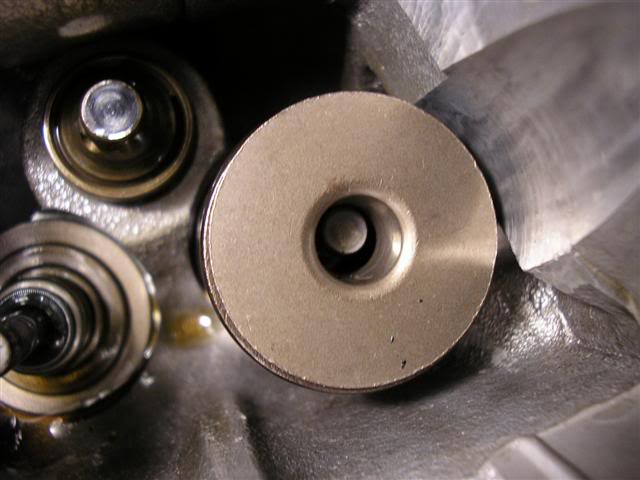
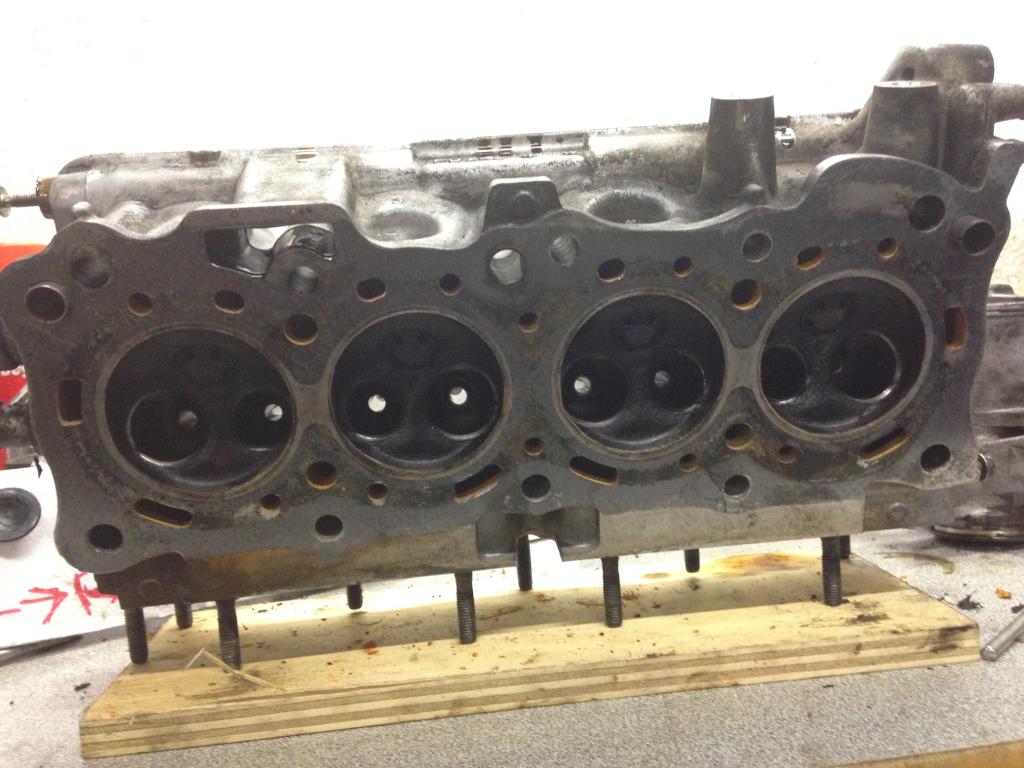
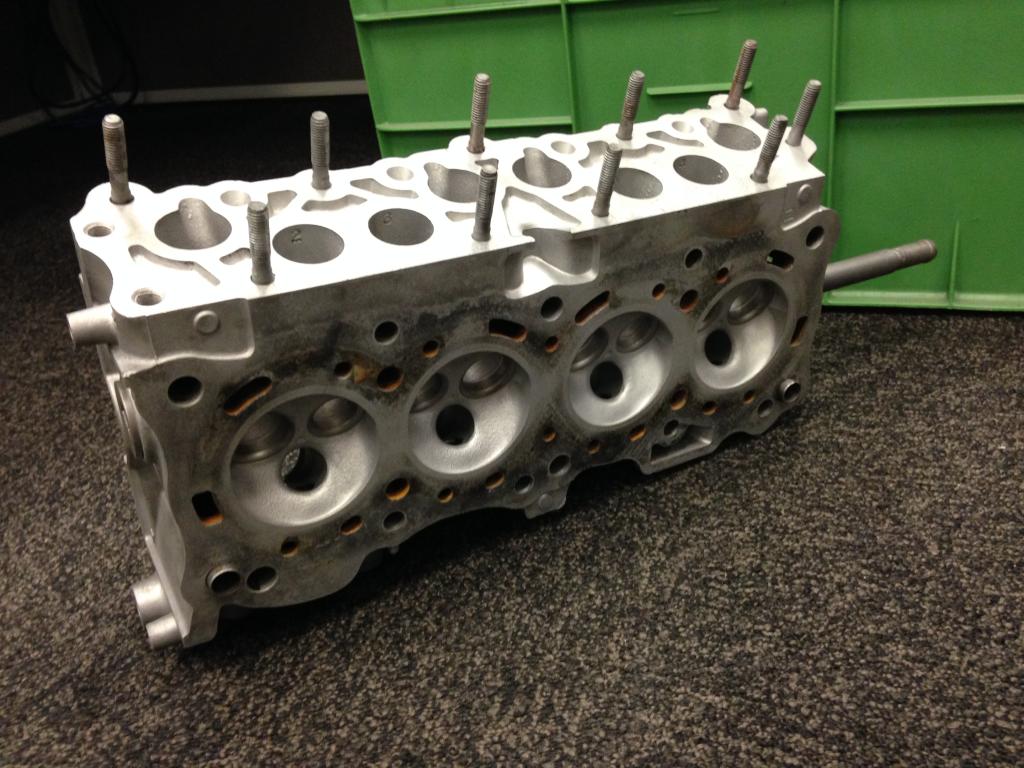
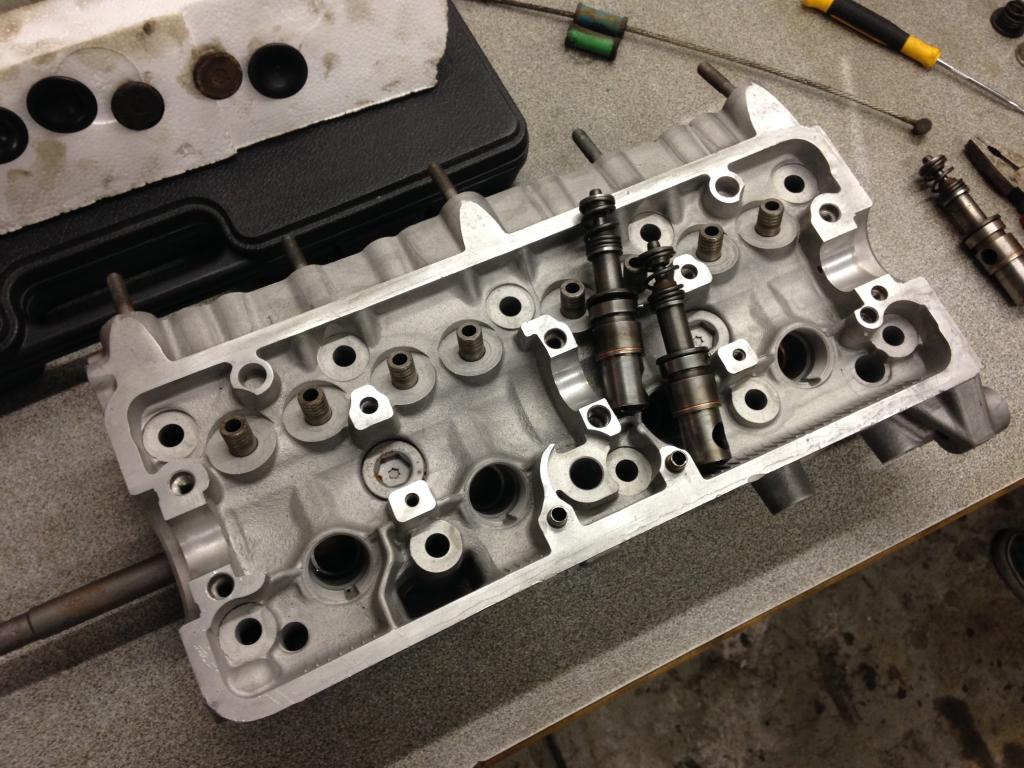
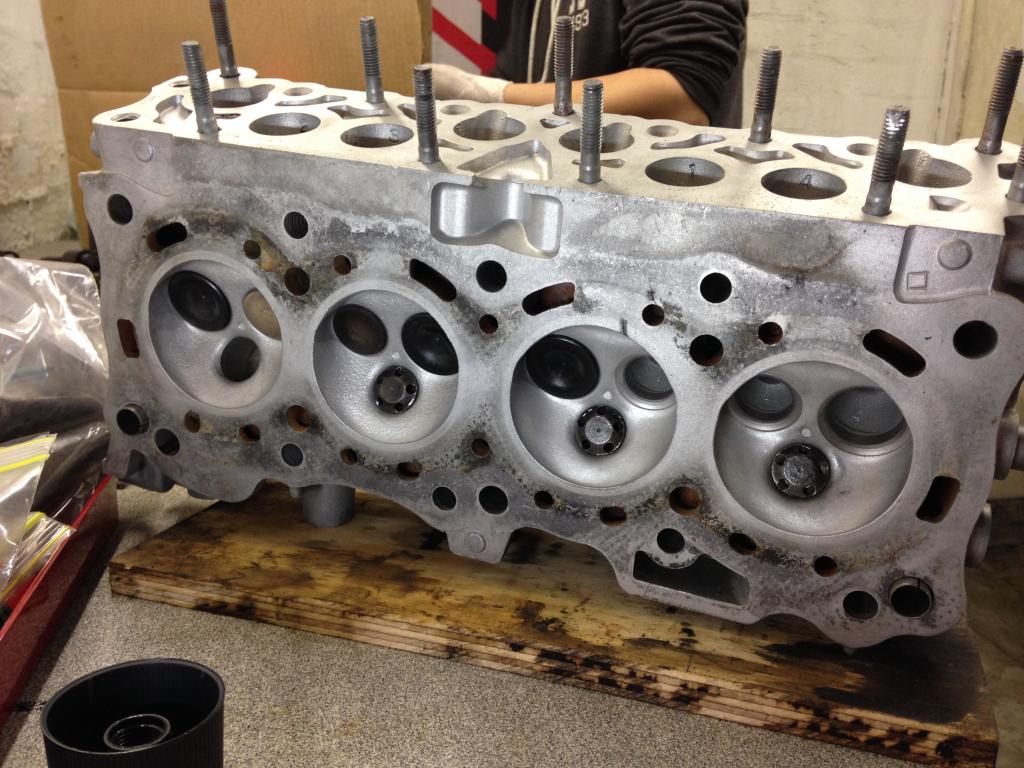
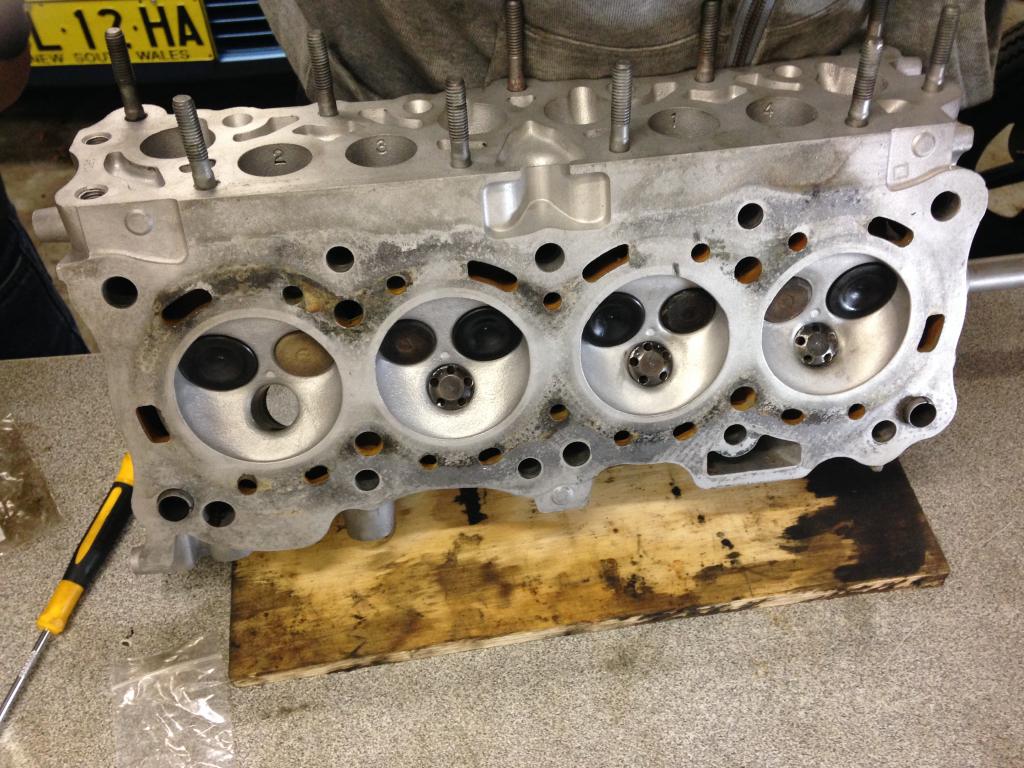
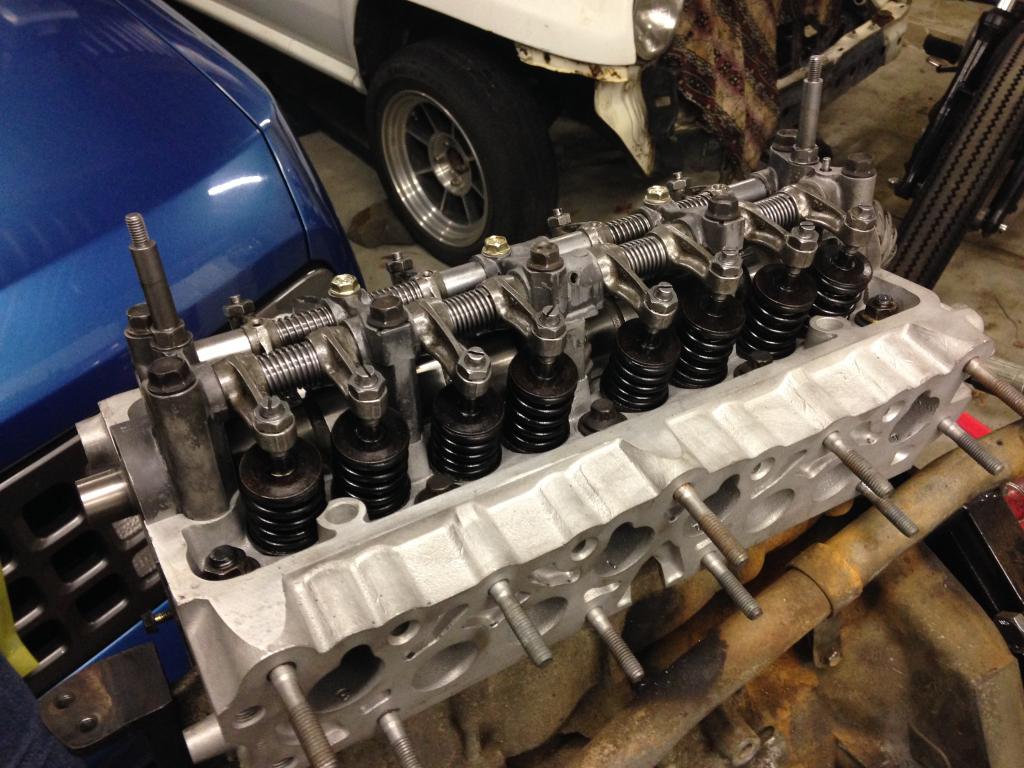
Eventually your head will look like this with all valves removed. Note that our City Turbo head has a third perforated ‘valve face’ in each chamber. There’s a better picture of one above. In actual fact that isn’t a valve face at all, it’s a fixed cup that doesn’t move. This is Honda’s CVCC system.
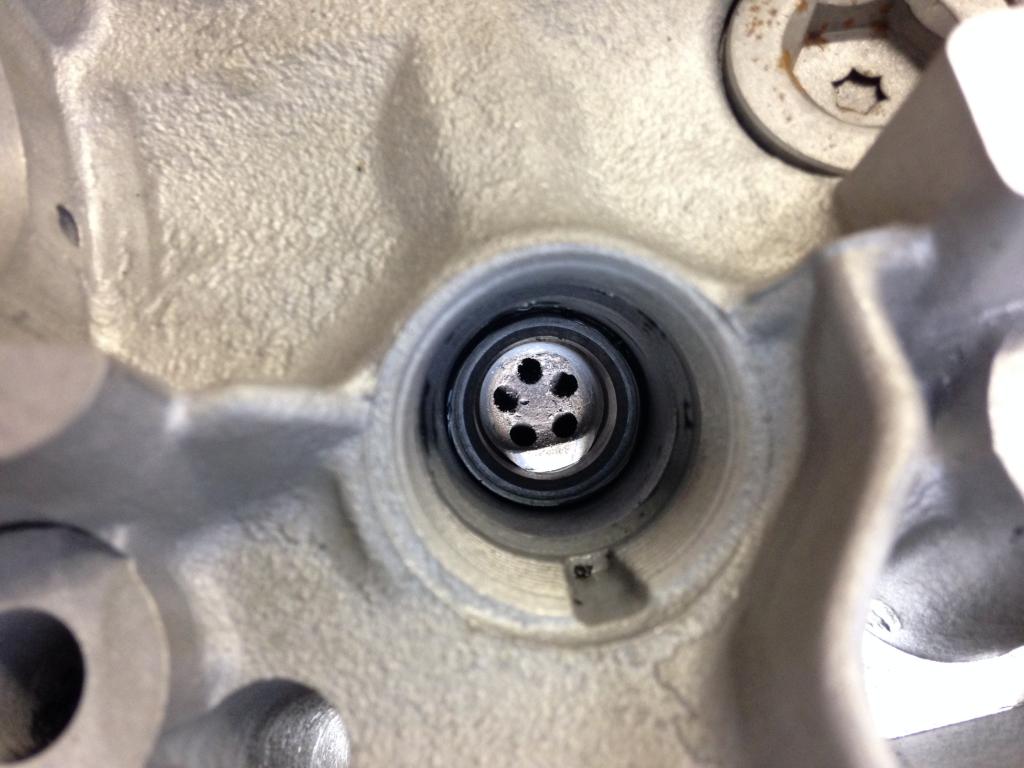
Honda CVCC engines have normal inlet and exhaust valves, plus an extra, smaller ‘CVCC’ inlet valve. There are three butterflies in the City Turbo throttle body, the smallest one houses a fifth injector that leads to a separate set of intake runners. These runners provide a relatively rich air–fuel mixture to a ‘prechamber’ under the CVCC valve. This chamber also houses the spark plug.
While this is happening, a leaner than normal air–fuel charge, not easily ignited by the spark plug alone, is drawn into the regular cylinder combustion chamber through the main inlet valve. The volume in the prechamber, near the spark plug, is contained by the small perforated cup. Upon ignition, flame fronts emerge from the perforations and ignite the remainder of the air–fuel charge.
This allows stable running, yet complete combustion of fuel, thus reducing carbon monoxide and hydrocarbon emissions. This method allows CVCC engines to burn less fuel more efficiently without the use of an exhaust gas recirculation valve or a catalytic convertor, although ours is late-model CVCC-II motor with a cat converter added to further reduce emissions.
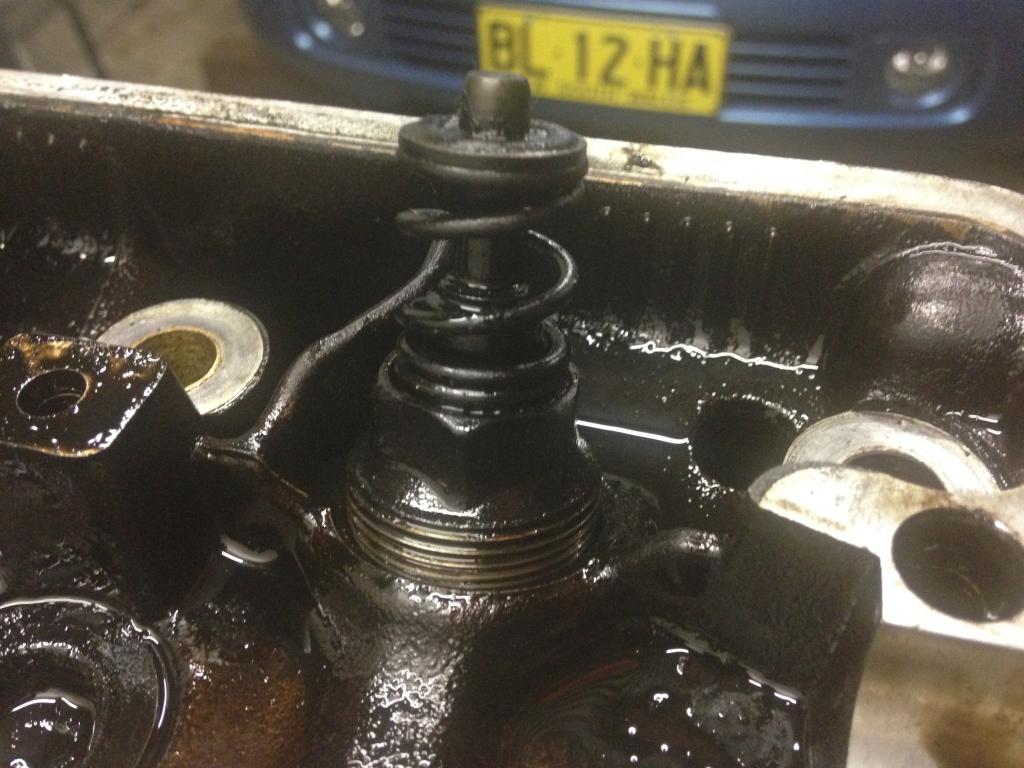
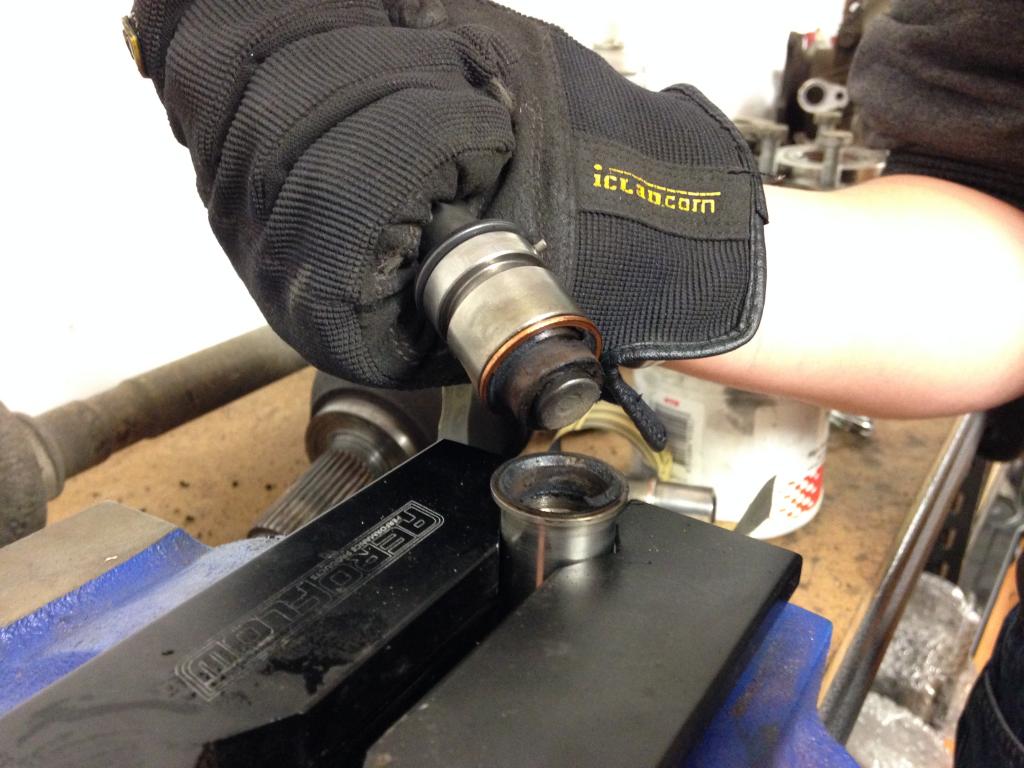
So, we have new stem seals for these little CVCC valves as well. To remove them we can’t use the clamp tool as there’s no access to the valve face. There’s a threaded nut locking them down which we can remove, but the rest of the process is delicate. We’ll cover that when we get to it another day.
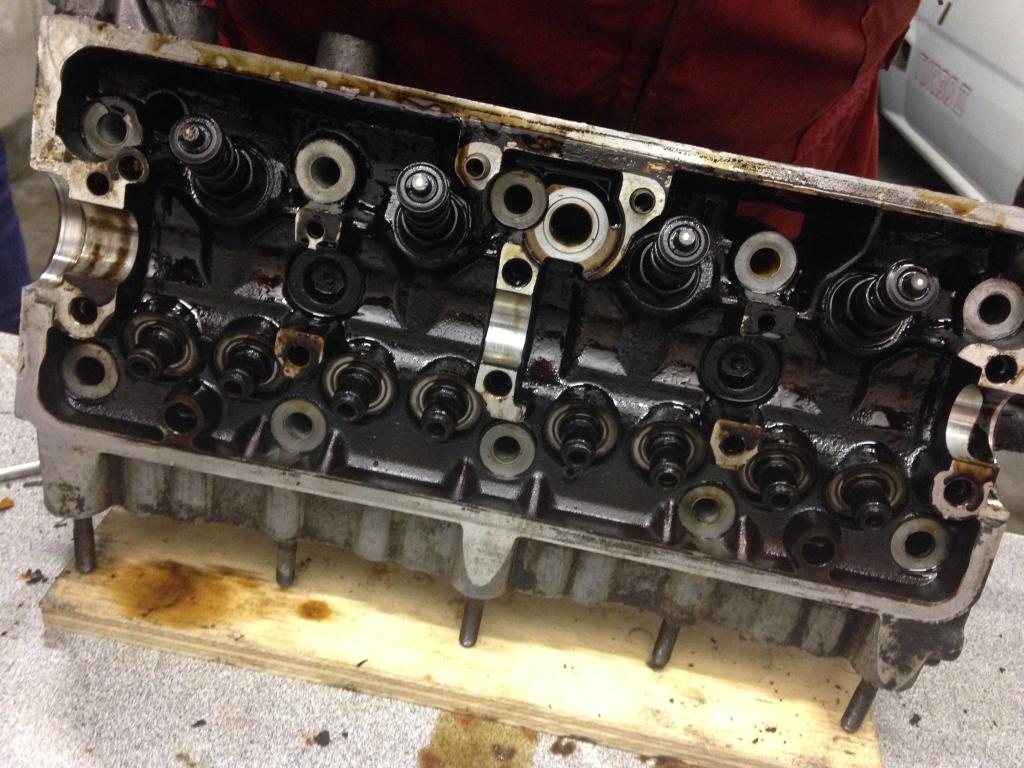
Stem seals all exposed and ready to be removed.
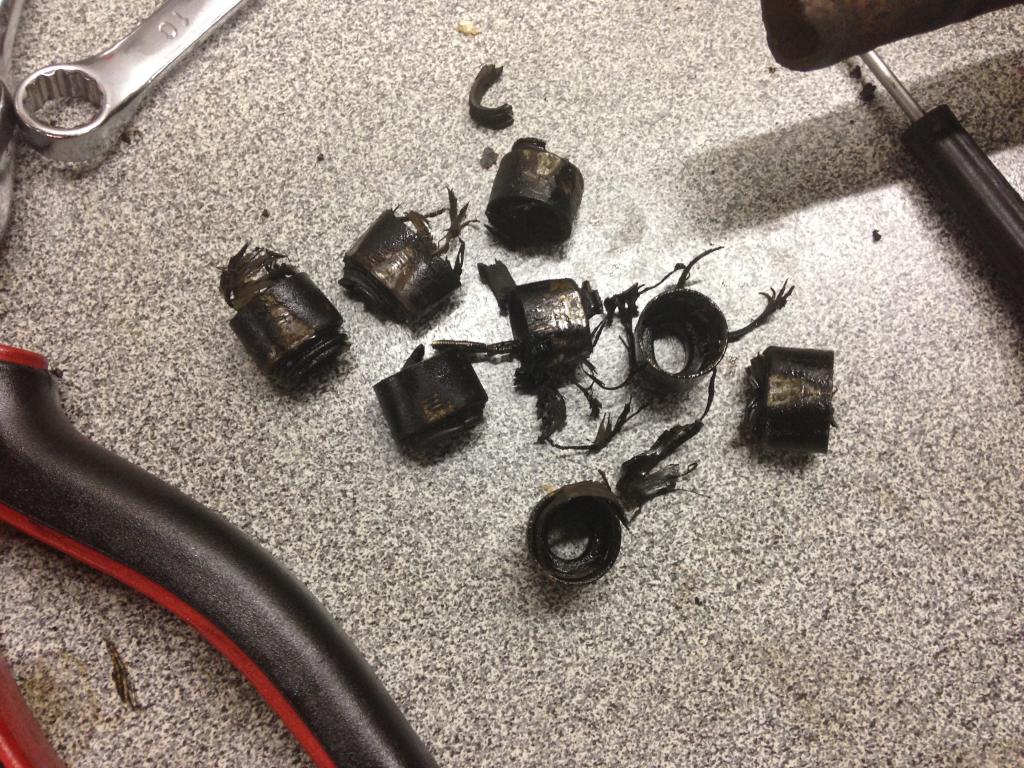
A set of pliers had to do in the absence of a proper stem seal removal tool .
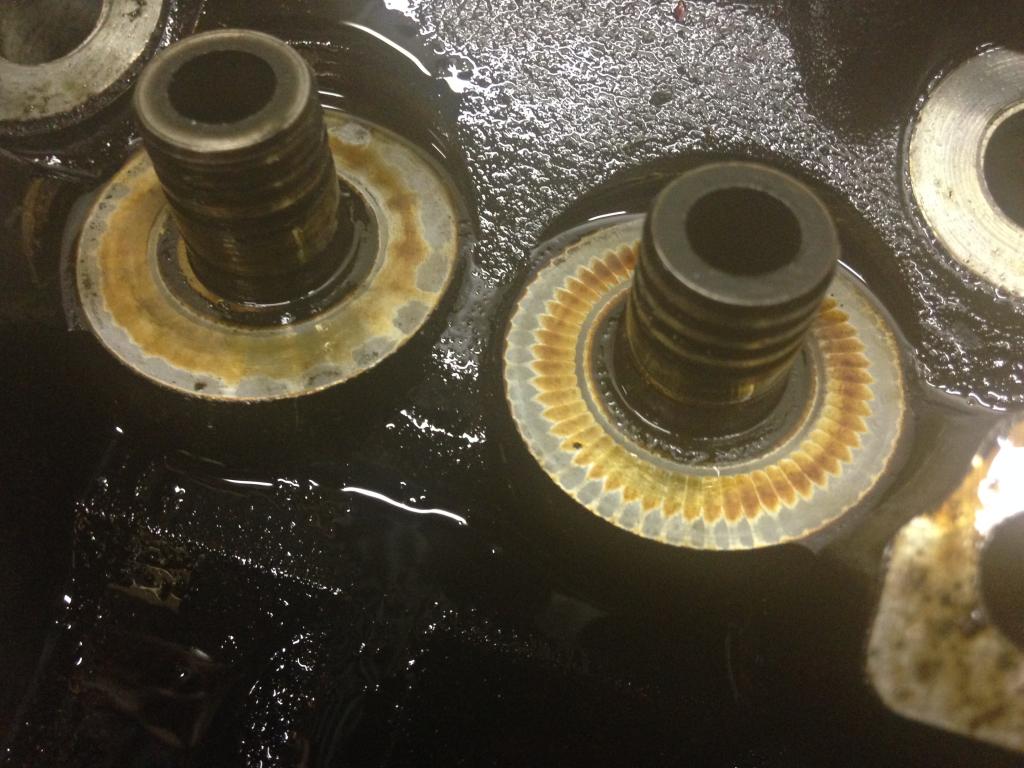
Close up of the naked valve guides waiting for new seals. Thankfully they’re in great condition, no rattling of valves in guides at all. Every second spring seat has left a pattern like this one, but the ones with the pattern aren’t all exhaust or all intake so that’s interesting.
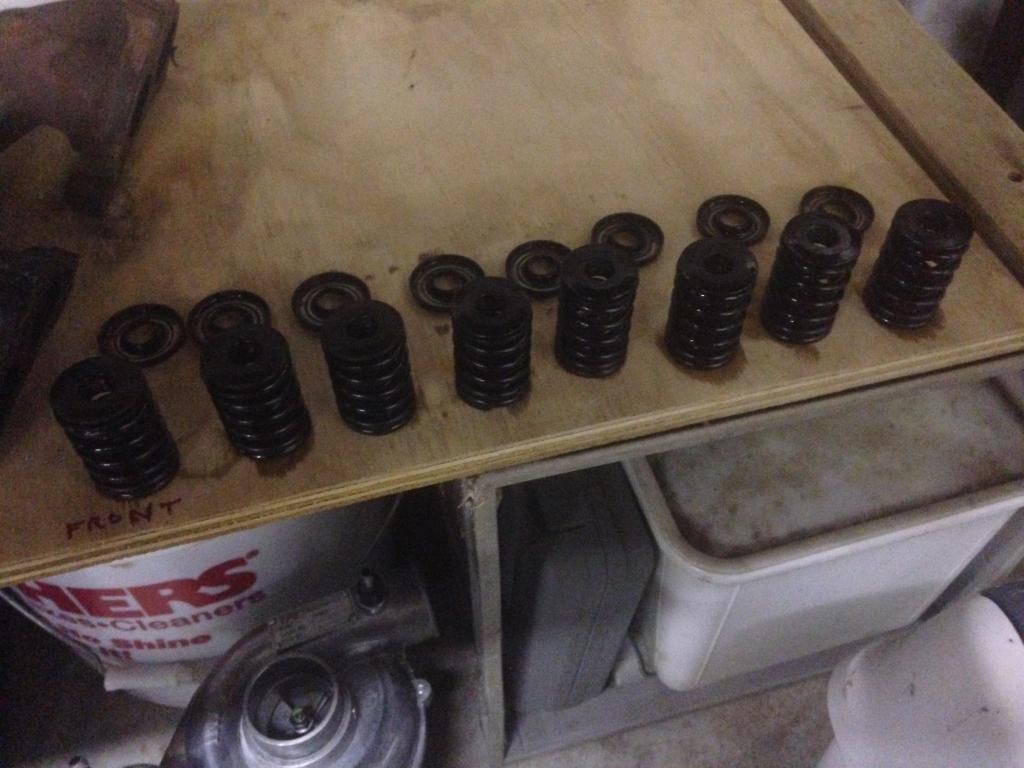
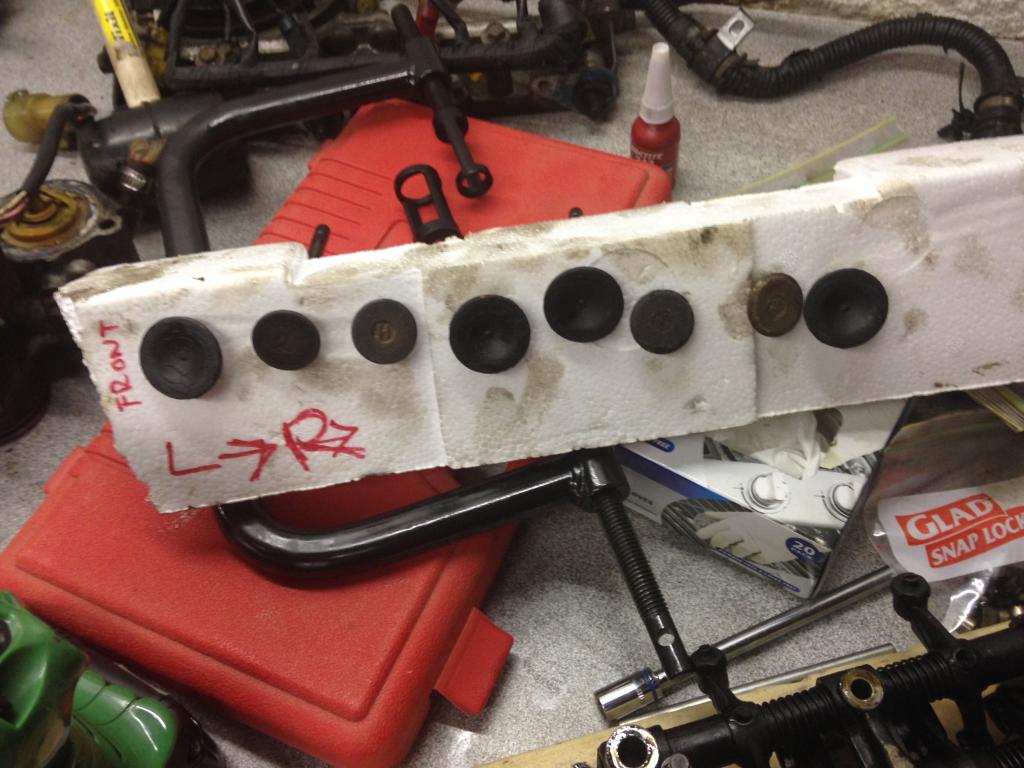
Here are our spring seats, springs and retainers awaiting clean up.
And our valves which will get a once over.
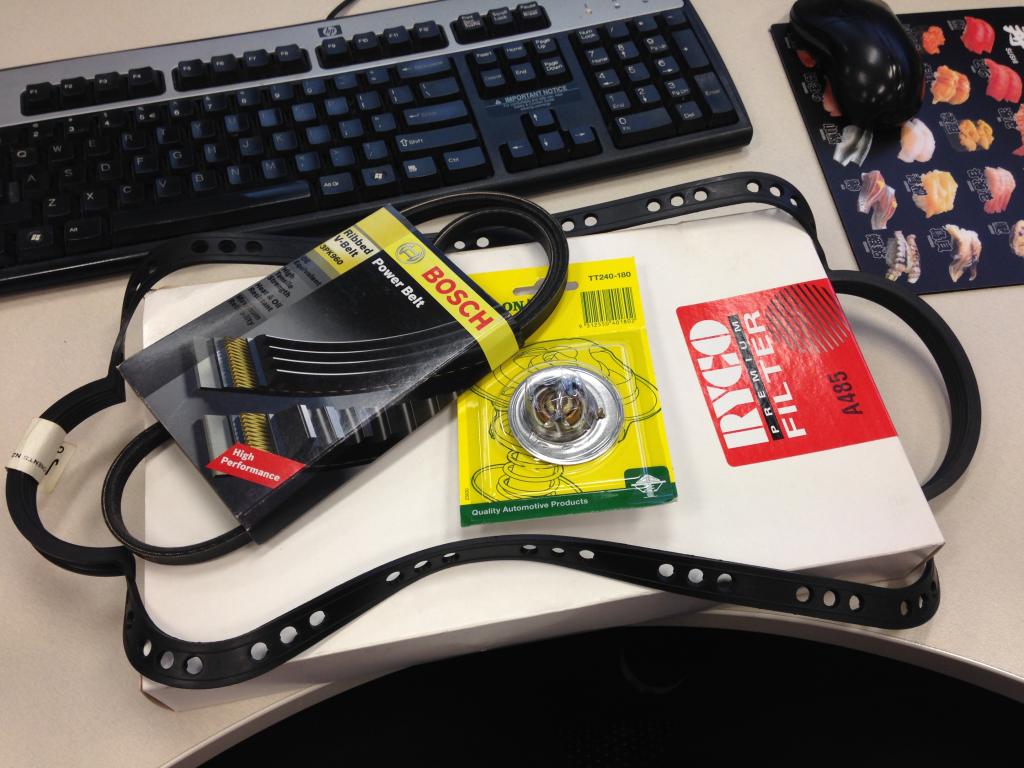
Overnight parts from New Zealand: air filter, thermostat, sump gasket and alternator belt.
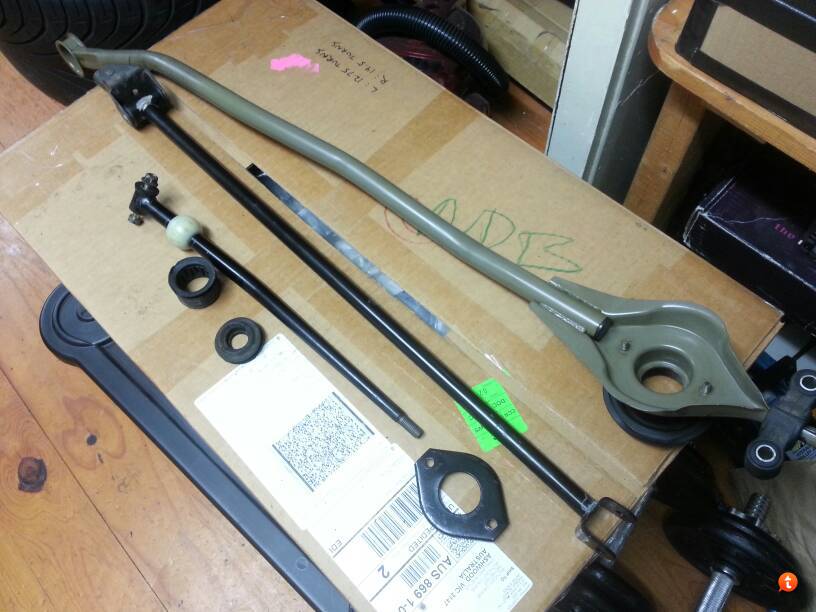
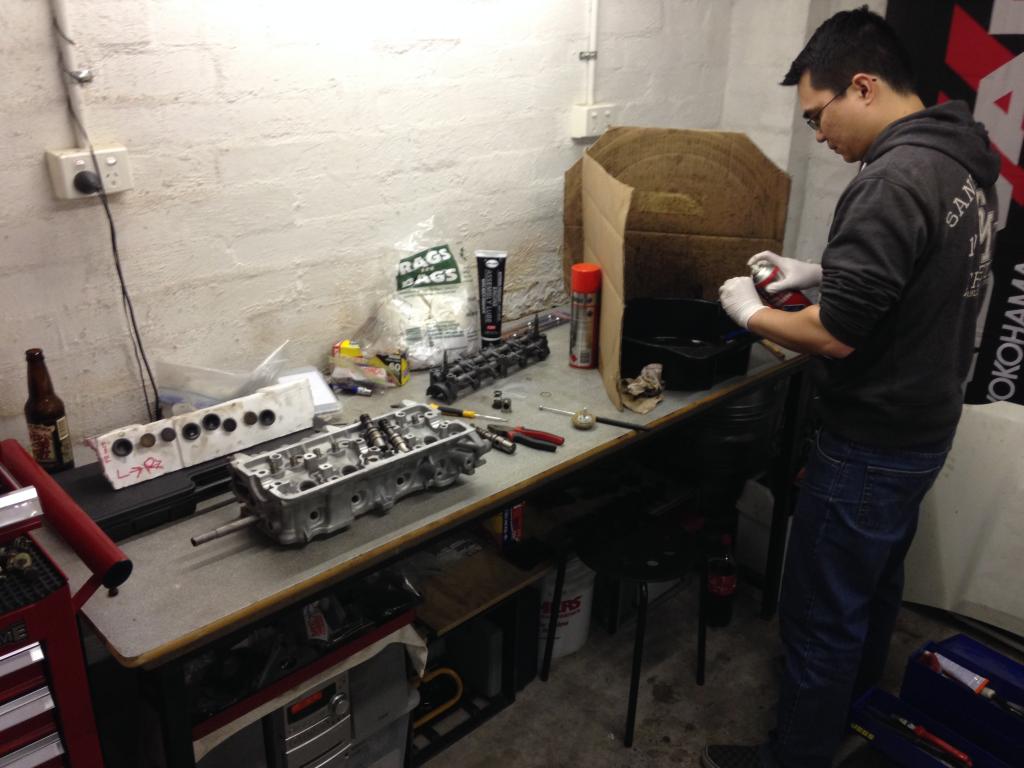
The other bloke rebuilding this car with me is a stickler for cleanliness. He loves to make dirty things look clean again.
Here’s a before photo of …
… the green bar on the right, which braces the shifter to the gearbox. Good as new.
And we’re back! Head, rocker assembly, camshaft and CVCC valves arrived at work.
Apparently this was a real prick of a job. For the bargain price we paid, I couldn’t be happier.
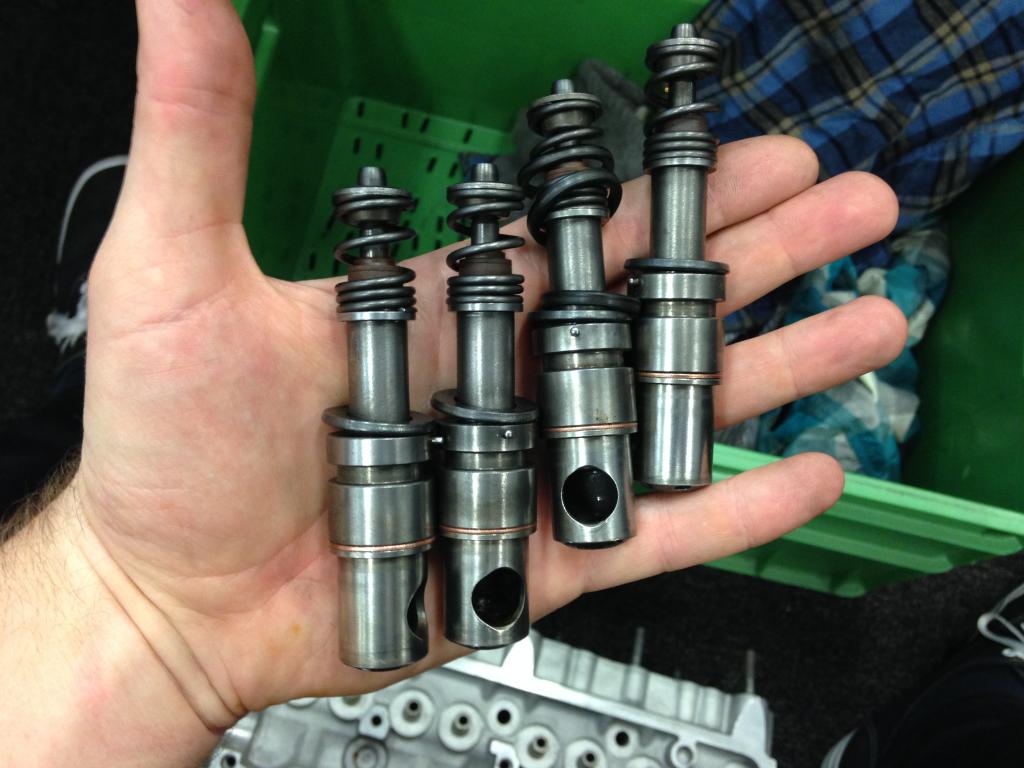
Best thing about it is that old mate removed the CVCC valves for us. We’ll get the valve stem seals swapped and fit these assemblies with new o-rings and copper washers ASAP!
The time lapse video below isn’t as action packed as I’d hoped, especially because the GoPro ran out of battery right as we started torquing the head studs. Still, check it out.
Started out with the clean, bare head.
We hadn’t been able to remove the CVCC valves before it went to be cleaned so we had to fit new seals and washers to them before we could start rebuilding.
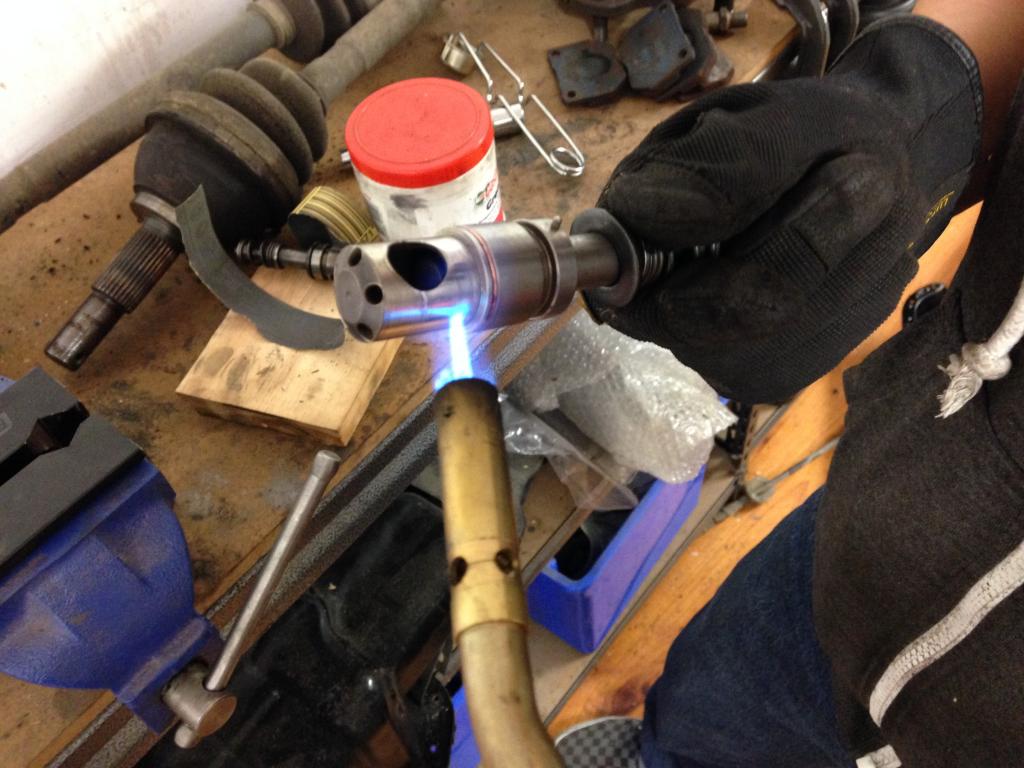
That required fire.
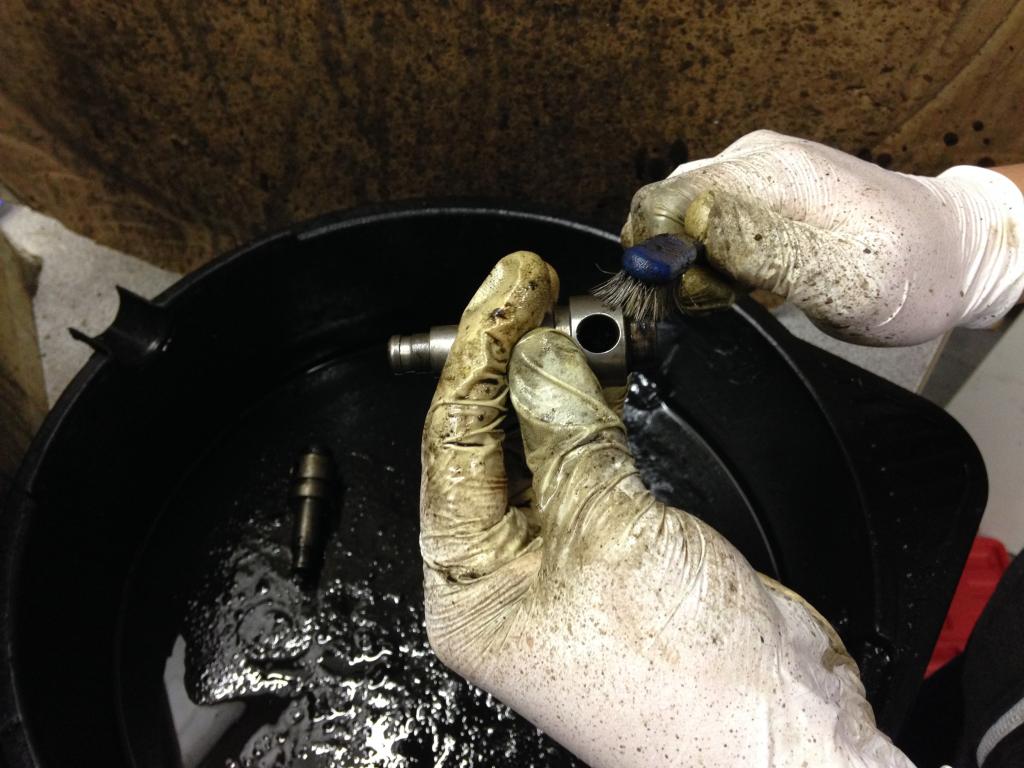
There was so much built up carbon that we couldn’t separate the perforated cups at my place. We made a trip to Tony’s and used his propane torch.
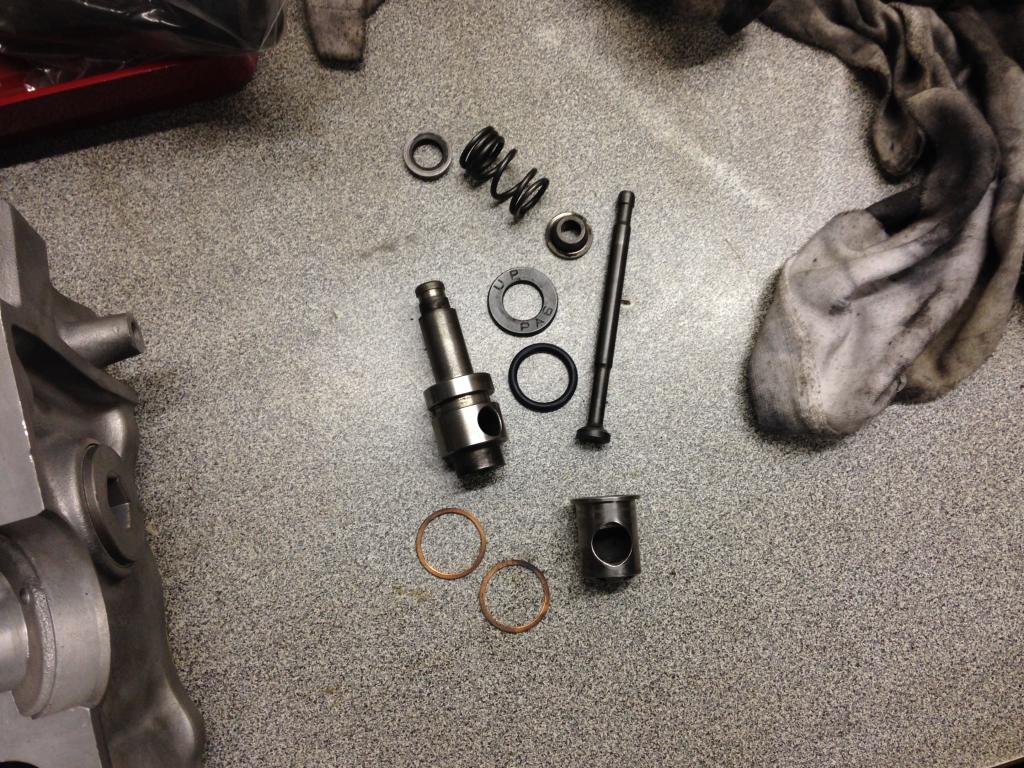
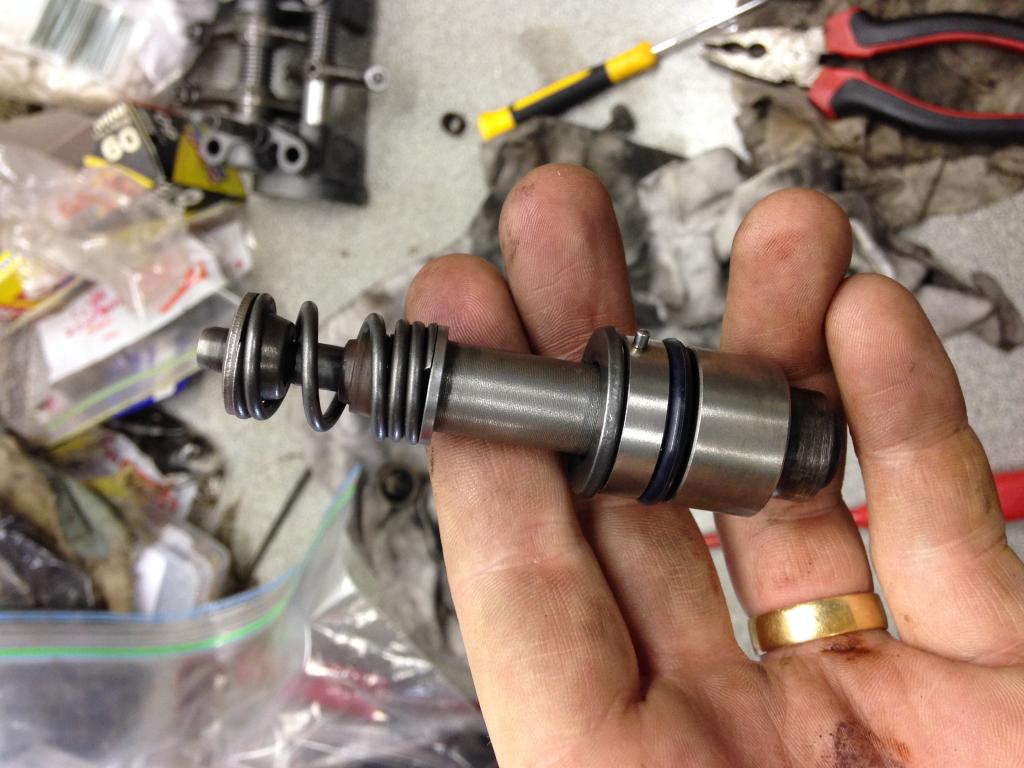
Here’s one CVCC valve dismantled and cleaned, add a new valve stem and the valve keepers to this and you’re ready to reassemble.
Here’s a finished one with new rubber o-ring.
A new copper washer goes into the head, then the perforated cup which has to be aligned so that the hole for the spark plug lines up. This is looking down from the top of the head. Another copper washer goes on top of the cup, then that assembled valve above goes on top of that and gets locked in by a special collar nut.
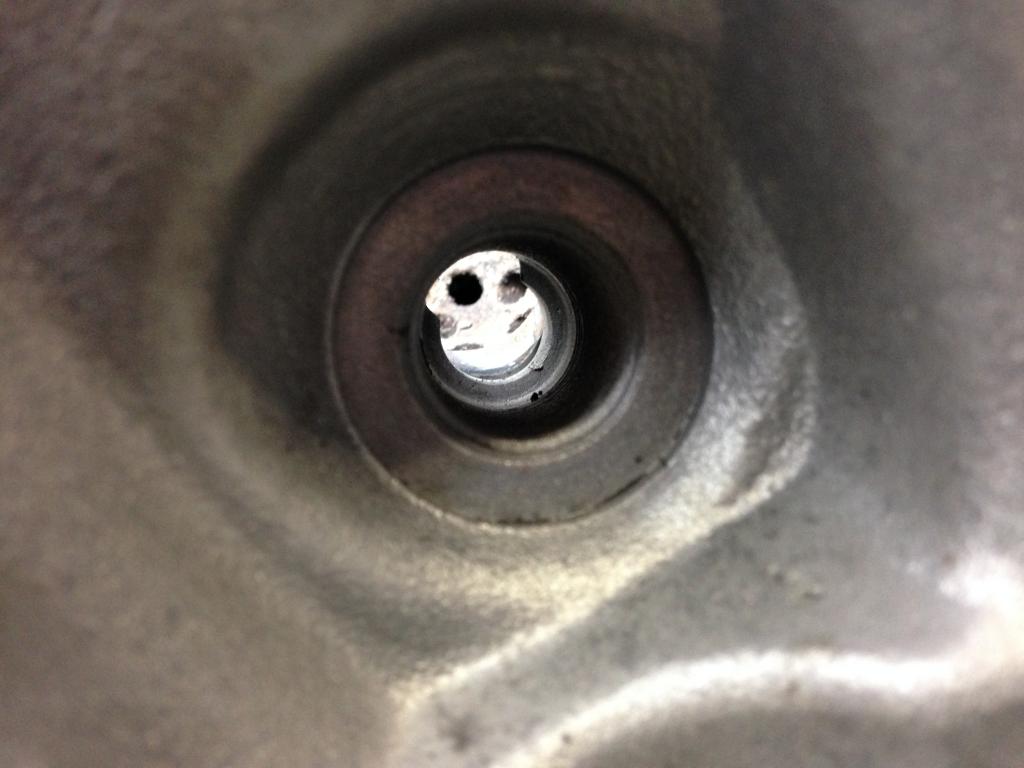
This is a close up from the side of the head where the spark plug threads in looking into that perforated cup.
While the CVCC bits got a clean up I started on the regular valves.
Spring seats go first, then new valve stem seals.
I used a little bit of assembly lube on each valve stem and slid them in.
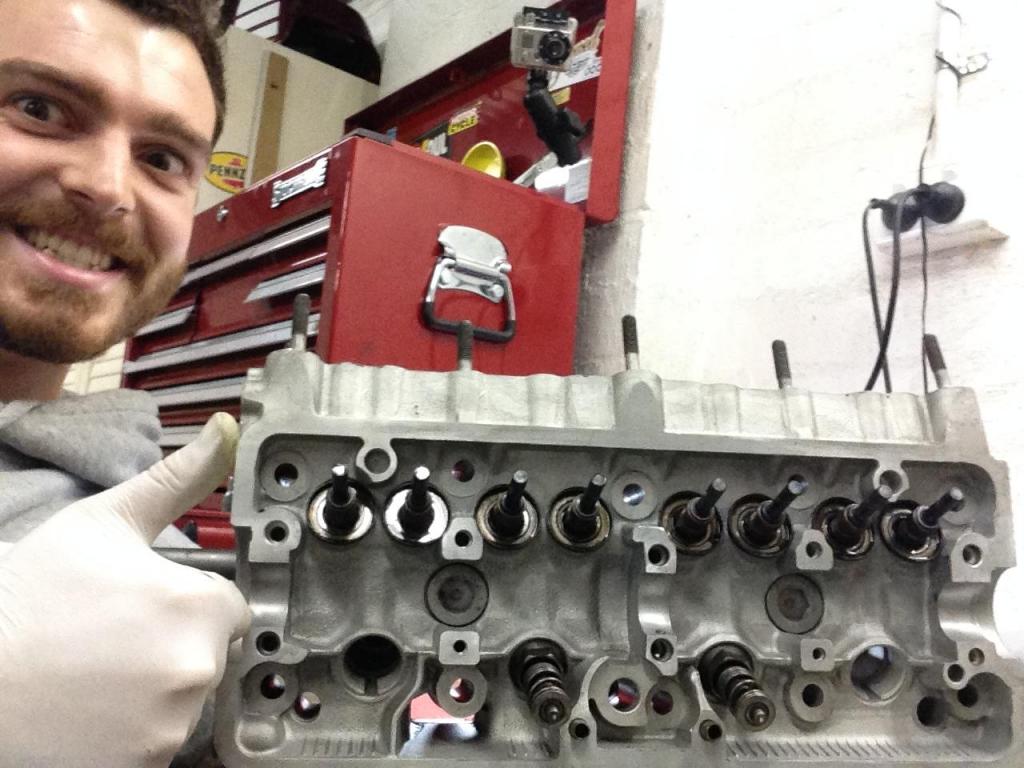
View from the top.
I was really loving this. We’ve been waiting for this stage for what feels like ages!
All done. Now for the springs and retainers.
Using the valve tool this didn’t take long at all. Wind the spring down, insert the keepers and let the tension off the spring. You can see this process fairly well in the video.
Camshaft next!
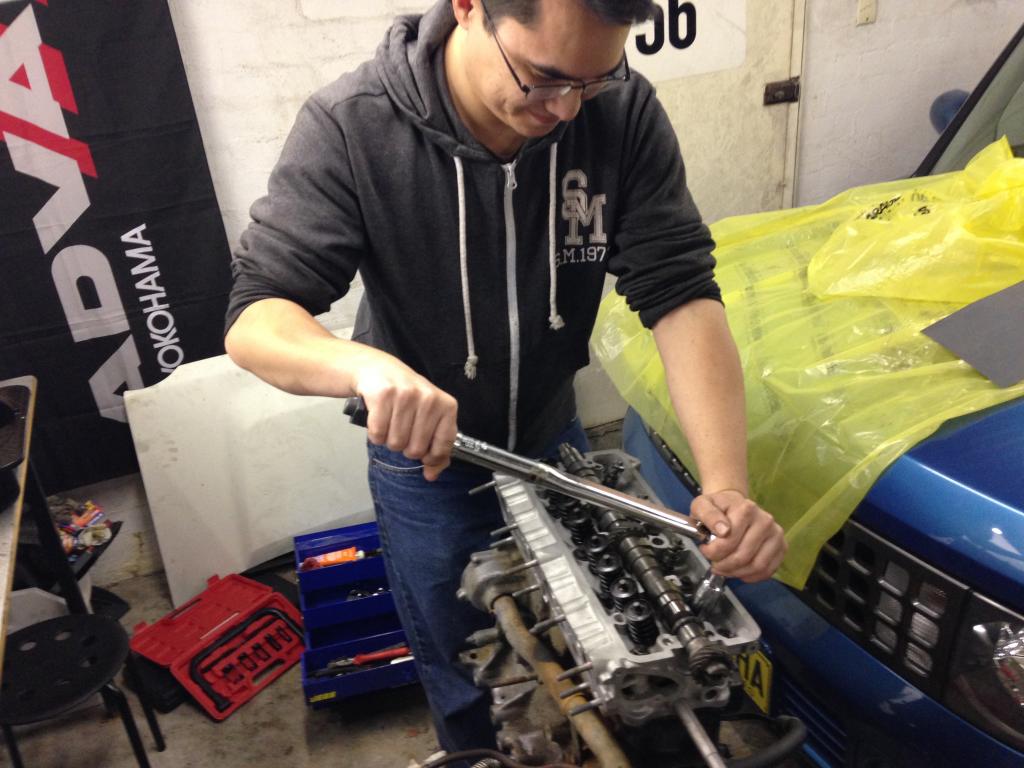
And we’re ready to torque the head down onto the block with our new head gasket in between.
Head bolts done, now onto the CVCC collar nuts.
Clean rocker assembly lubed up and ready to go.
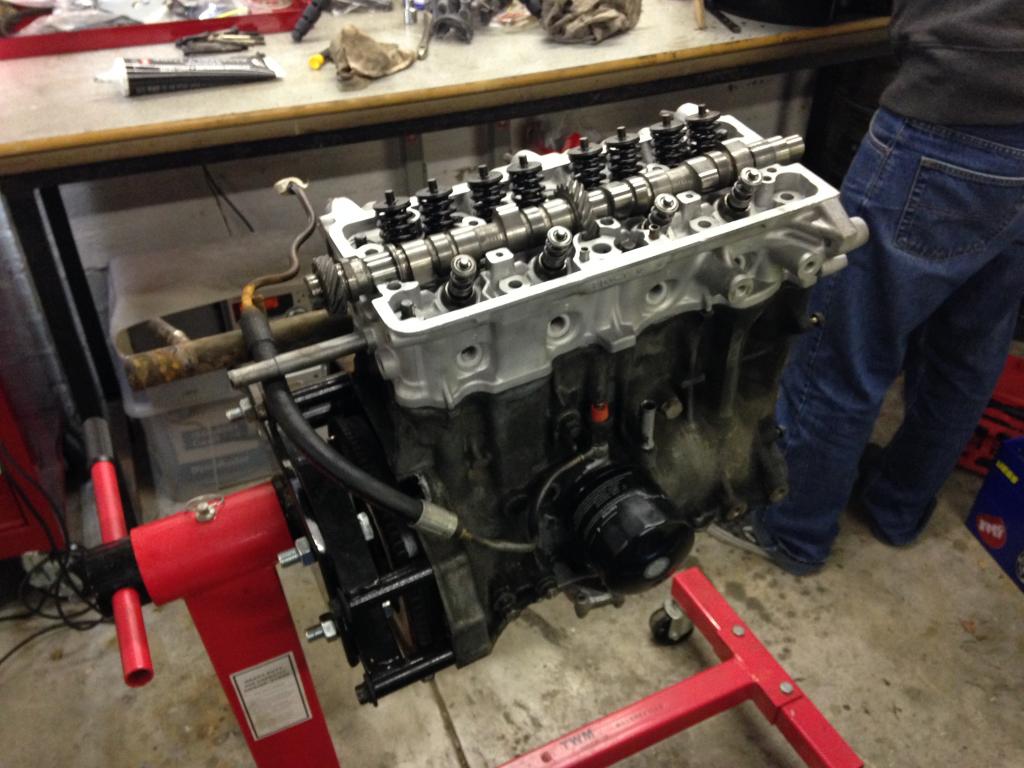
Rocker assembly torqued! Oil pump drive fitted as well.
Big milestone here.
Covered it up with the valve cover but we’ll get back in there to adjust the valve lash before we fire it up.
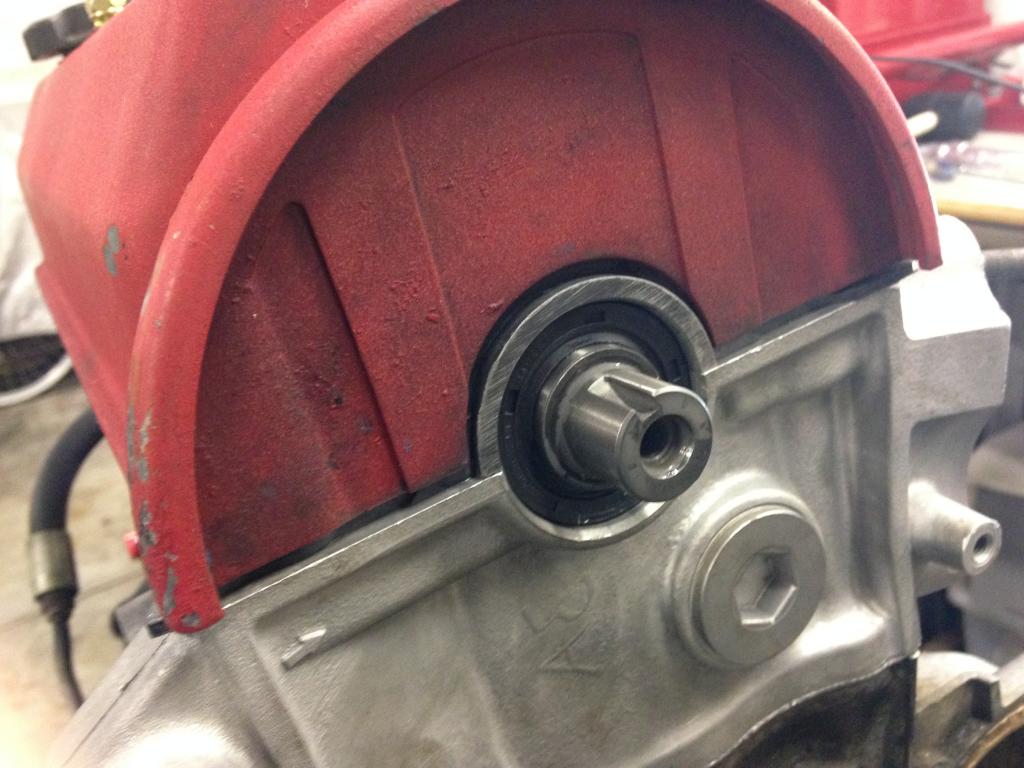
Knocked in a new cam seal to finish off for the night.
I’ll skip to the chase and show you where we got to in the end. We adjusted valve lash, replaced the crank seal and rear main seal, installed the water pump, timing belt, tensioner and covers, fitted the thermostat, manifolds, fuel rail, throttle body and turbo. We’re not far off now. We rigged up the GoPro again but it ran out of battery very early on.
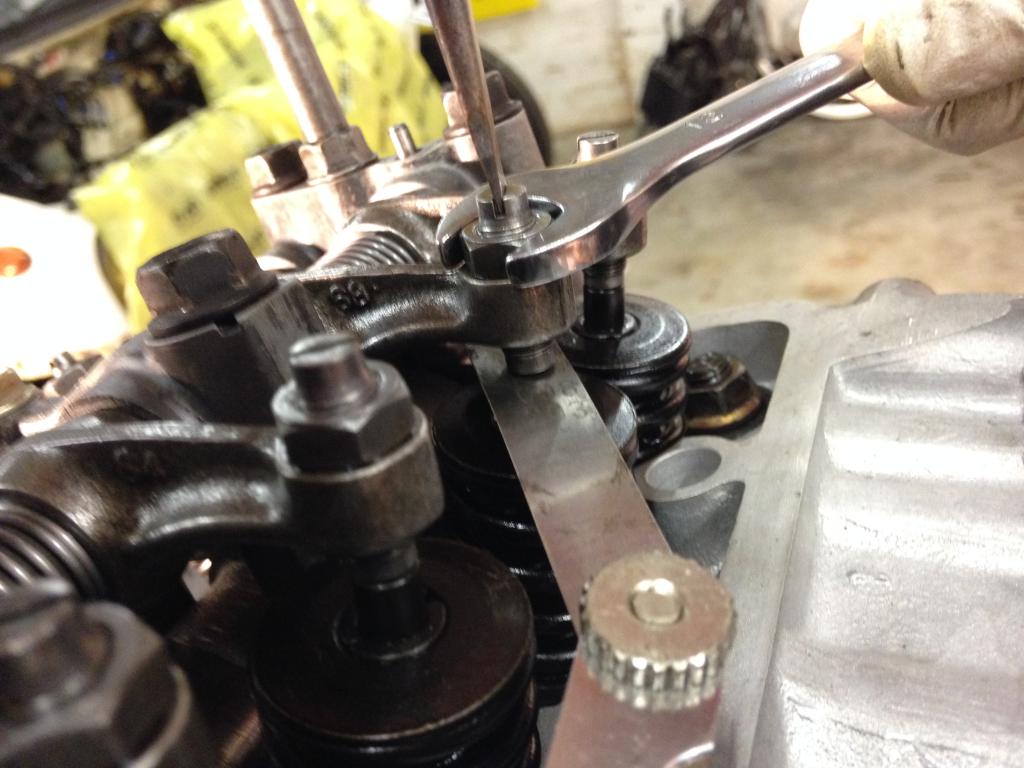
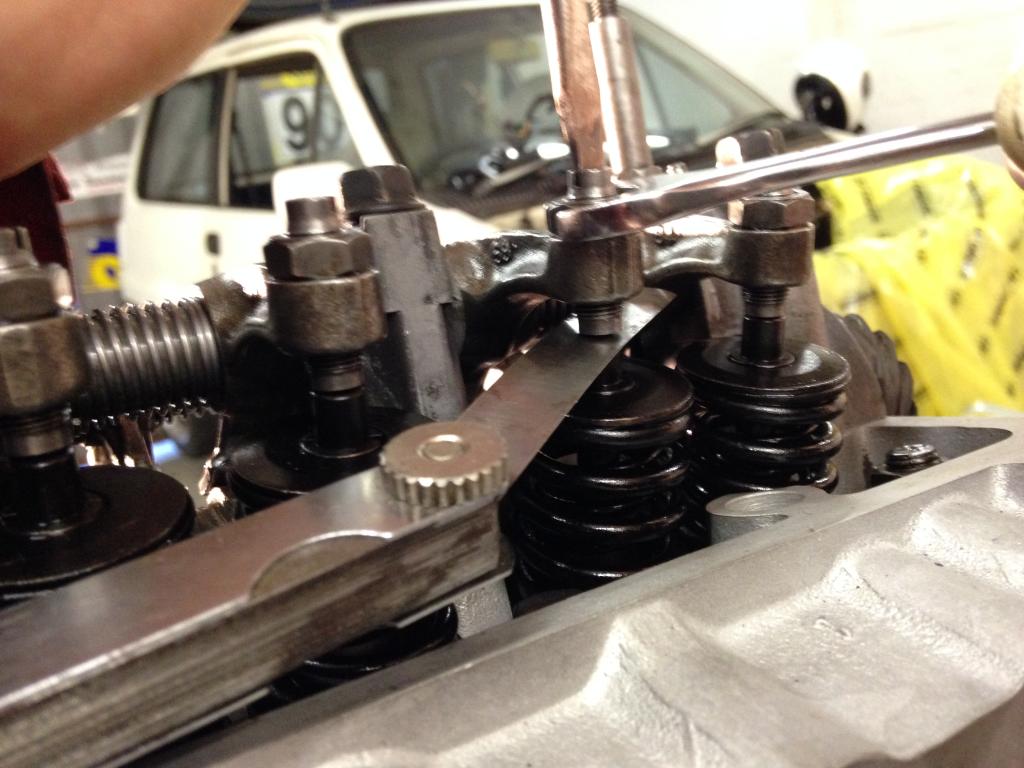
What we did get is a boring video showing not much of the valve adjustment process.You need three tools to do this. Feeler gauge, flathead screwdriver and 12mm spanner. What you’re doing is setting the correct amount of space (lash) between the tappet (the threaded bit adjusted with the screwdriver) and the top of the valve stem. The gap gets tighter as heat expands the valvetrain, so there has to be enough space that the valves will still close against the head completely and seal the combustion chamber.
It helps to have three arms or a friend to do this, but regular two-armed humans can do it solo without too much extra fuss. First, back off the locking nut with your spanner, loosen the tappet with a screwdriver then slide your feeler gauge (of correct depth) between tappet and valve stem. Adjust the tappet until you can feel resistance on the feeler gauge when sliding it back and forth, then tighten the locking nut. Rotate the engine and double check the gap. If there’s still the same amount of resistance on the gauge then you’re sweet. It takes some feel to get it right. Consistency comes with practice.
I couldn’t find correct info about the adjustment sequence for our engine so I did it the slow way, one cylinder at a time. I bumped the crank around until the exhaust valve on cylinder 1 started to open then set the lash to 0.15mm on both cylinder 1 intake valves. Then onto cylinder 2, then 3, then 4, then started again at cylinder 1 with the 0.20mm feeler gauge, rotating the crank until the intake valves started to open then adjusting the exhaust valve. Repeat for the other three cylinders.
We did this using the original timing belt with my timing marks on it from disassembly. Those marks were transferred onto our new timing belt, proudly supplied by MITSUBOSHI – ‘Surprisingly JDM!â„¢’
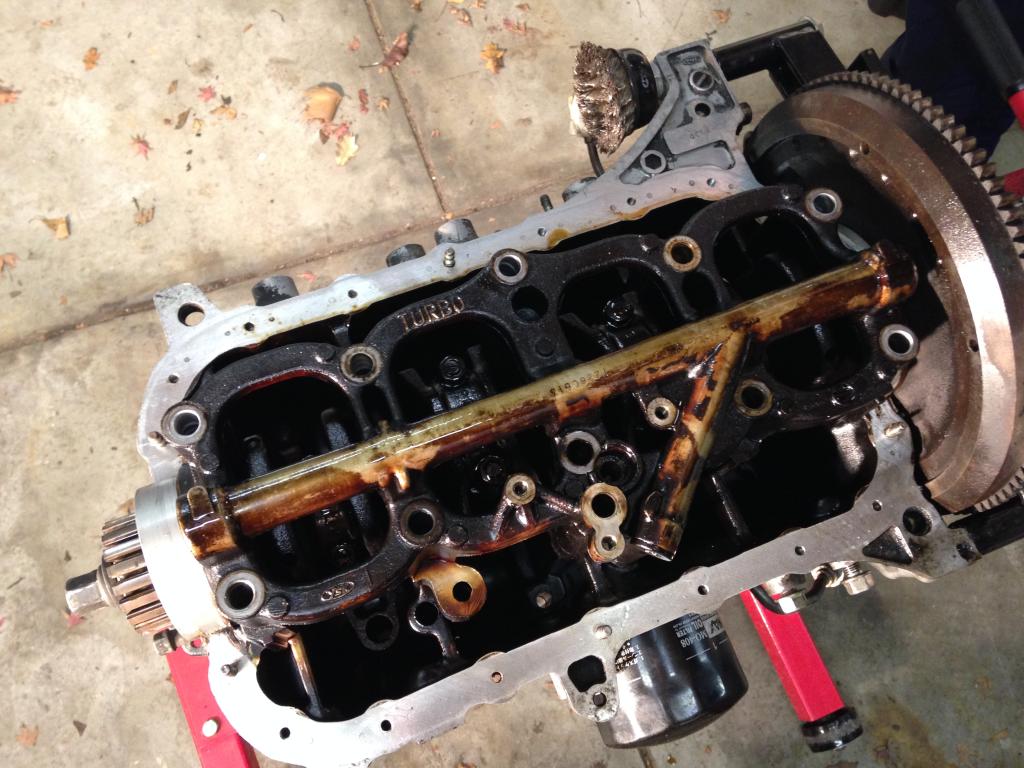
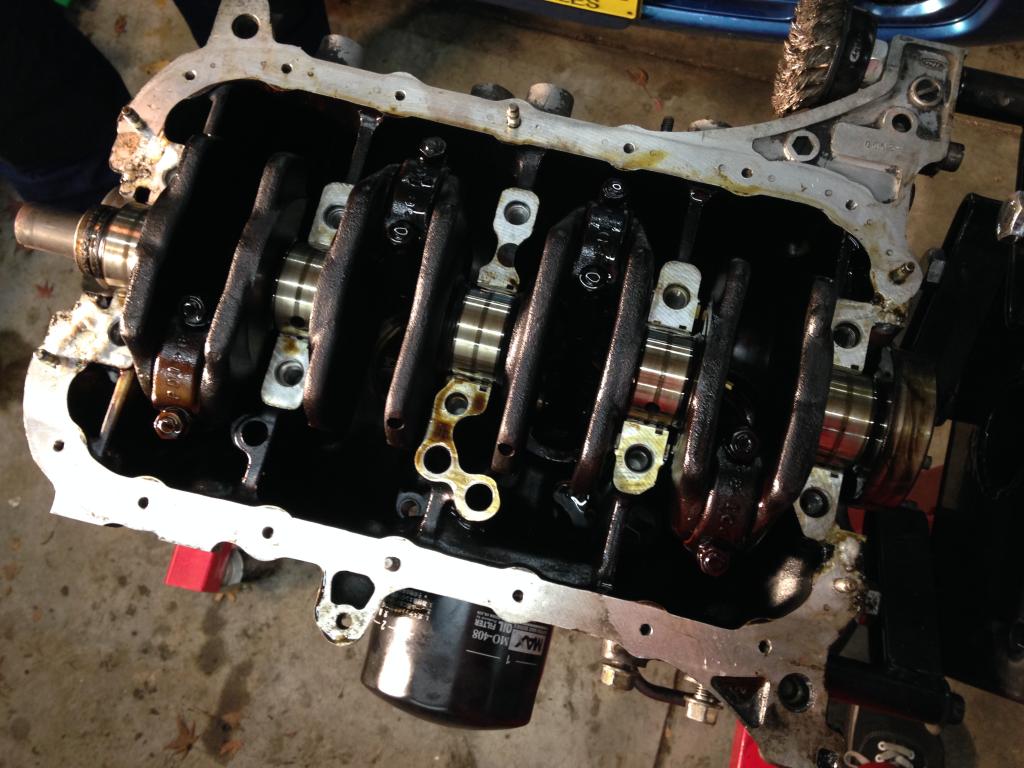
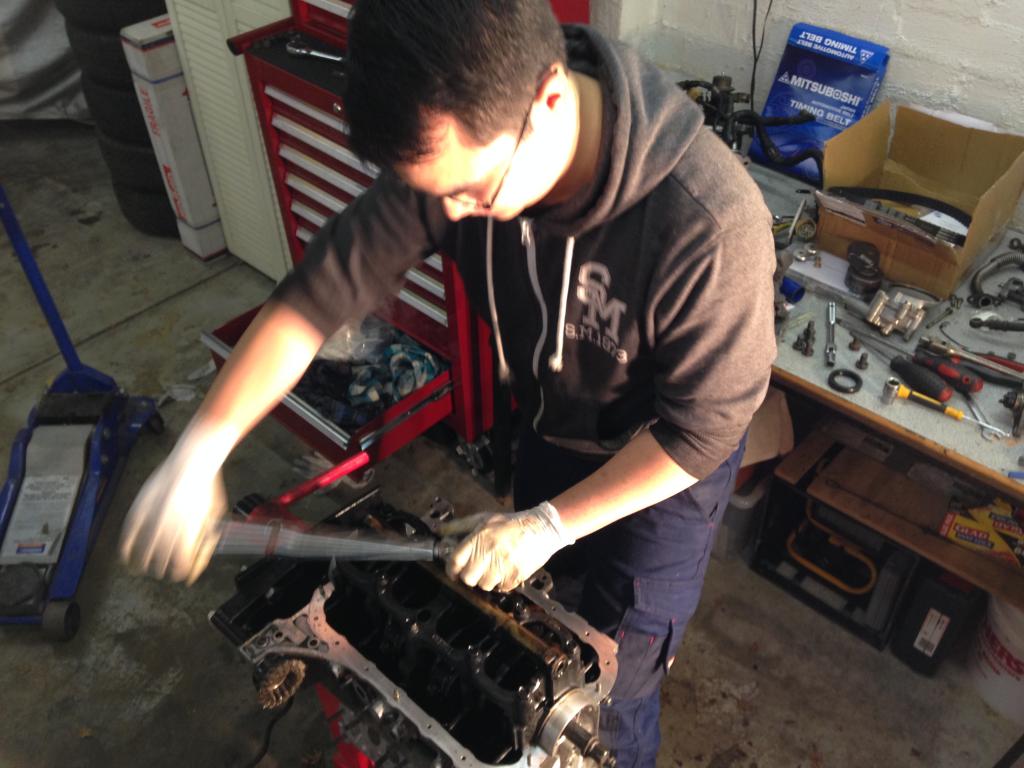
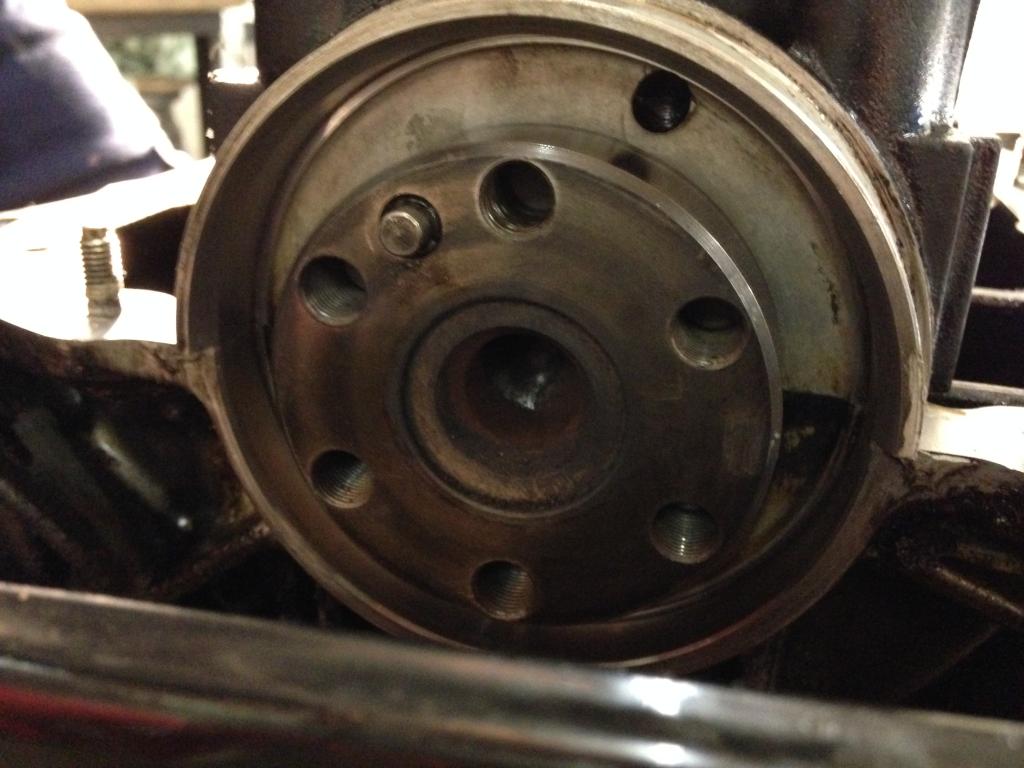
Before we could fit the timing belt we wanted to remove the crank girdle to replace the rear main and crank seals. Oil pump off, girdle bolts out and flywheel about to be removed after some negotiations with the engine stand.
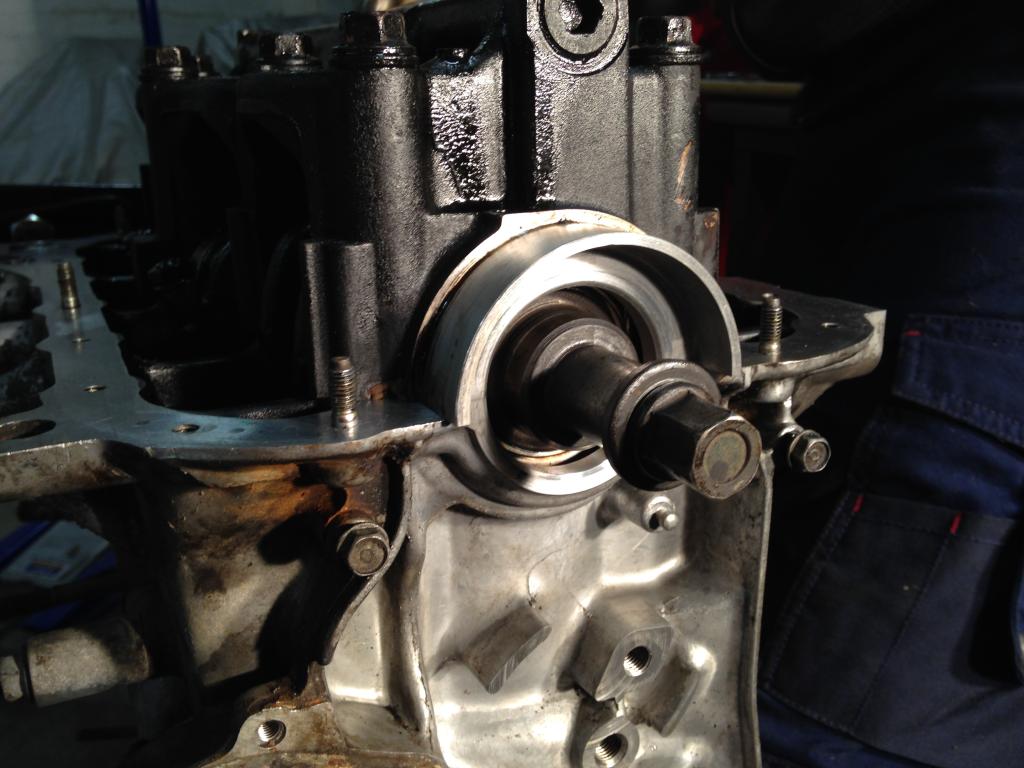
Here we go. The journals all look good. Bearings are fine too. The seals have been removed from both ends of the crank in this photo and there’s some gasket stripper doing its thing to eat away the last bits of goopy gasket cement.
To avoid pinching the new seals we torqued the crank girdle down first.
All cleaned up and awaiting new rear main seal. We got the seal most of the way in but will have to finish it off once we get the engine off the stand.
New crank seal went into its new home with no trouble. I forgot to take photos of the new seals installed.
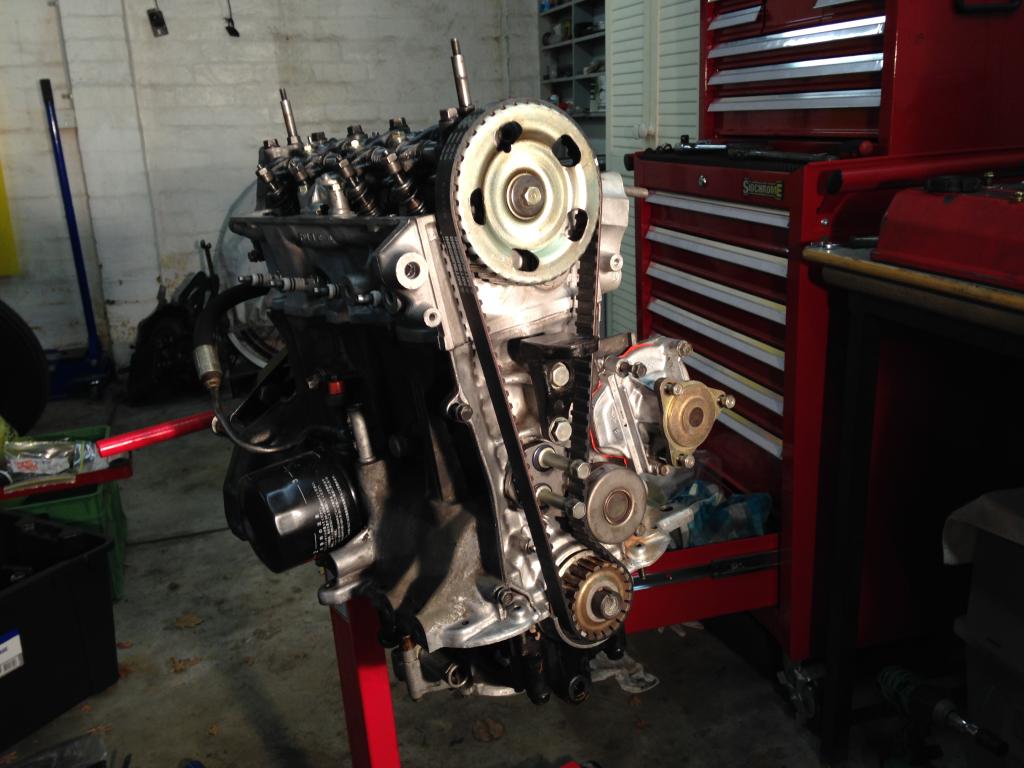
Timing belt, tensioner and water pump done!
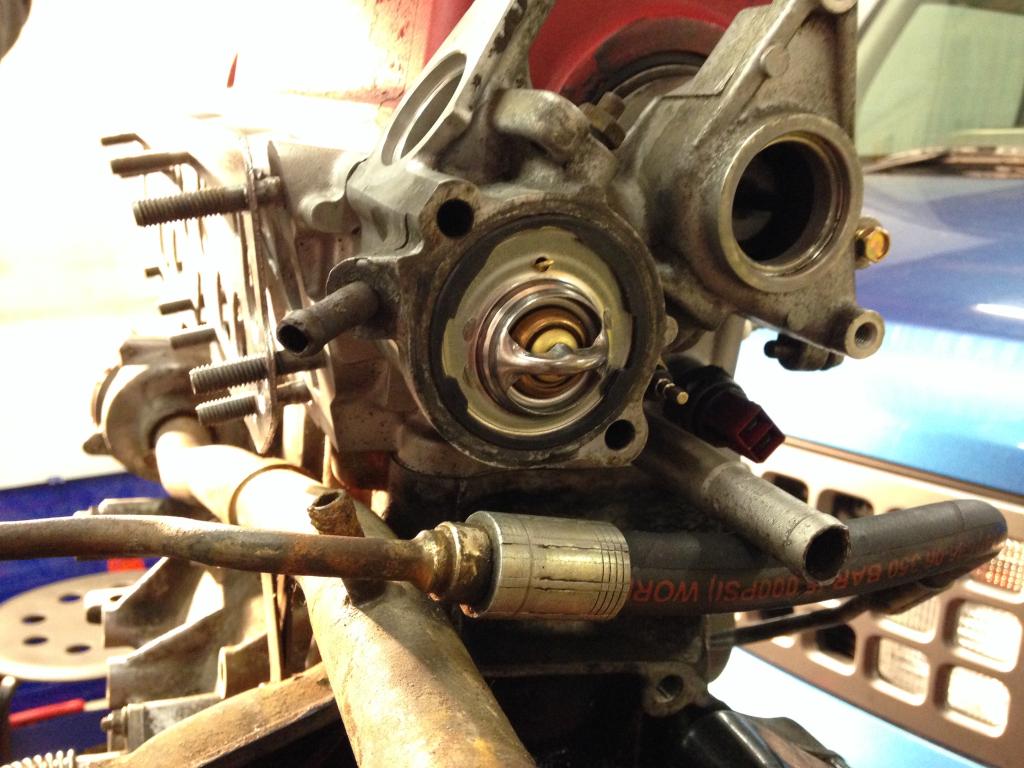
New thermostat installed.
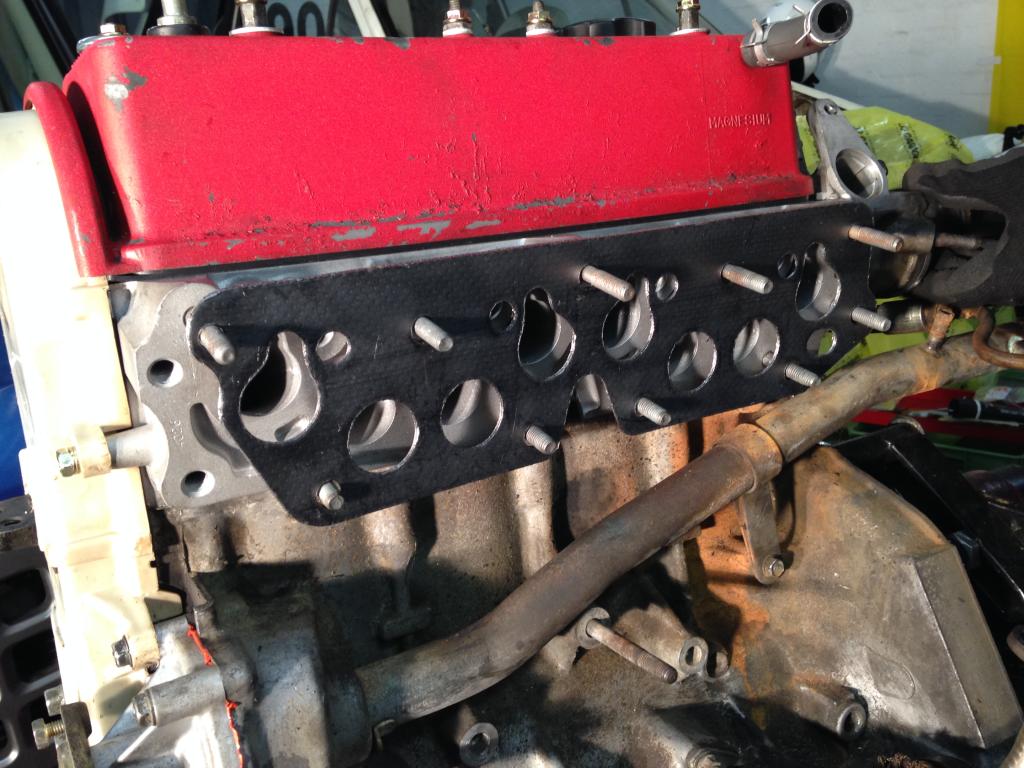
Fresh gasket for the manifolds/head.
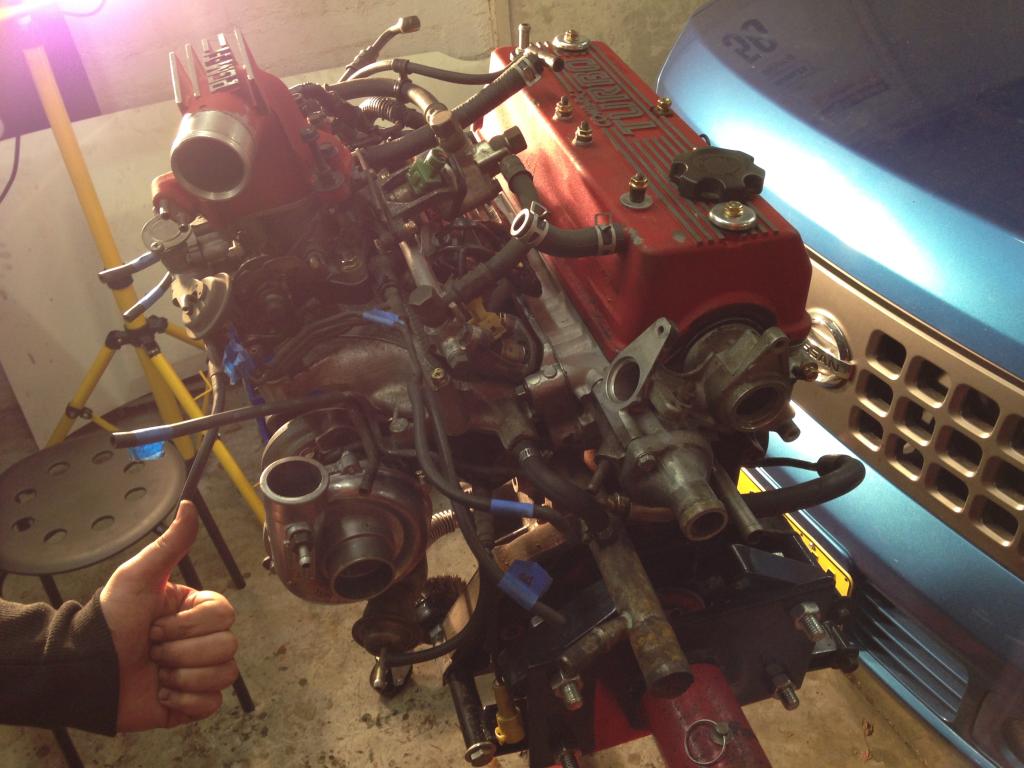
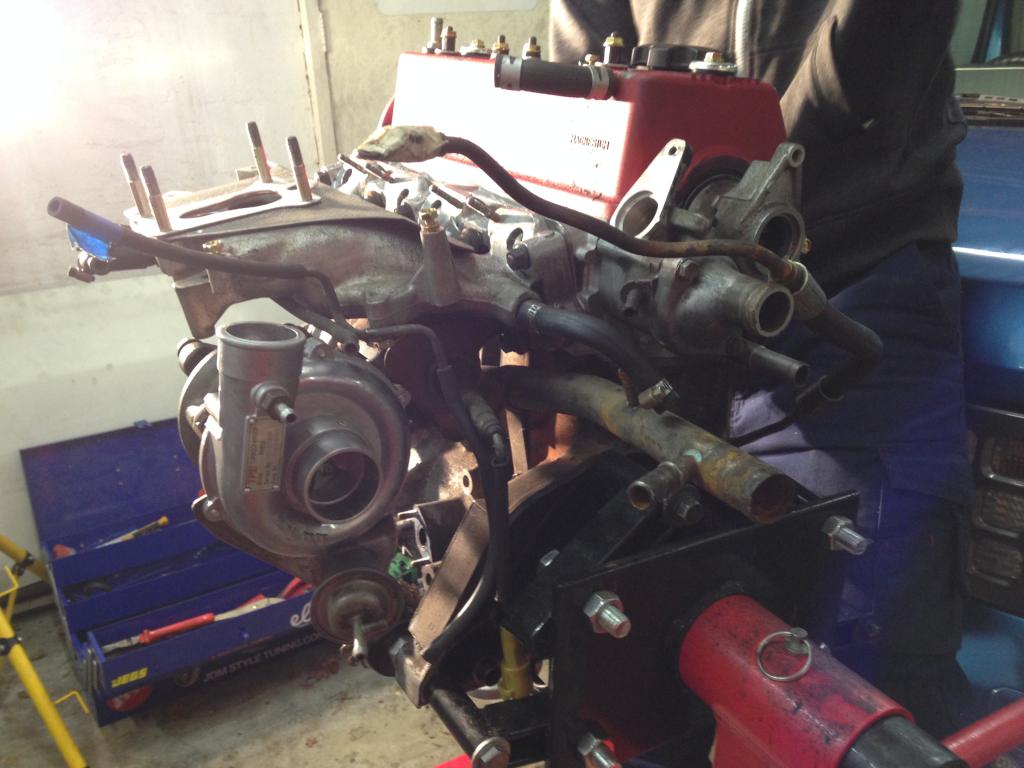
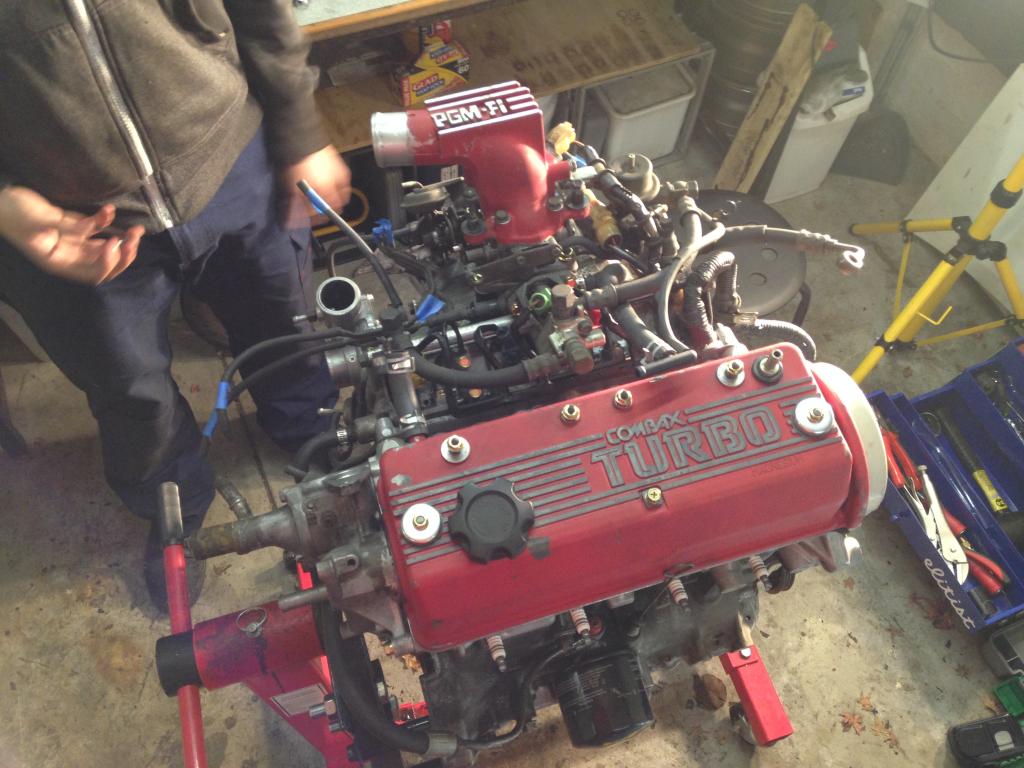
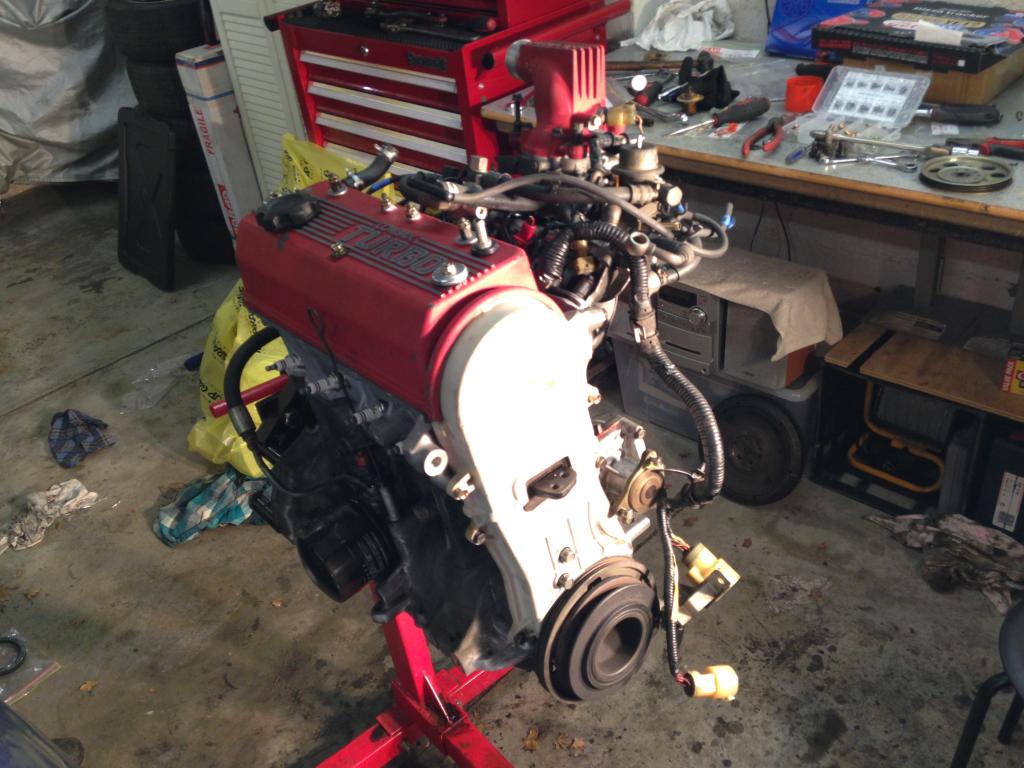
Intake and exhaust manifolds bolted up and turbo installed! This was a cool milestone to reach. Looks awesome with the turbo hanging off the side.
Oil lines plumbed to the turbo, fuel rail and throttle body all fitted.
Timing belt covers and crank pulley also fitted. Feels so good to have less loose parts lying around and an engine looking like an engine again. More to come soon.
That’s all for now, folks. The next update will show the last of the engine ancillaries being fitted so it can be installed into the car.








love this thread, but you should definitly give the red pieces a bit of a colour Treatment in red wrinkle paint 😀
Surprised they didnt bother really cleaning the outside of the engine. perhaps next post?
I’d love to see the engine bored out to 1.4 with some cam and head work to get some really good power out of it…….but then I remember how much Torque steer my standard one had 😉
Fantastic and inspiring. Unlike a lot of the big-dollar, superhuman-skill build posts here, this one seems like something I might actually be able to achieve myself.
Fascinating to learn about the CVCC valves, never knew they existed. Still managed to get confused when you referred to “both cylinder 1 intake valves” but figured it out.
Also interesting that parts are more available here in NZ…
Looking forward to the rest.
What a curious little engine… So, where are these extra intake runners for the CVCC valves? I guess they are those tiny holes beside the “traditional” intake ports? This must have been one hell of a complicated head to cast…
I knew Honda had a tendency to make weird engines from time to time (like a 125cc inline 5 that *stalled* below 17,000rpm…) but I never knew that they did it in mass-production.
Great thread, thanks for taking the time to document!
when will the rest be posted ?
can anyone point me in the right direction ?
i have just bought a turbo 2 want to give it a rebuild and i have no clue where to find parts im based in london in the united kingdom ..
Great to finally find something showing the manifolds off! I’m struggling to figure out how to change my exhaust manifold, regretibly it appears I need to pull the intake as well. What a frikn mental little thing it is.
Hopefully I can get this thing back running as my daily.
-Mark
I am about to remove the engine from my 1986 Honda City Cabriolet – I have no idea what the procedure is – Can you please advise me – do I have to take the gear box out at the same time I remove the engine?
if so what is the easy way to do that ? do I have to remove the front wheels?
Hi There,
Is it possible for you to give me the tappet setting for the CCCV valves. Thanks