With the engine now bolted firmly in place, there’s only one thing left to do, start ‘er up and go for a spin! Well, actually, there’s a few things left to do, but you’ll just have to read all about it in the post below…
Previous posts:
Part 1: Introduction
Part 2: Teardown
Part 3: Engine refresh
Part 4: Bringing the engine home
Words and images by Ryan Lewis
BIG NEWS. I’ll rewind a bit and get up to date.
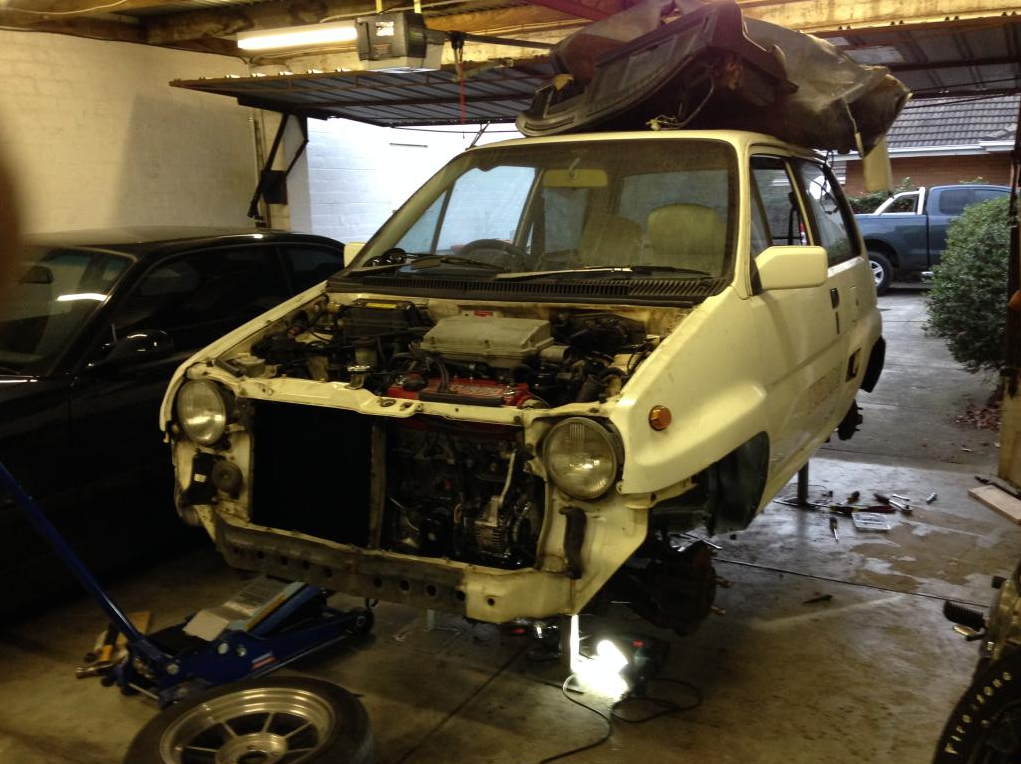
We had some delays after dropping the engine in. The fuel pump alone caused a few problems.
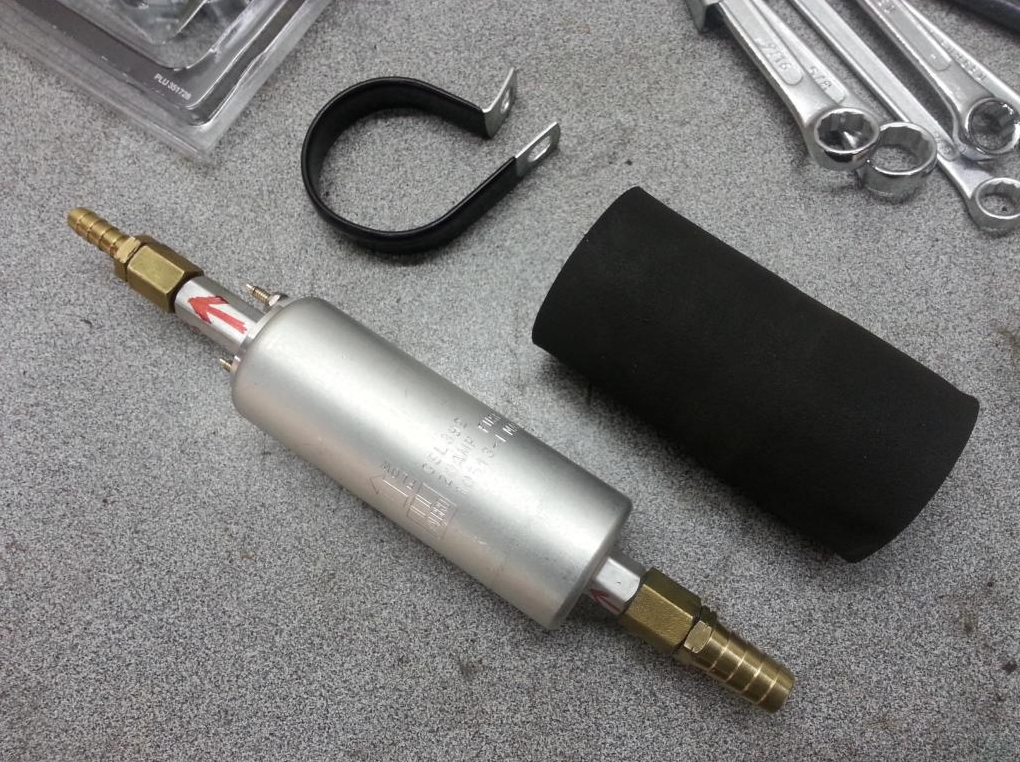
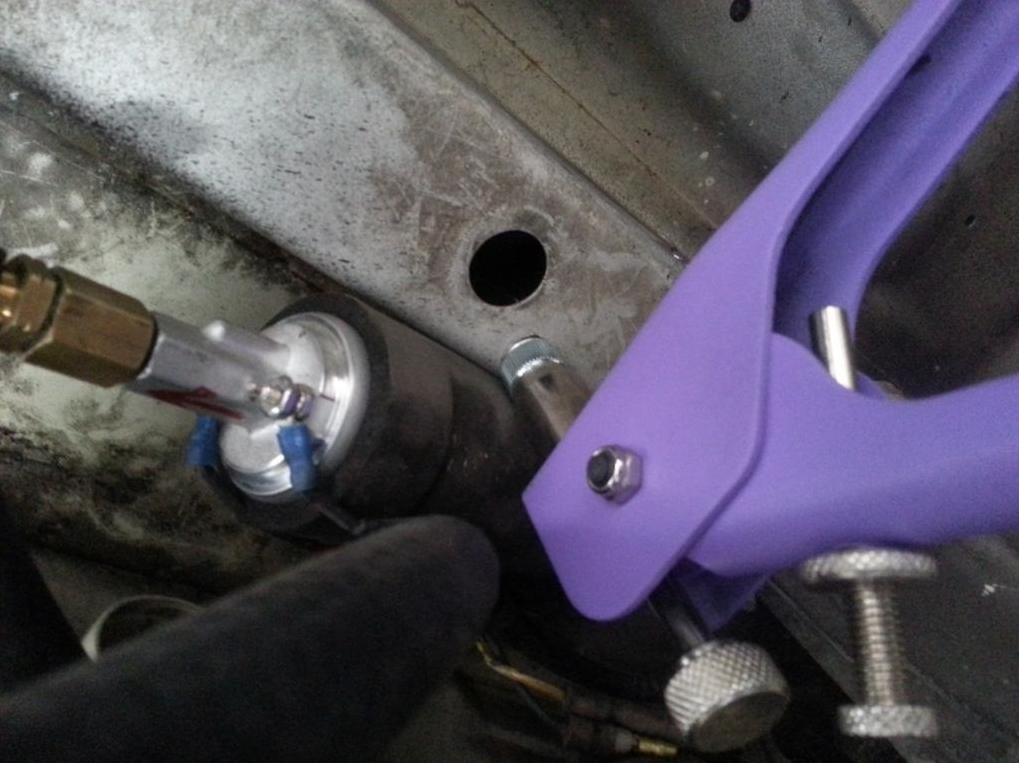
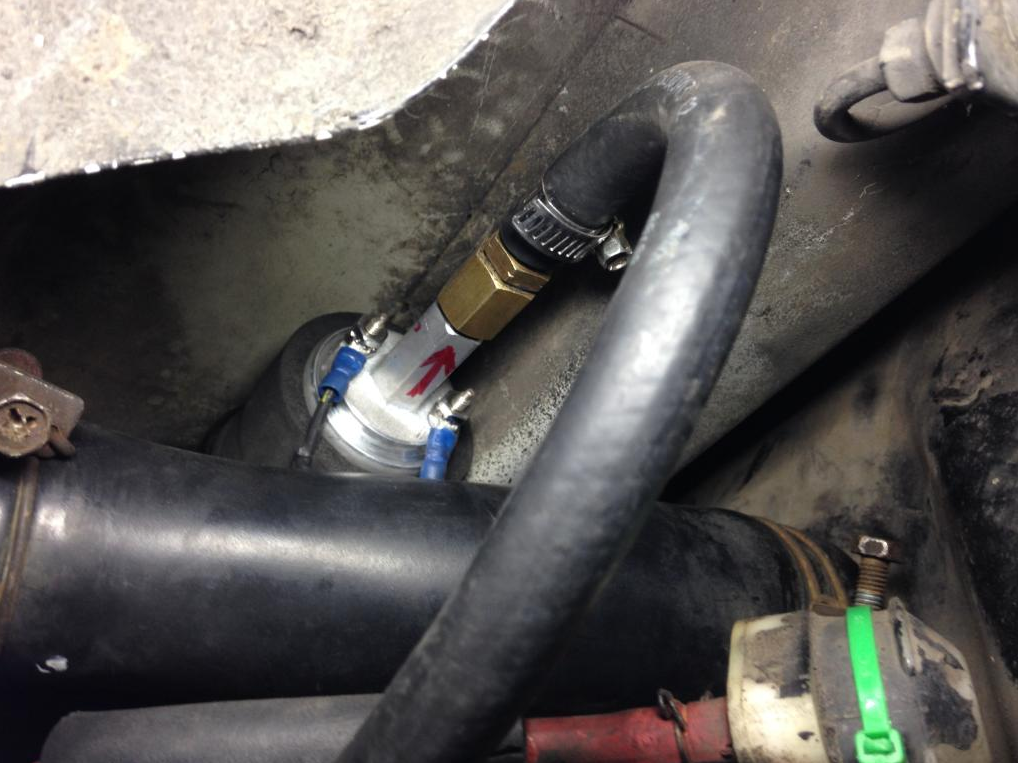
This is the Walbro 255 we had to fit. It was a right prick to do given the tight space.
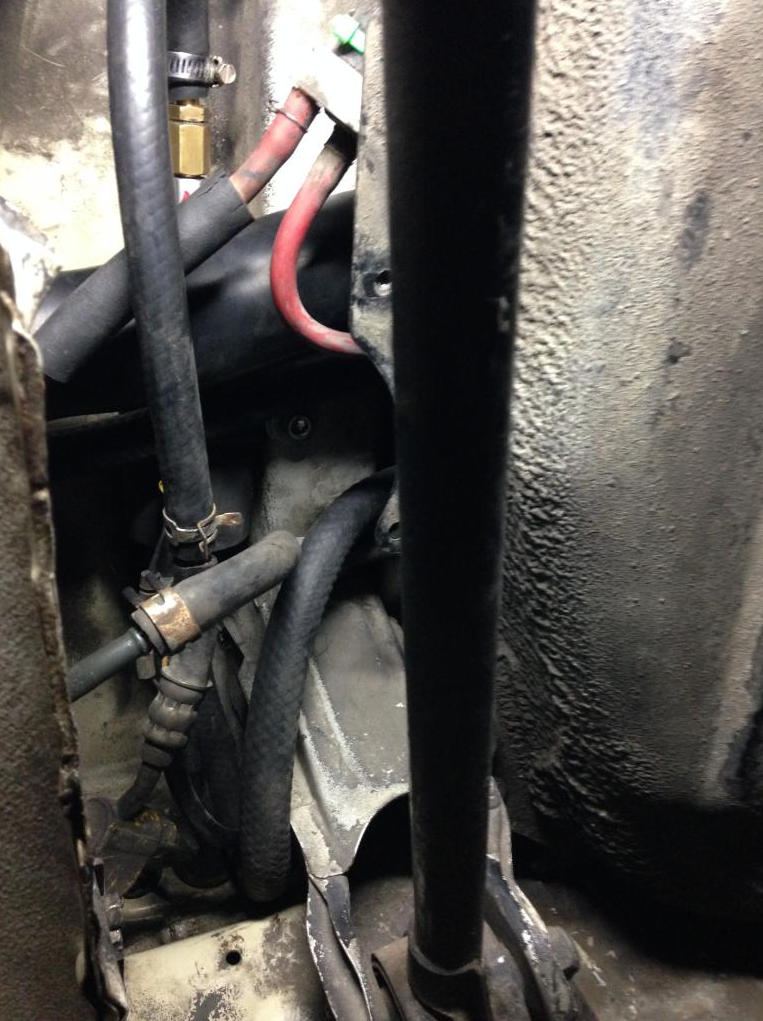
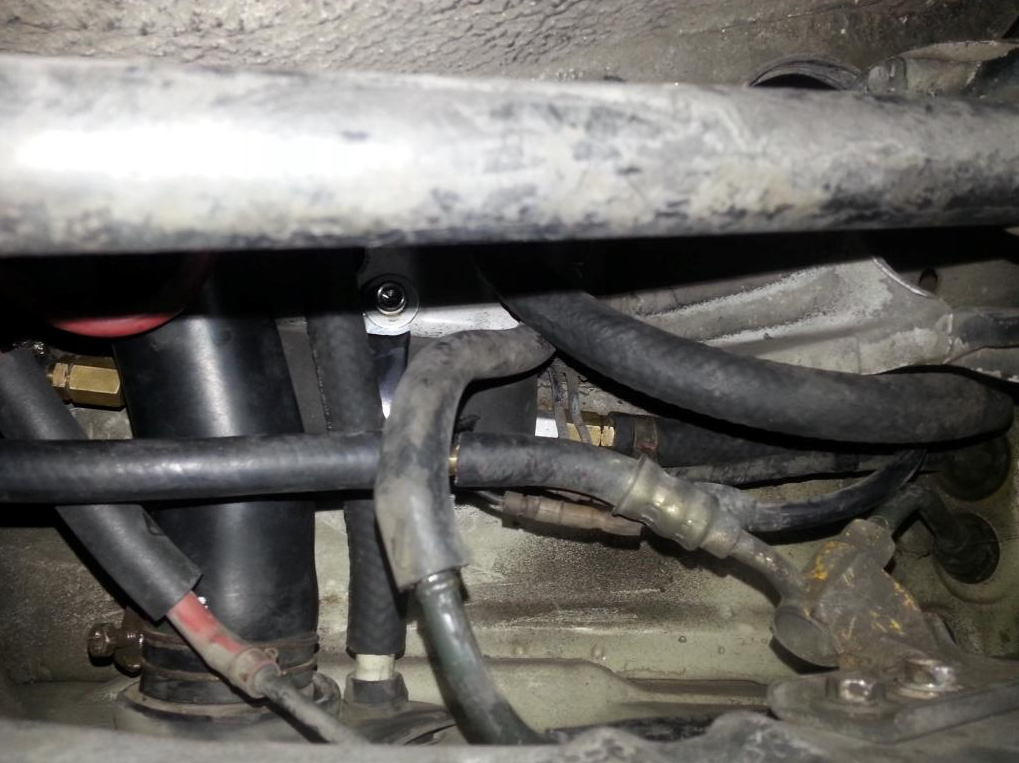
Believe it or not there’s a pump in that bird’s nest of plumbing.
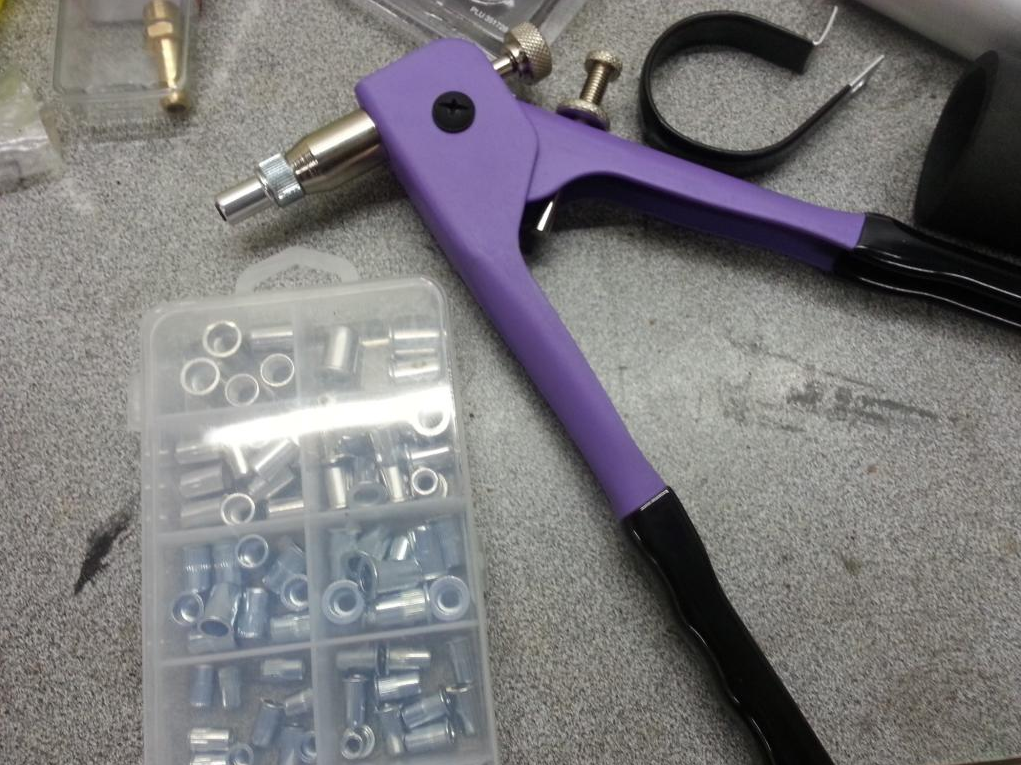
We used a rivnut tool to give the pump bracket something to mount to.
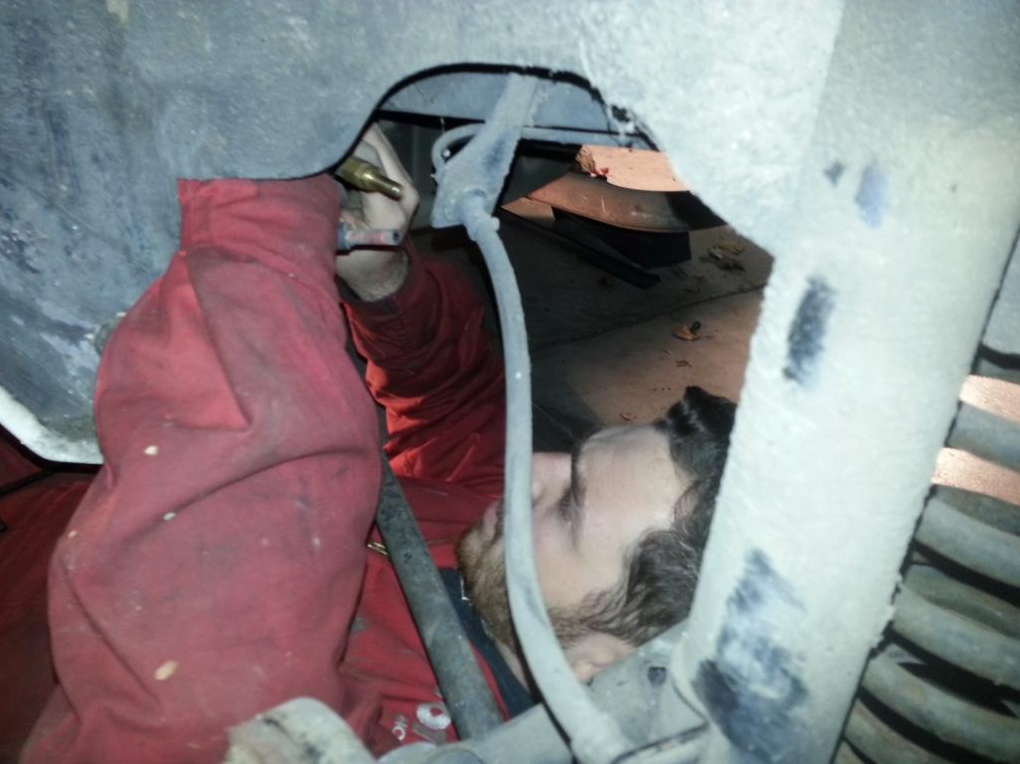
It took two or three proper goes and a kilo of dirt in my eyes before we got it right.
Here’s me hating life. Gotta buy some safety glasses.
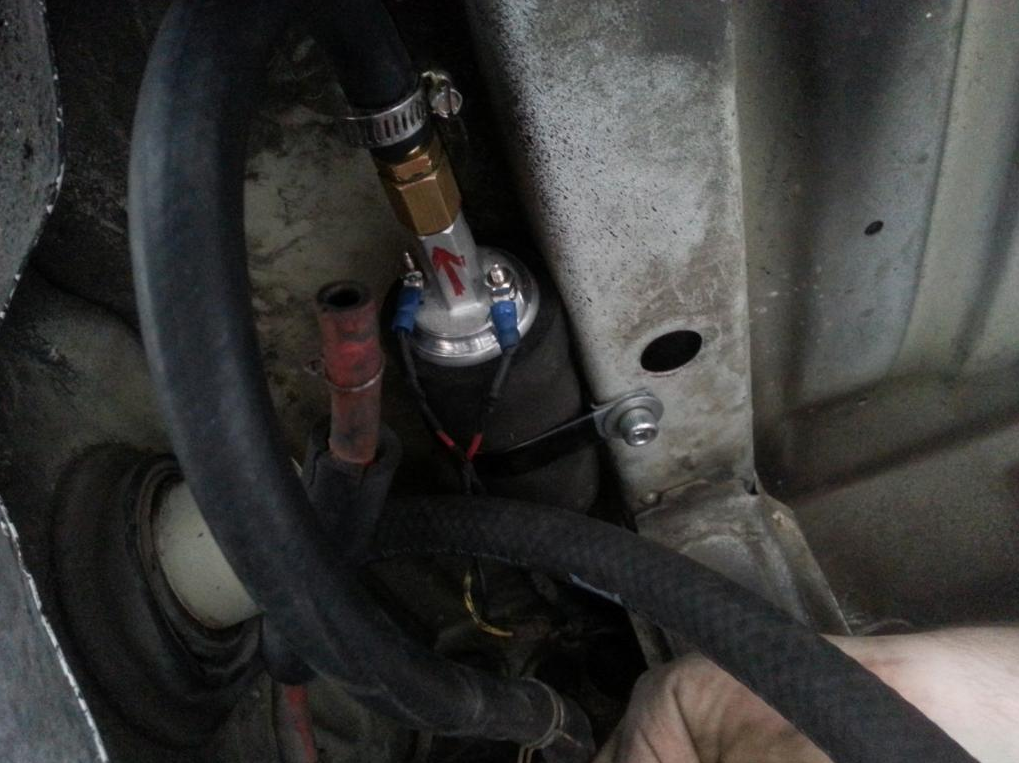
We only had straight fuel hose to work with, no nicely shaped factory stuff. Space was super limited and getting the pump in a spot where the hose wouldn’t kink was the issue.
It looks like a mess but it’s actually worked out well. I don’t think there’s anything we could’ve done to get it better.
So glad to have this done and out of the way.
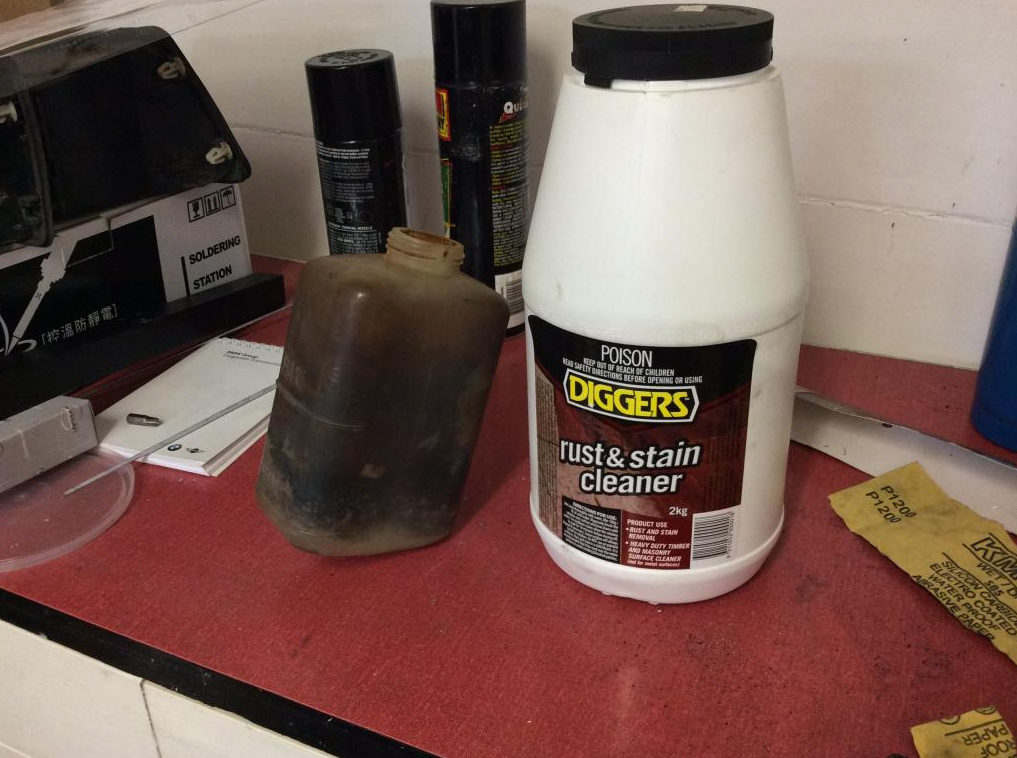
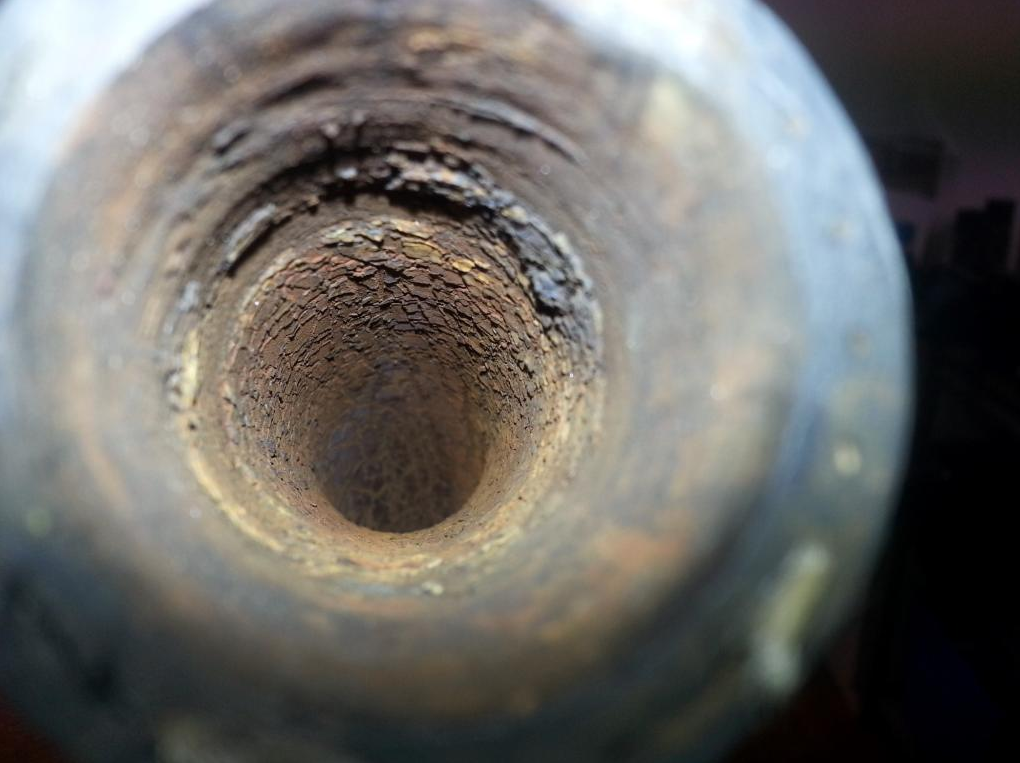
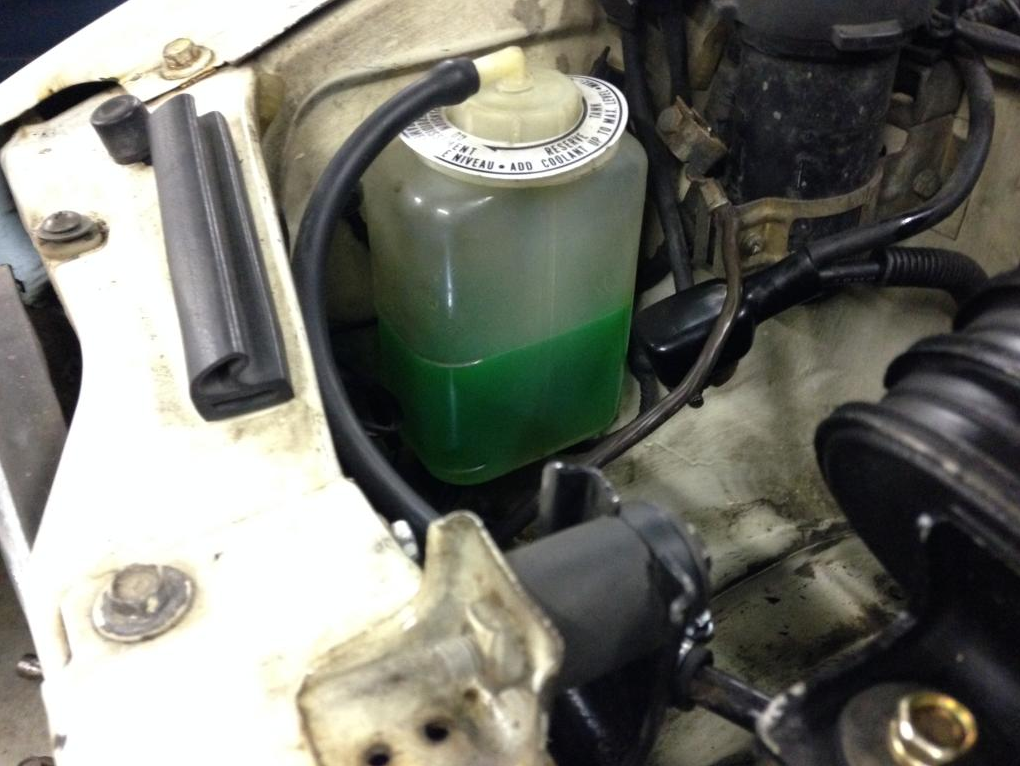
The previous owners of our little City were obviously fans of using tap water instead of coolant. The giveaway was the massive amount of rust that we found throughout the radiator, hoses, water pump, engine block, head, etc. The overflow bottle was particularly gross. Here’s what it looked like before.
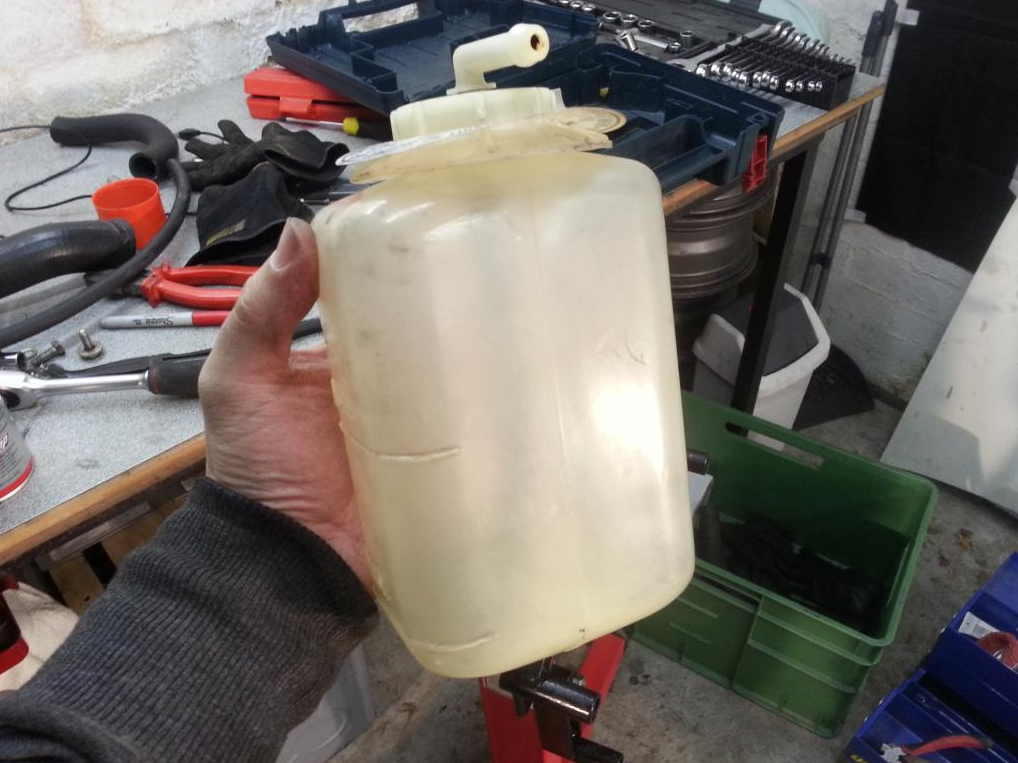
The solution? Mix up a strong batch of oxalic acid solution (the Diggers stuff above is the acid in crystalline form) and pour it into the bottle. Wait for several days, rinse it out and you should be left with this:
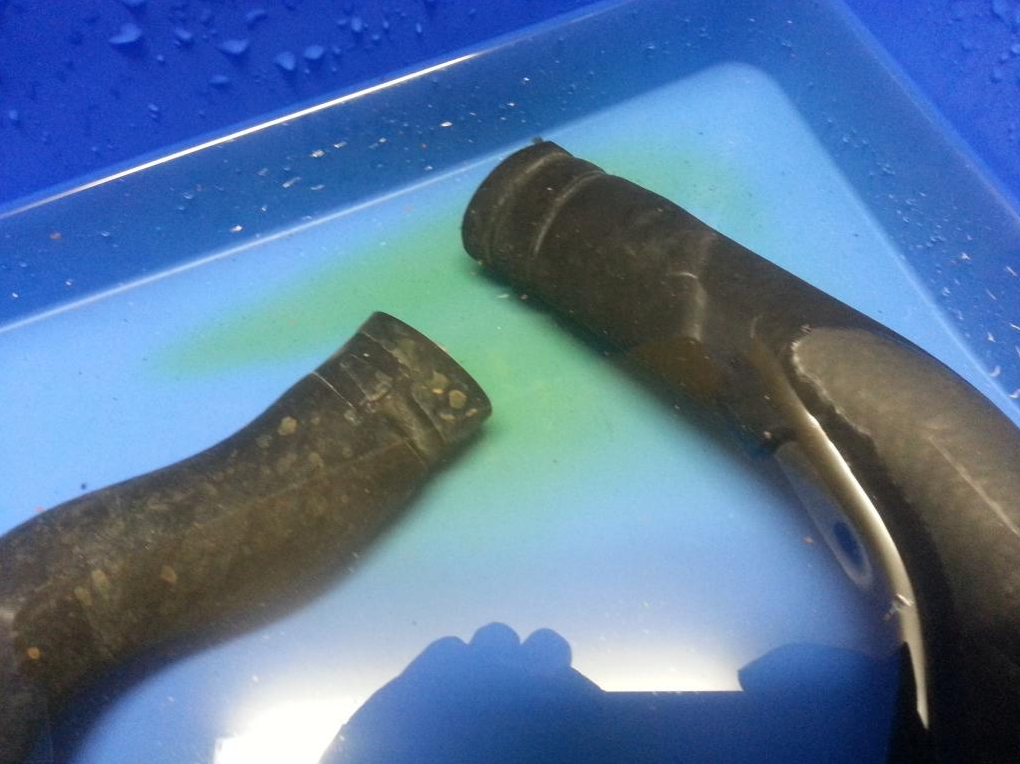
Since that worked so well we did the same on our radiator hoses.
Bath time.
It was only a couple of minutes before we started to see the acid taking action.
A few days later – mint!
Driveshafts were next. We had to get these in before we could fill the gearbox with oil or else the oil leaks out of the splines where the driveshafts go.
Gear linkage all fastened and roll pin hammered into place.
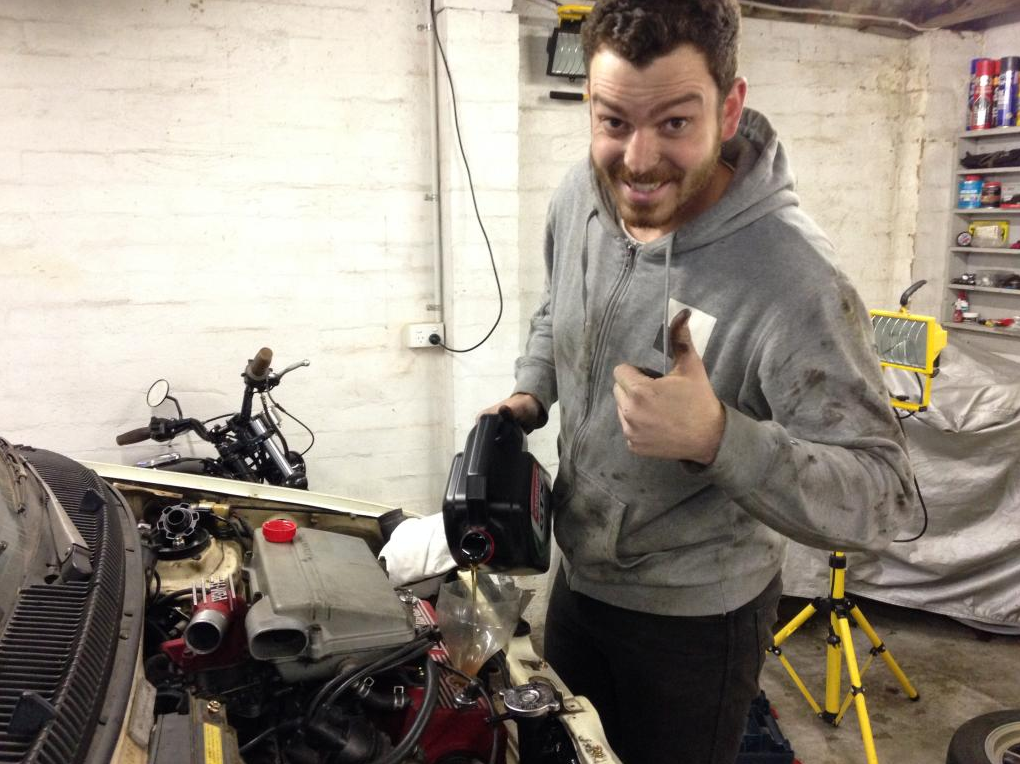
Time for fluids!
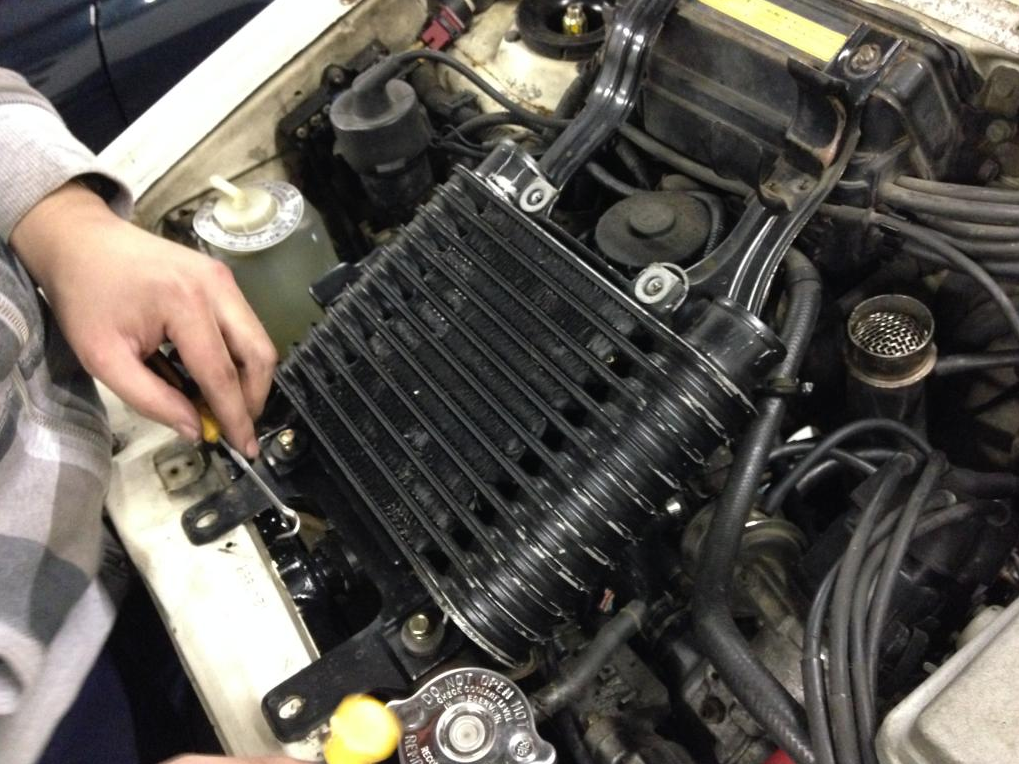
Intercooler fitted.
Intake plumbing done except the airbox to turbo inlet which needs a bit of attention. Not necessary for first start.
Feels good seeing it come together.
Fresh coolant for our new radiator and refurbished overflow bottle.
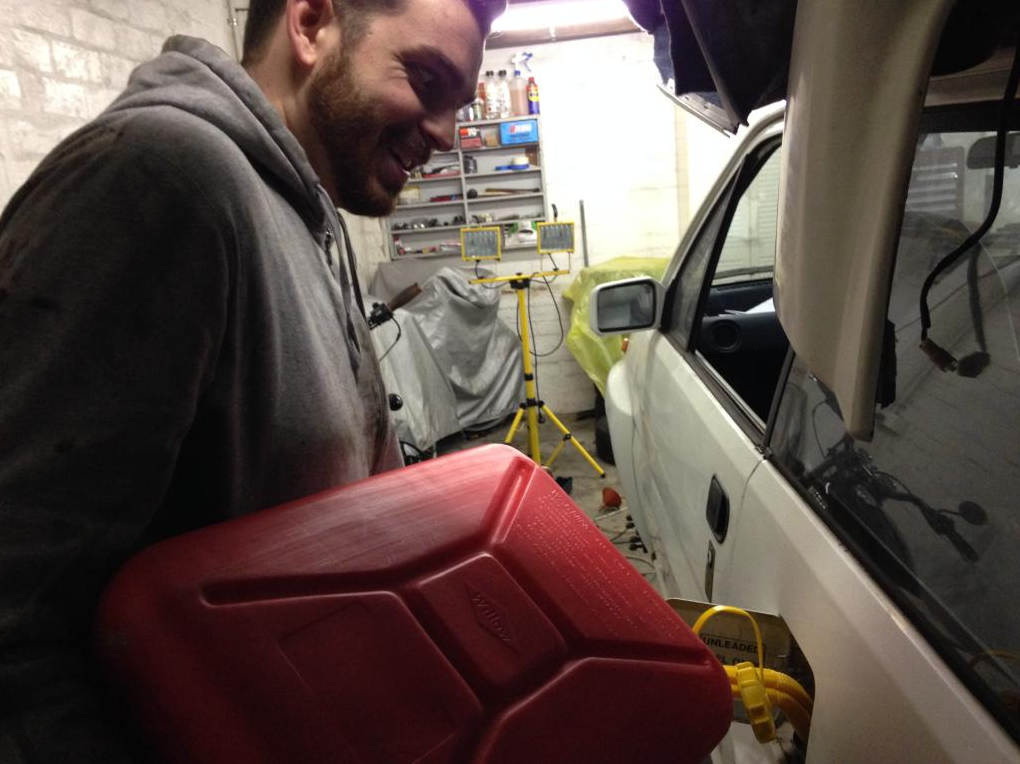
And lastly a bit of 98RON to get it going.
After priming the fuel pump a bunch of times we found a couple of leaky banjo fittings in the engine bay. We tightened those up and let the fuel evaporate.
Then we double-checked nothing was blocking the fuel system by removing the return line at the tank and priming again. All good there, we’ve got fuel running the whole way.
With that done we turned the key. Engine turned over but wouldn’t fire.
So we check spark and it’s all good. There was bit of fussing around after that, taking the CAS off and rotating by hand to make sure the injectors were clicking. I took the distributor out and reset the timing according to a guide online. Double-checked the firing order and the leads were in correct order on the dizzy cap, but they started from the wrong position. Fixed that up and presto! Engine fired like a champ.
http://youtu.be/Z81Ee17nrLs
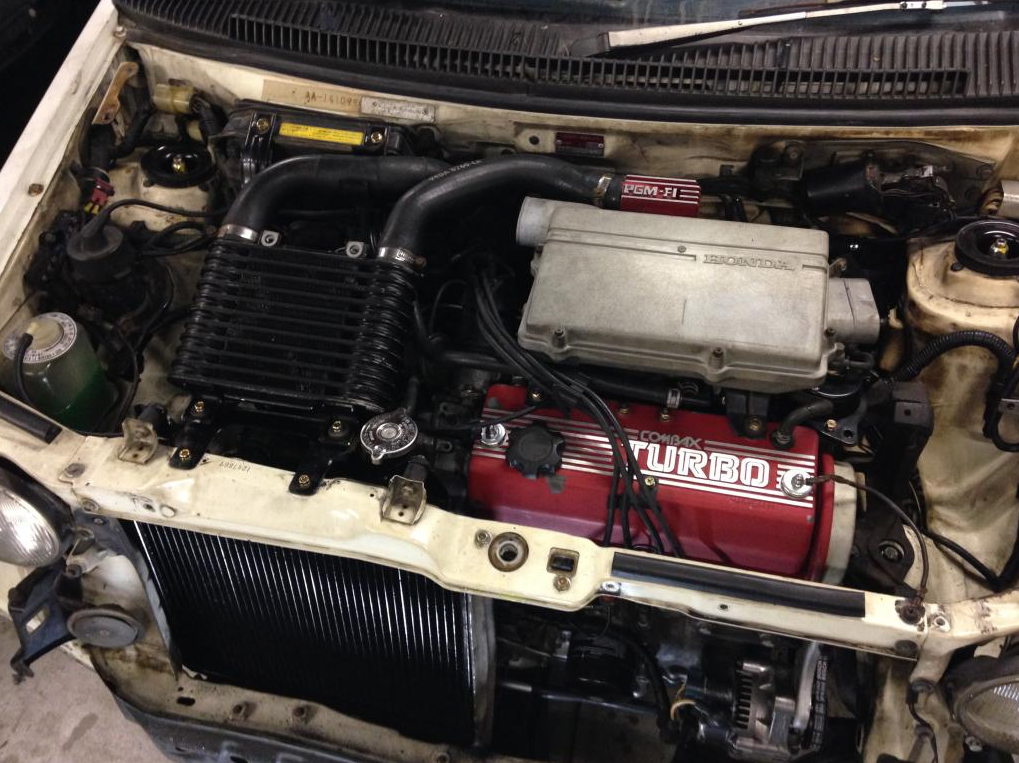
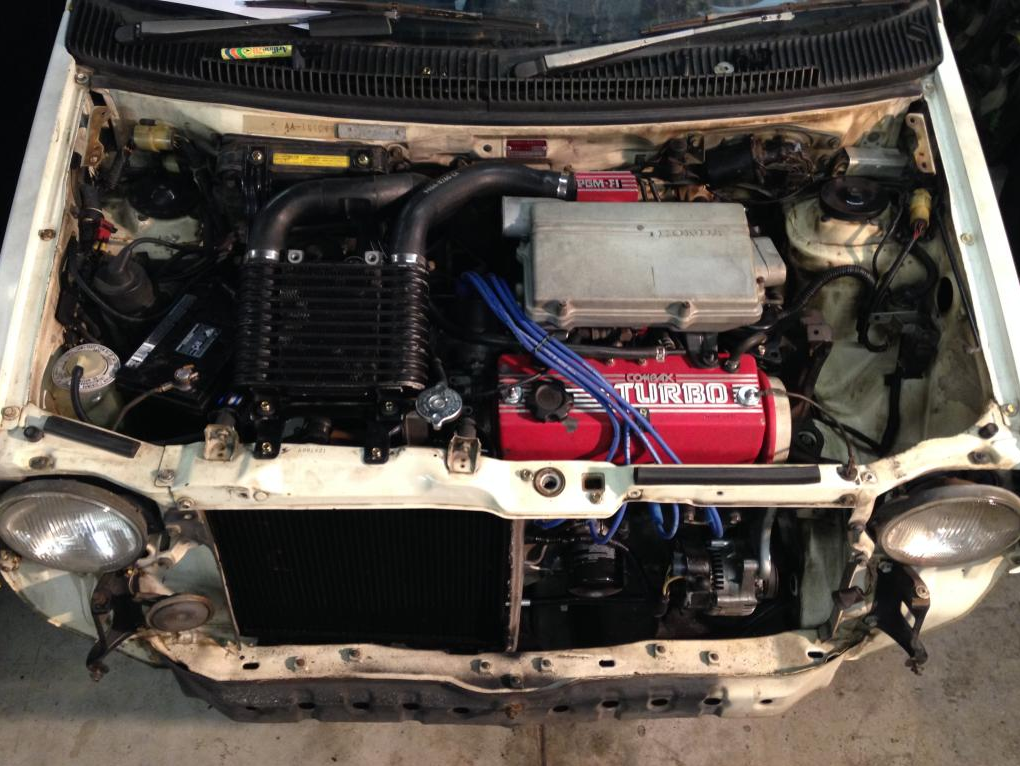
Updated engine bay shot featuring super rad TOP GUN spark leads. Fear the voltage. We’re almost all hooked up. the intercooler shroud isn’t shown, but it’s now on there. We still need to fix up the airbox to turbo inlet hose and find a home for this one random wire.
Looks like it’s probably an earth, but it disappears into the loom and doesn’t have an obvious function. Any T2 aficionados out there want to help out?
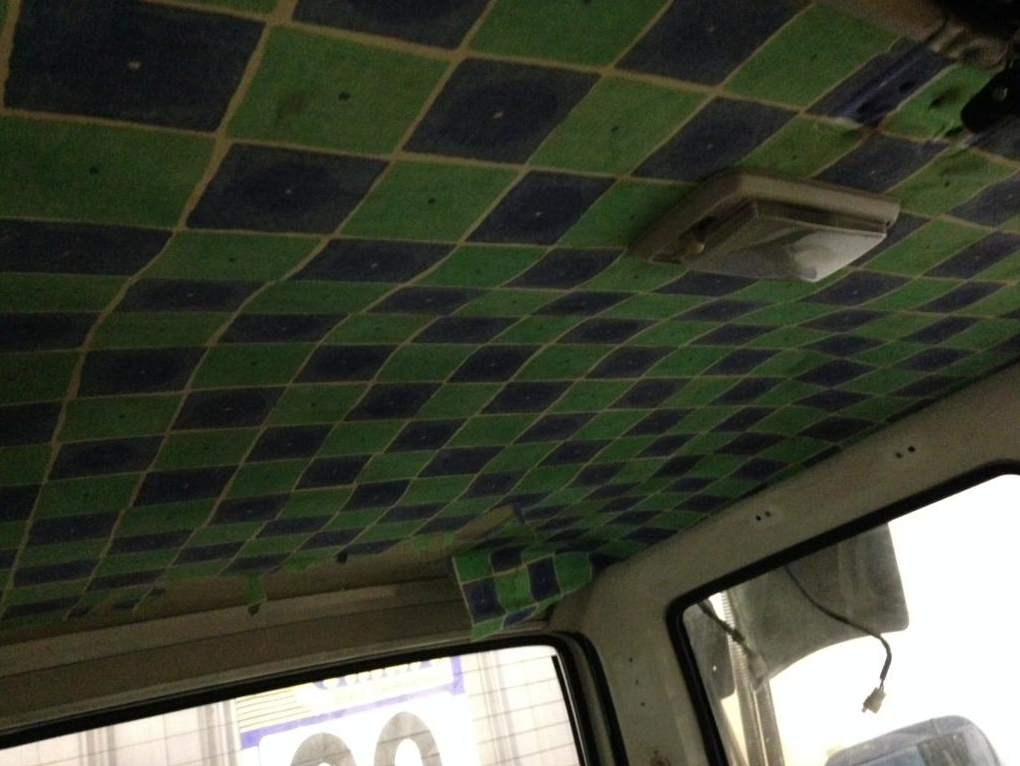
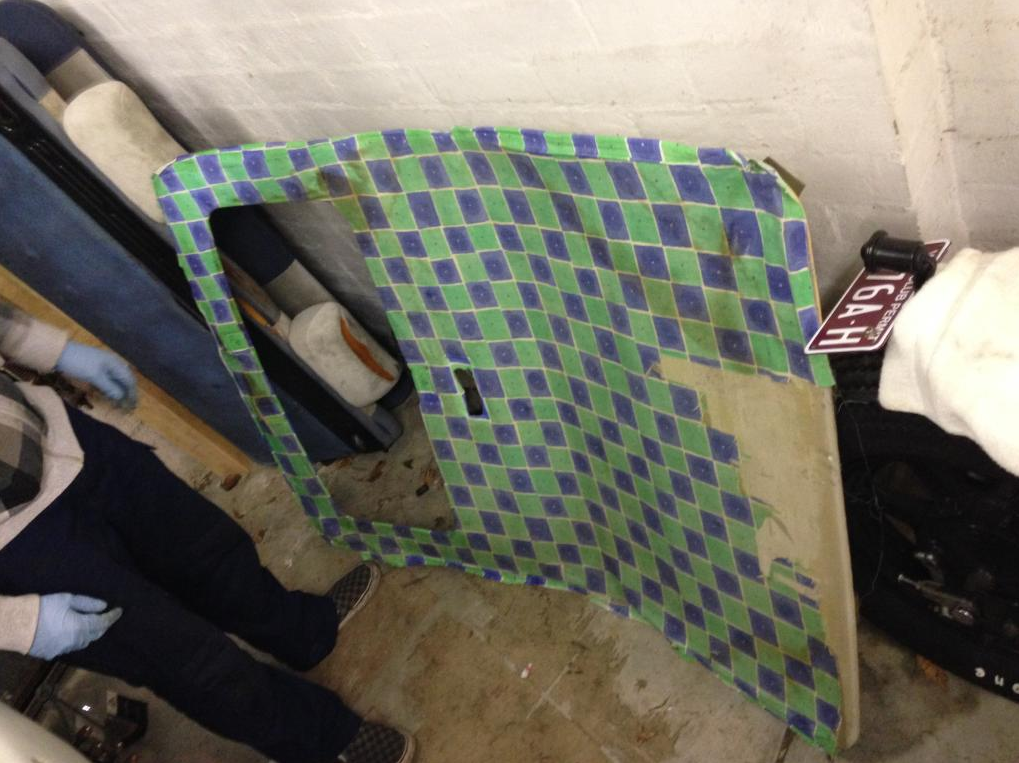
OH YEAH. Dat roof lining. Have we already put a picture of this in here? It’s gross. But also kinda funny. Anyway, it had to go.
I may never understand the motivation behind stuff like this.
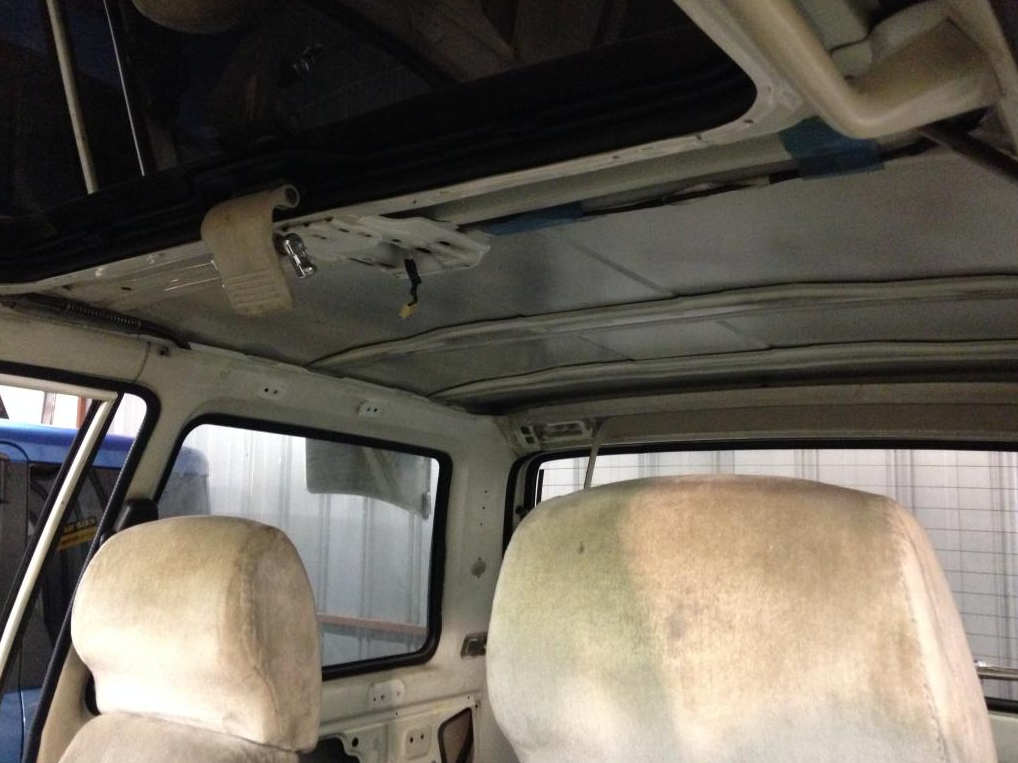
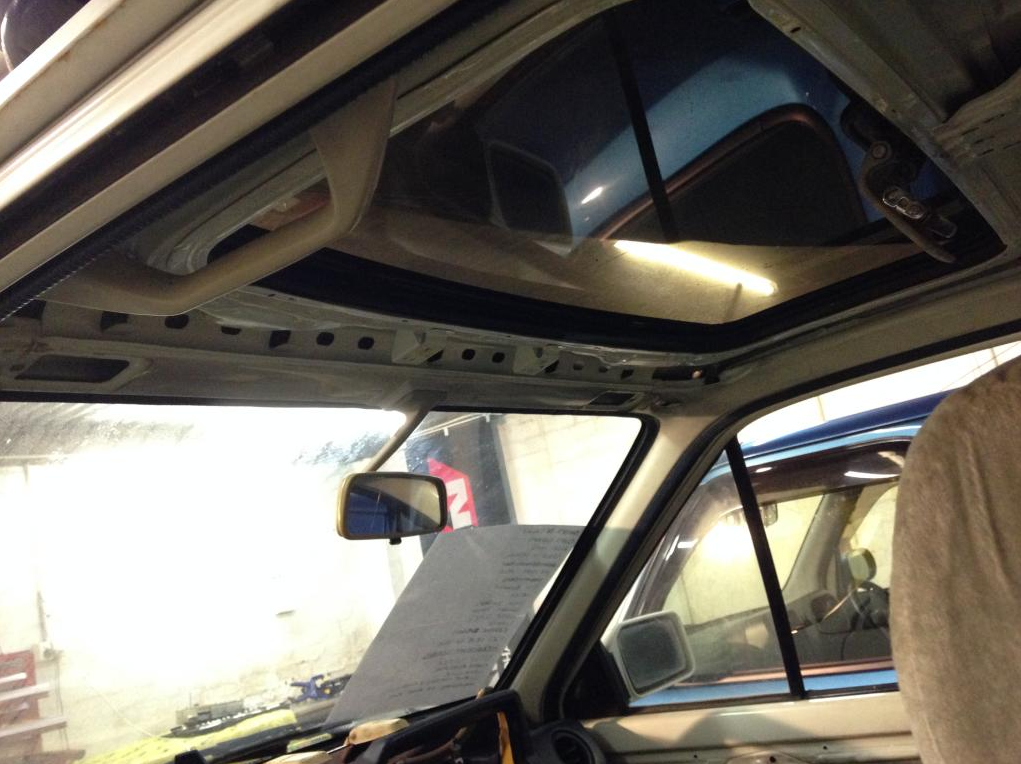
Much better.
Can you feel the race car vibes?
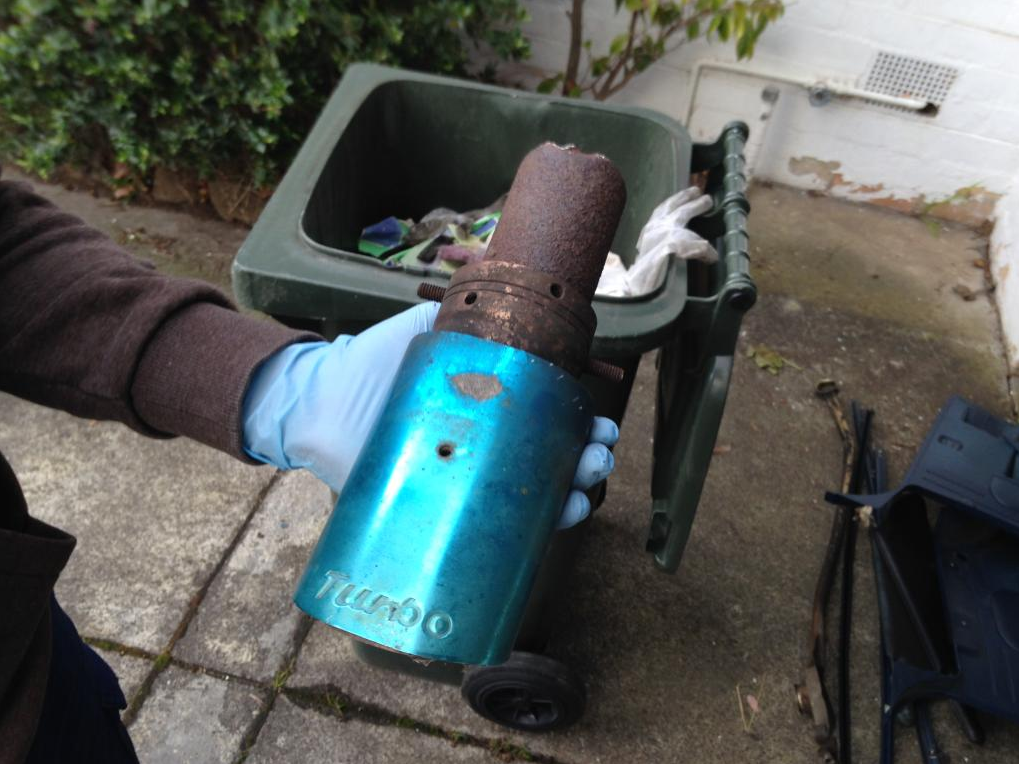
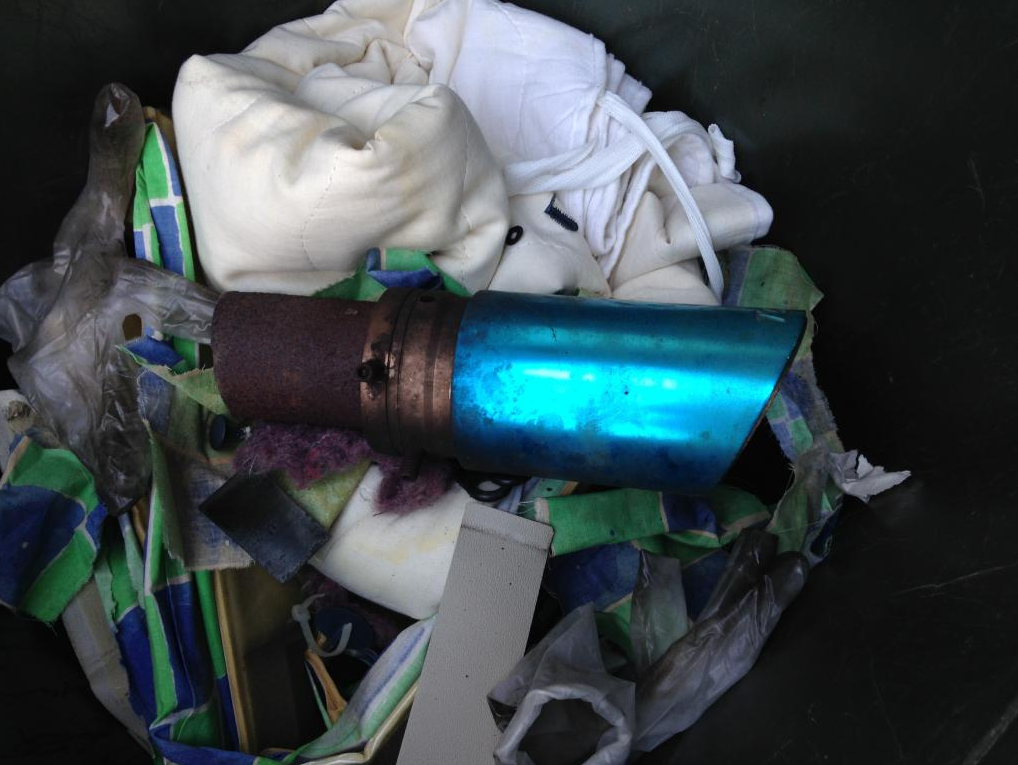
While we’re ditching things, do you remember this guy? Well I finally went at it with the angle grinder and found it a new home. Can you guess where?
In the bin, where it belongs.
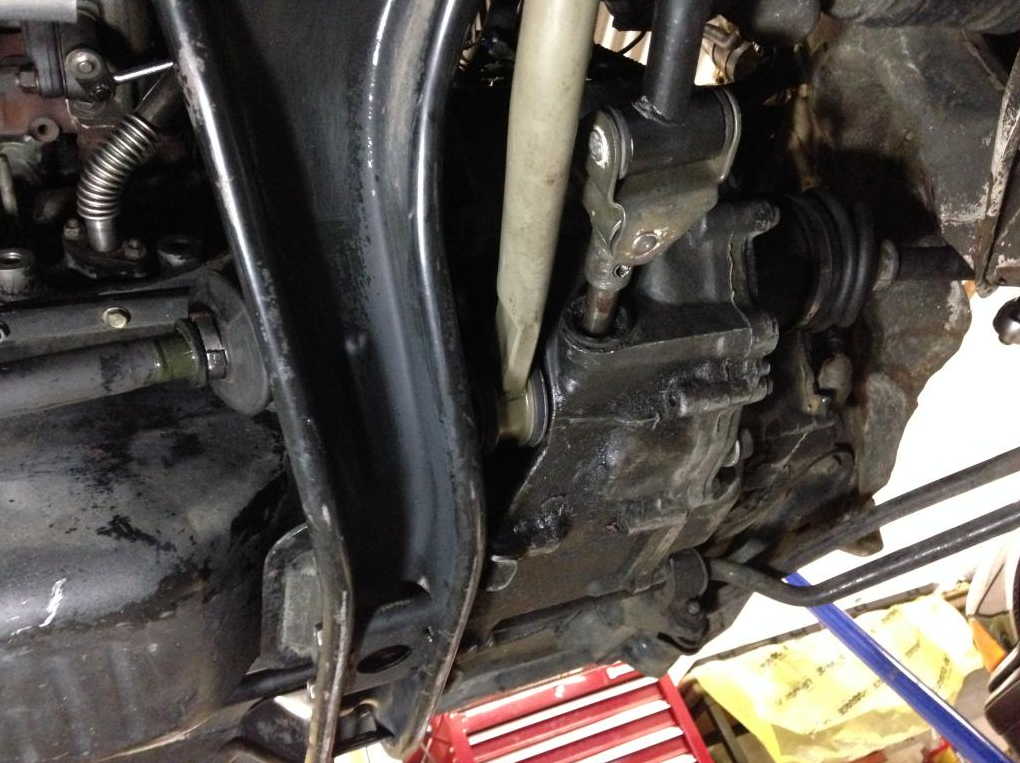
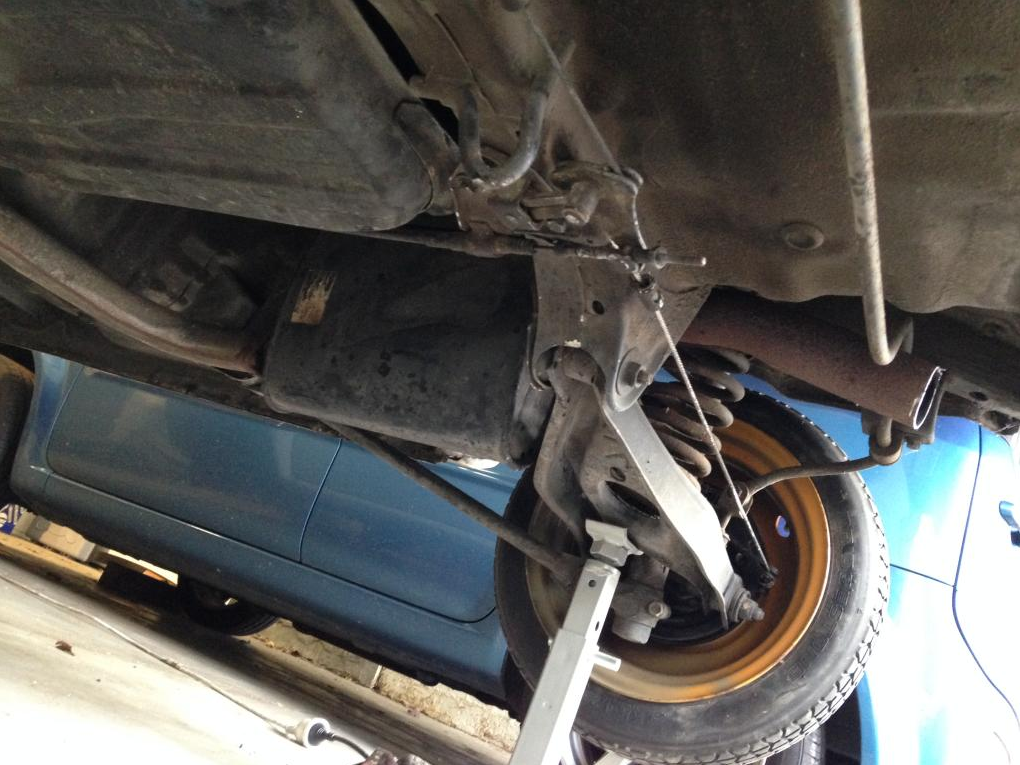
Here’s a bit of a look at the exhaust system. We would love to run some sort of motorcycle muffler on the back, a Yoshimura can would be perfect, but you can see why it won’t work. The standard muffler with offset entry/exit sits in a very particular spot with the last bit of the exhaust running over the control arm behind the spring. It has to angle down to clear the bumper bar so we’re probably going to just re-do it in the same way but with a nicer tip. If anyone in Melbourne has a hook up for exhausts we’re all ears.
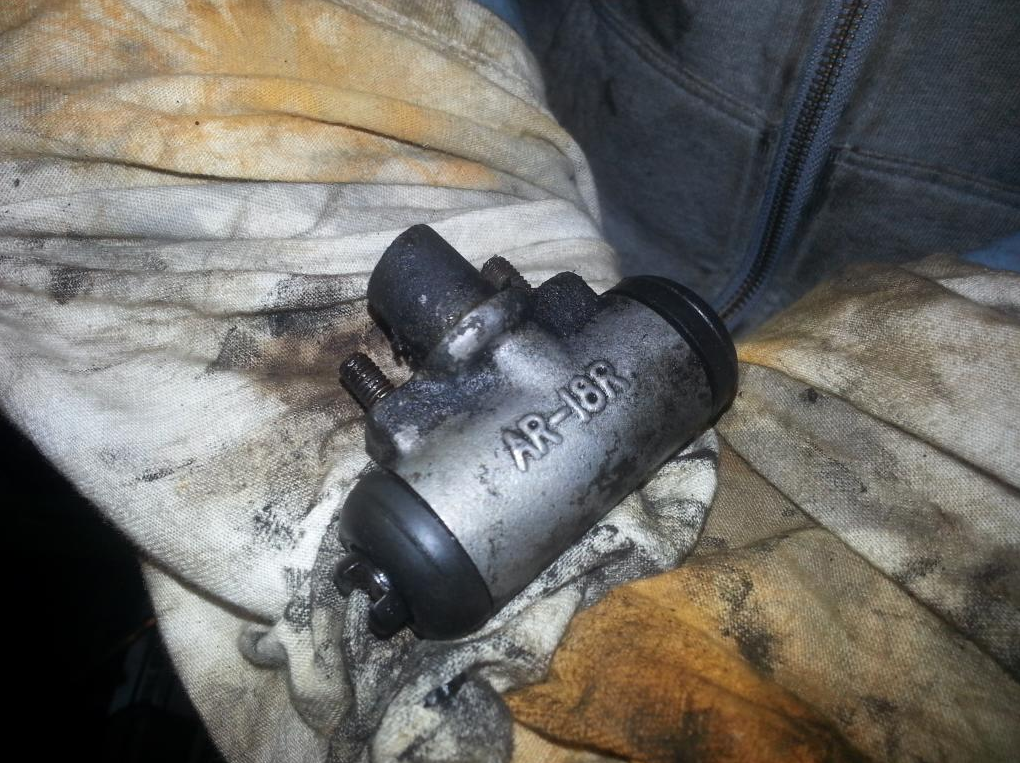
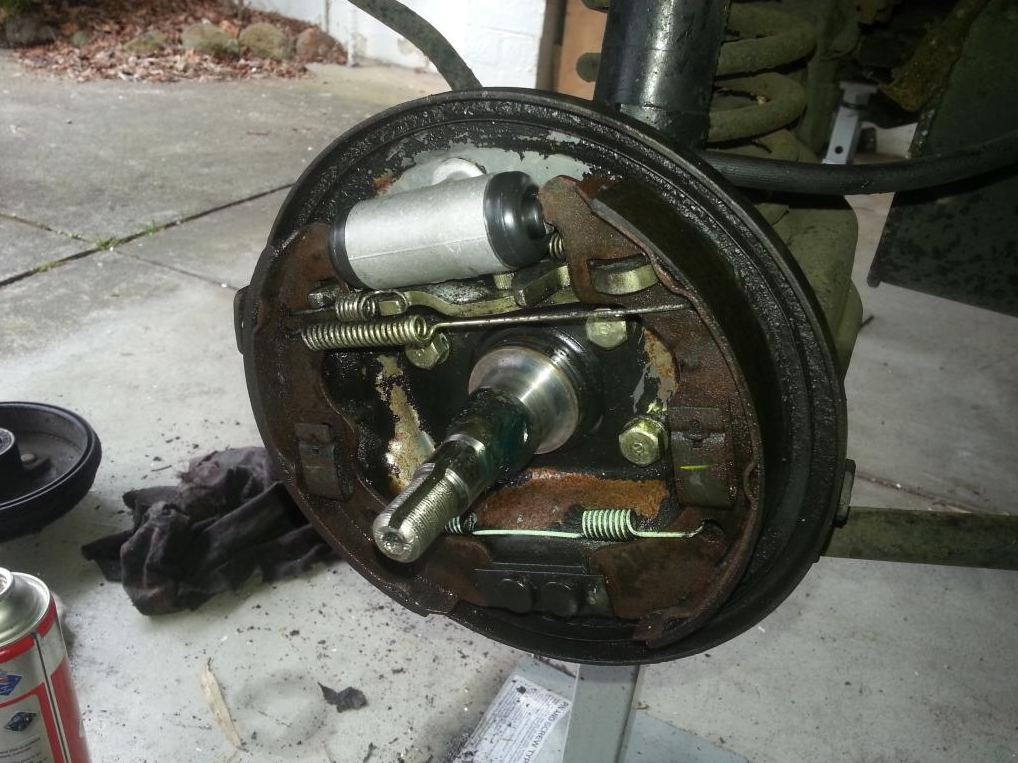
Next we bled the brakes. Fronts were both perfect, rear left was fine but the rear right was leaking fluid from the get go. Turns out one of the pistons in the wheel cylinder had no seal at all.
Other than that issue, the brakes actually seem okay. There’s heaps of meat on the front pads and the rear shoes aren’t too bad. Judging by the way it felt during the bleeding, we should end up with decent pedal feel once we track down a replacement part.
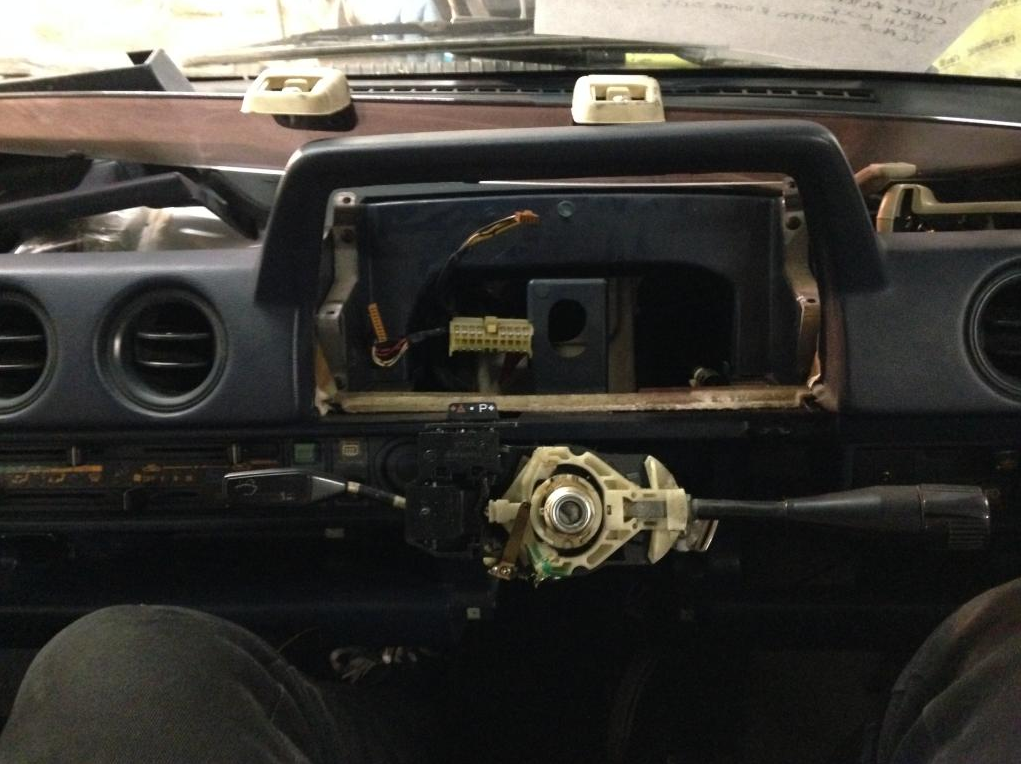
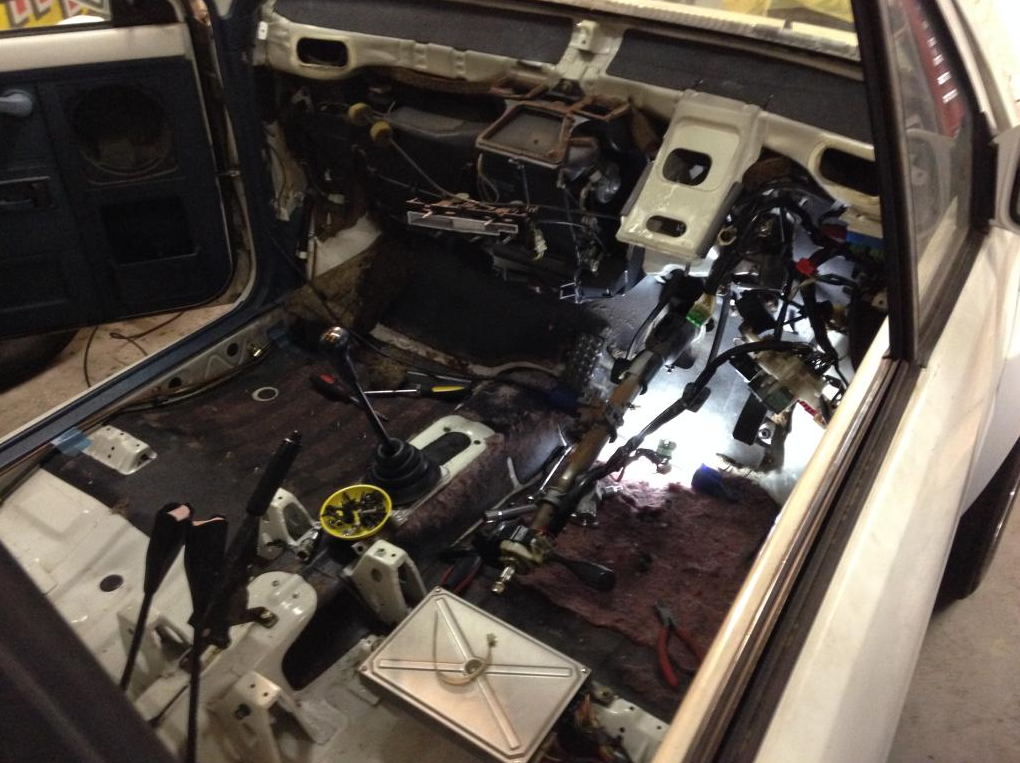
We’re changing the dashboard, steering wheel and door trims, so I started pulling things apart while sitting in there pumping the brake pedal. Lots more on the interior in the next updates.
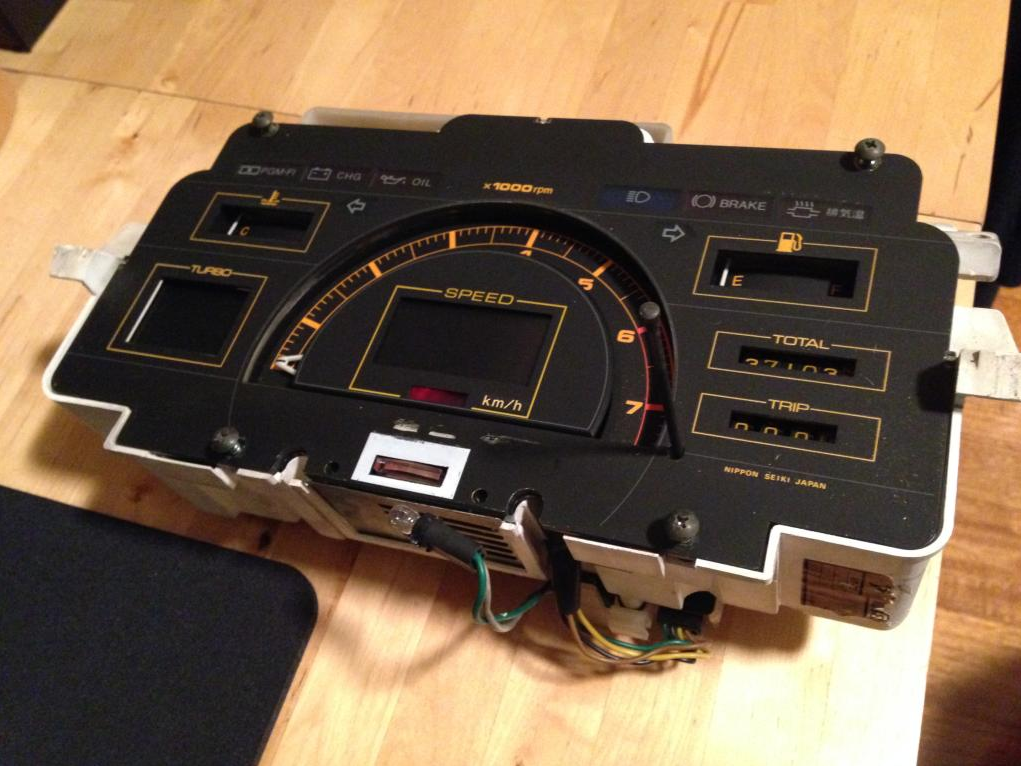
Digital dash pulled apart for some TLC. It’s getting cleaned up and checked for dry joints which are apparently common.
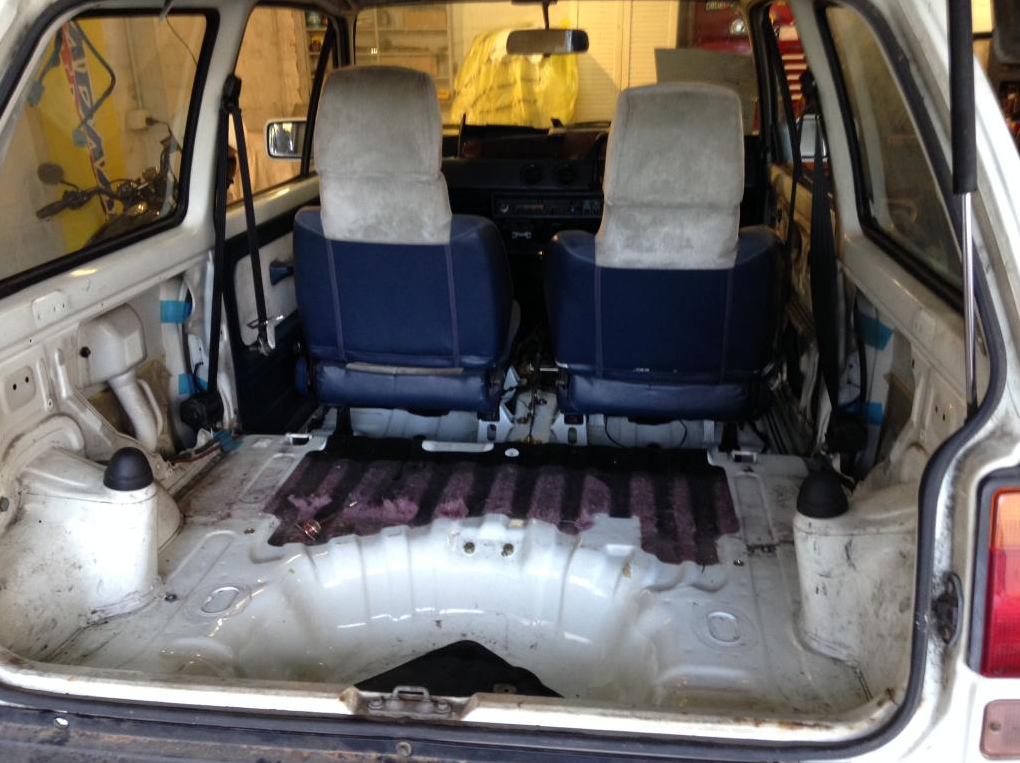
Back half of the car is staying empty. It’ll get a thorough clean and a layer of dry ice pretty soon to break up the sound deadening.
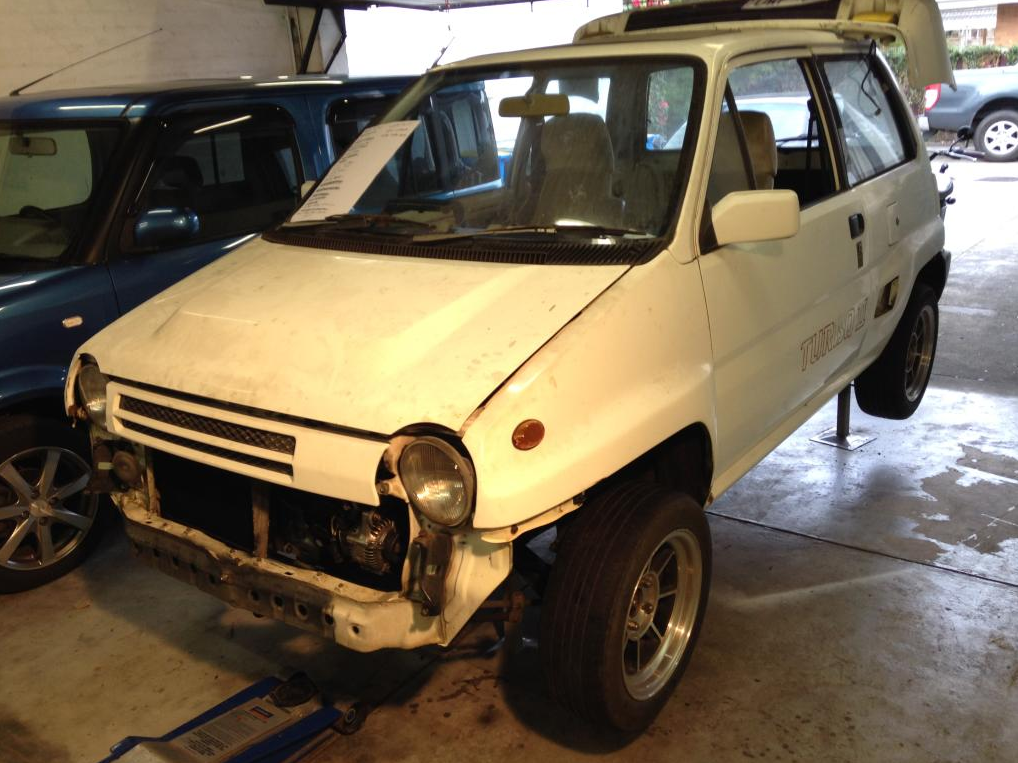
Bonnet on!
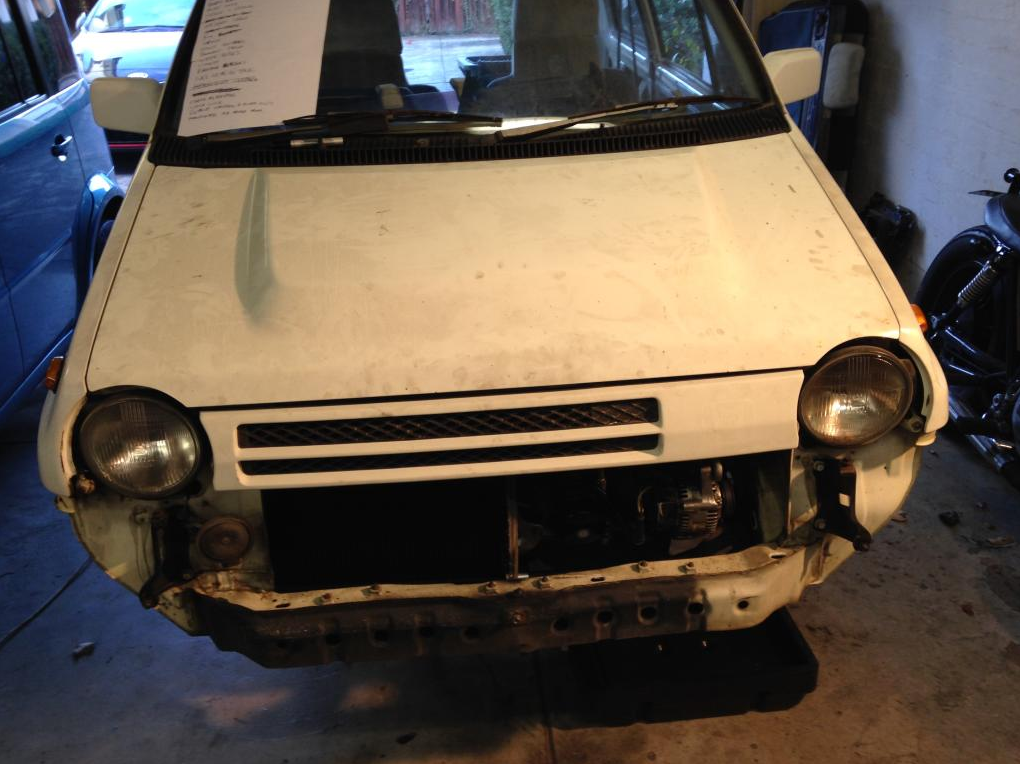
Grille on!
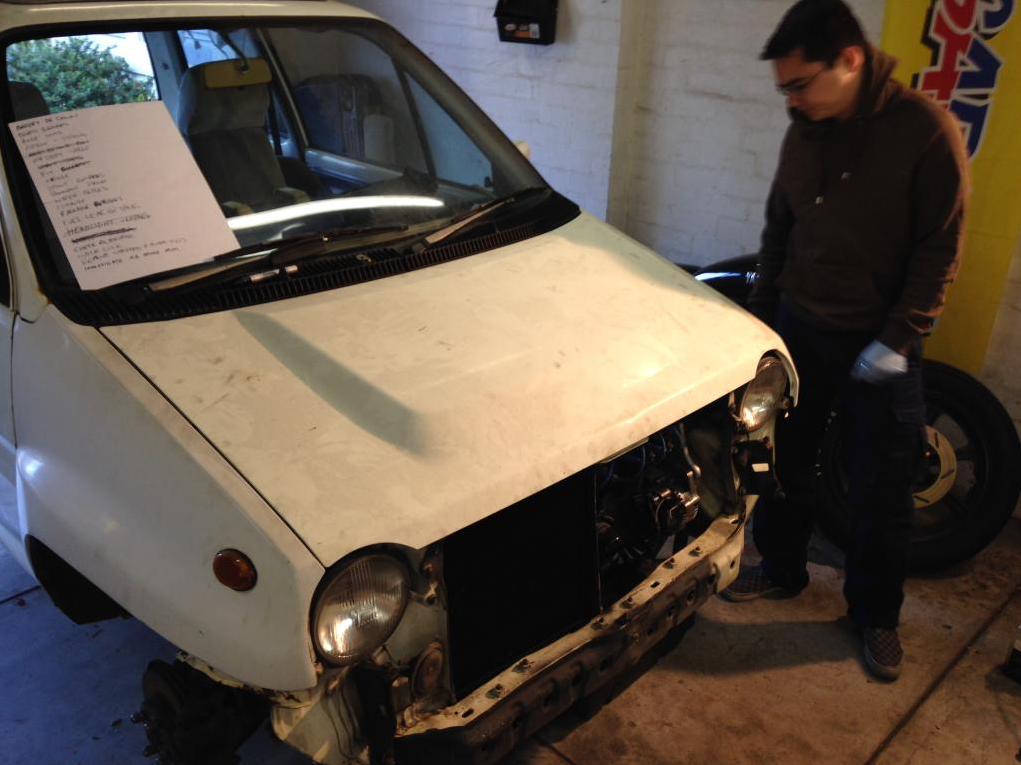
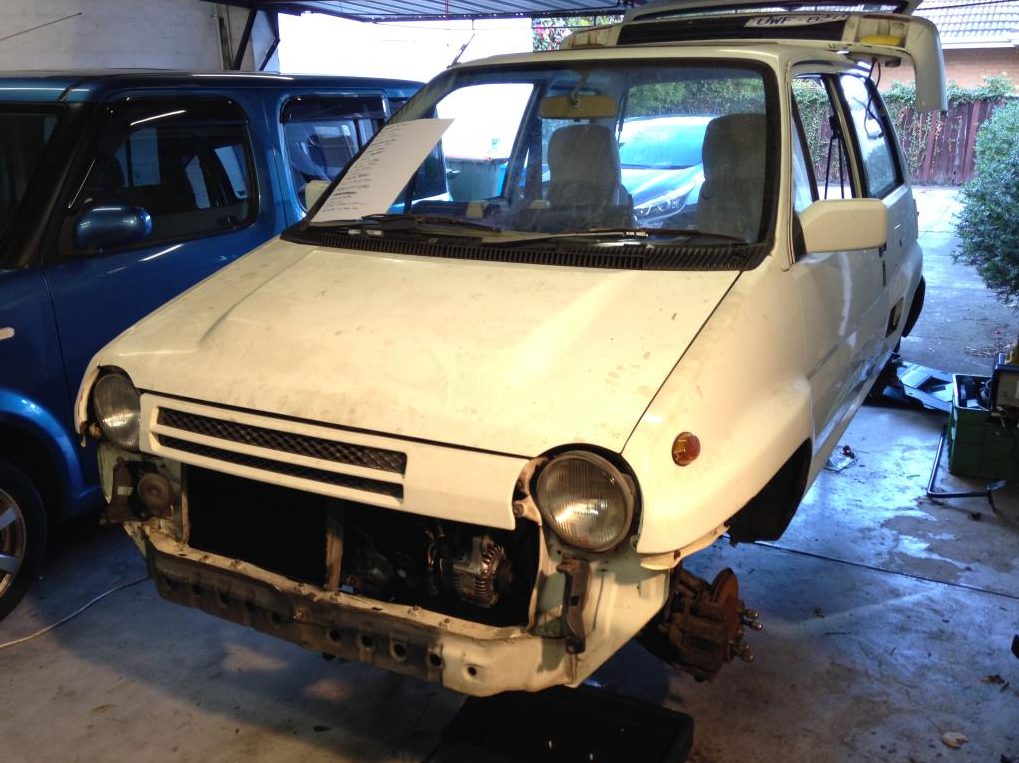
Starting to resemble a City again. Man that paint looks terrible in photos. Donations of elbow grease gladly accepted.
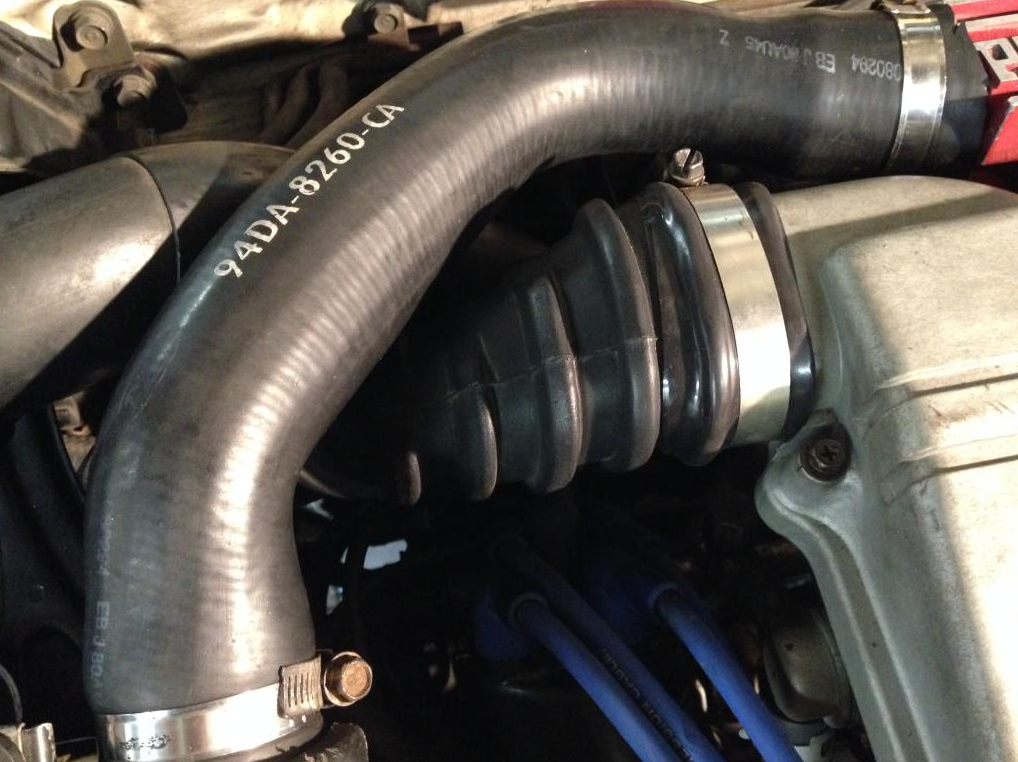
Finally managed to repair this bit of OEM intake pipe (the ribbed one underneath). It’s an unusual shape and we had no luck finding another one. Tony suggested using this silicone tape which fuses to itself when you wrap it. After cleaning off the mountain of Sikaflex used previously, it worked nicely.
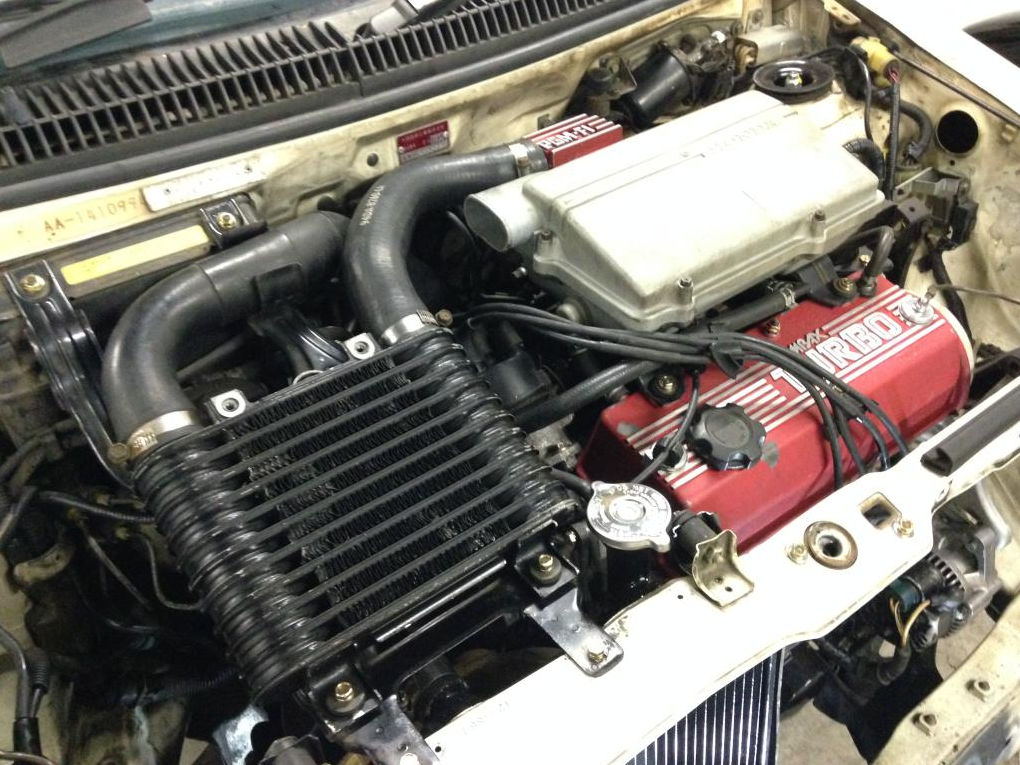
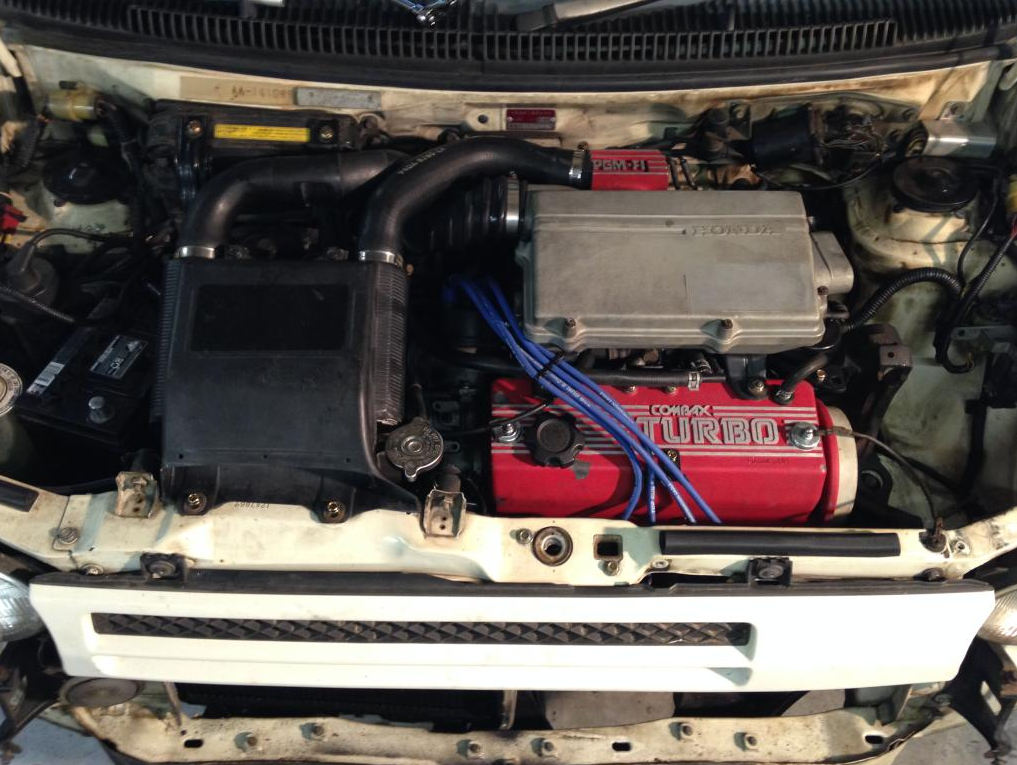
So here is the finished engine bay! Those who were expecting a factory fresh finish will be disappointed, but like we’ve said before that was never our intention.
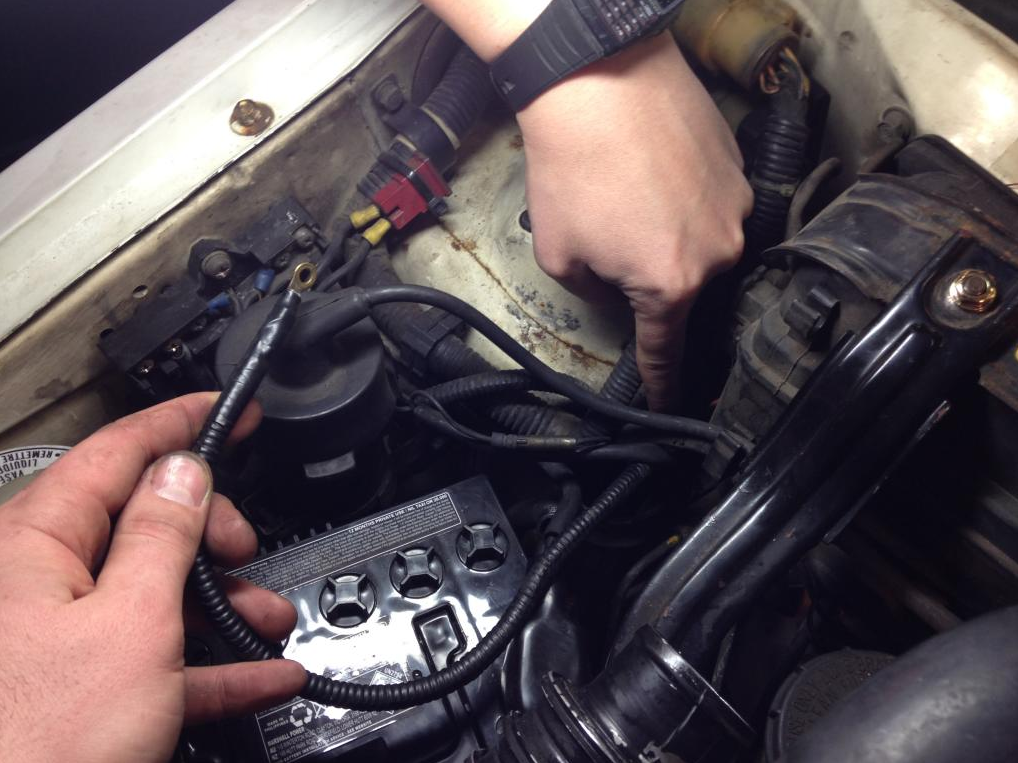
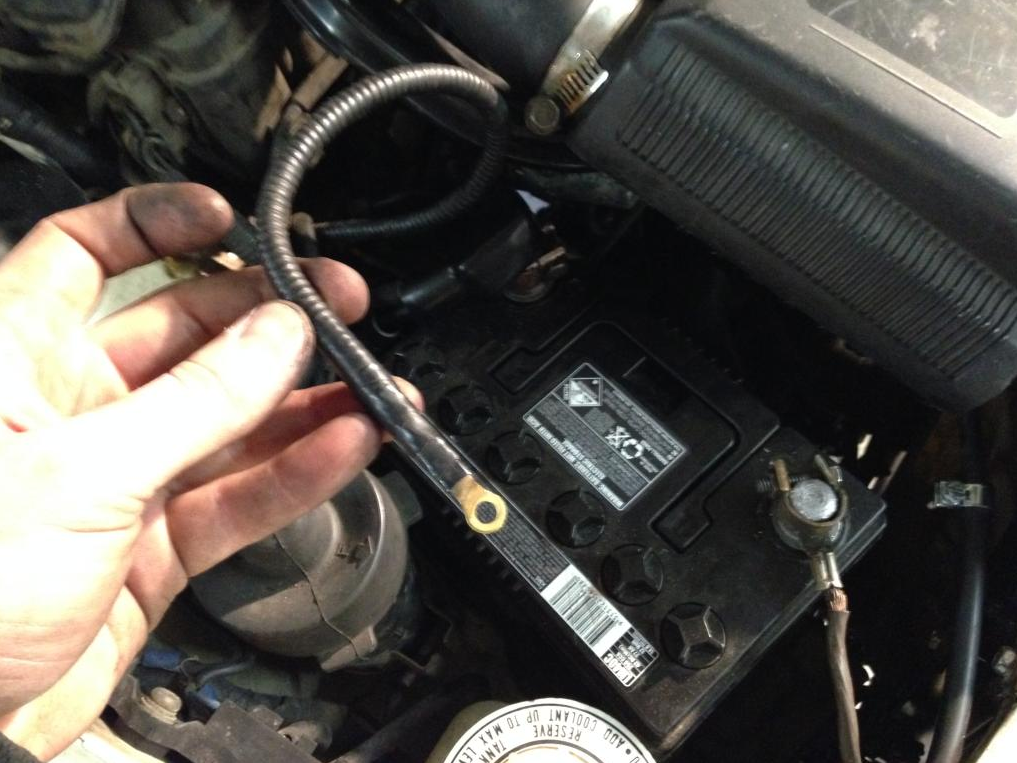
This unspoken for cable is the alternator charging cable. It seems so obvious now. I thought it had to be originally, but the eyelet on the cable was unusually small – too small for the bolt on the battery terminal. But I checked it with a multimeter and sure enough, that’s what it is. So I filed the eyelet out a little and fastened it all up. Feels great having everything in the ‘bay accounted for after the mess we starting working on.
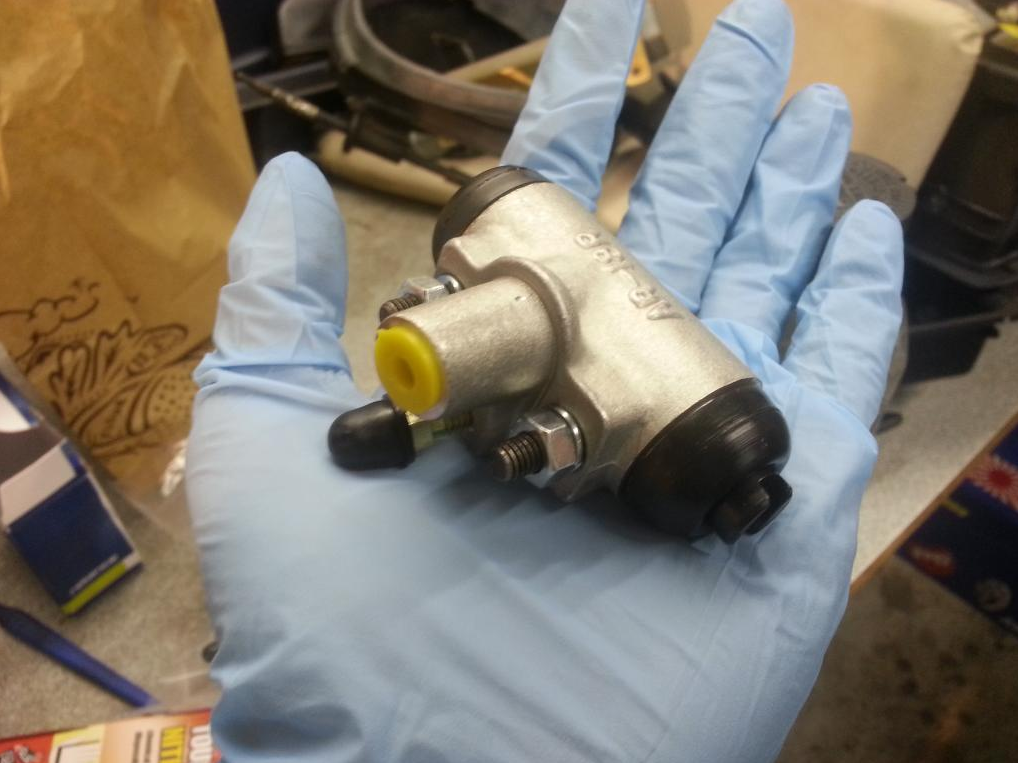
New wheel cylinder arrived. Here you can see Tony modelling his lovely blue handwear. Brake fluid isn’t the best thing for the skin.
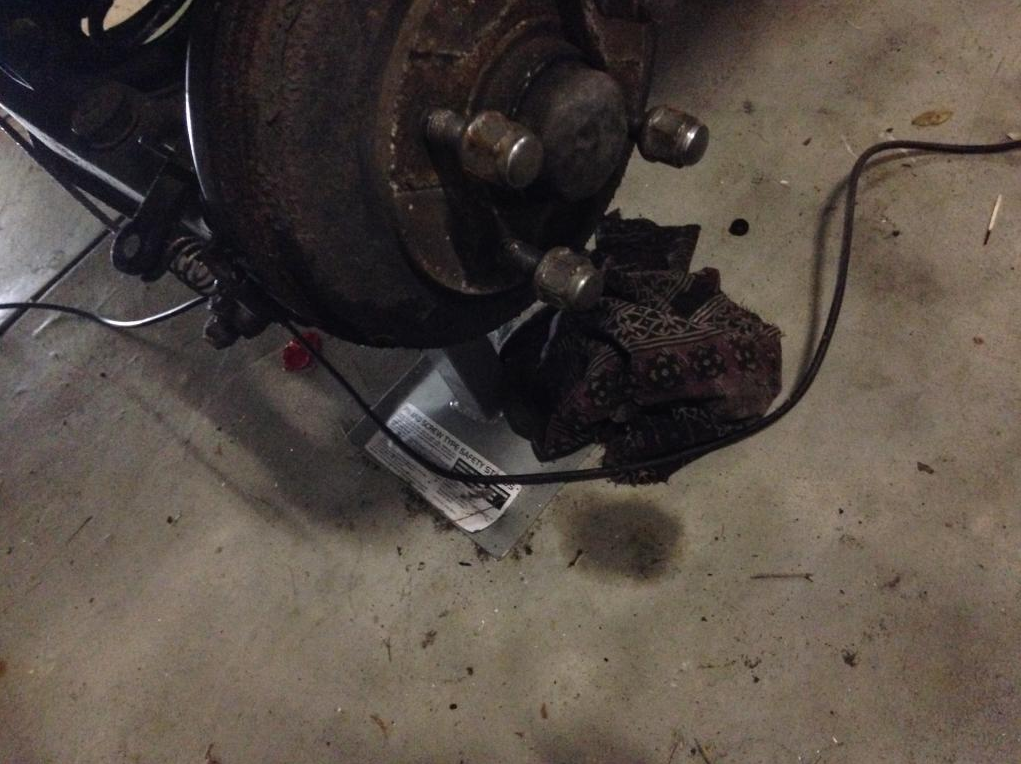
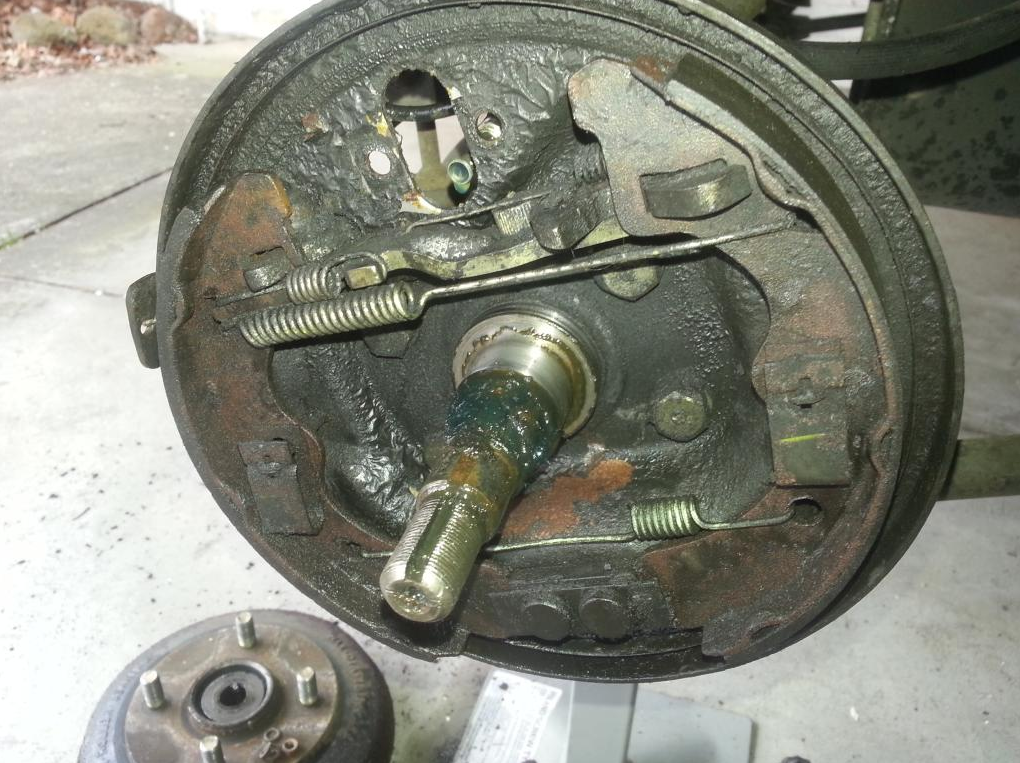
Pretty nasty looking drum when we took the leaky cylinder out.
Cleaned up and ready to go with the new cylinder. We bled the brakes again and ticked that off the to-dos.
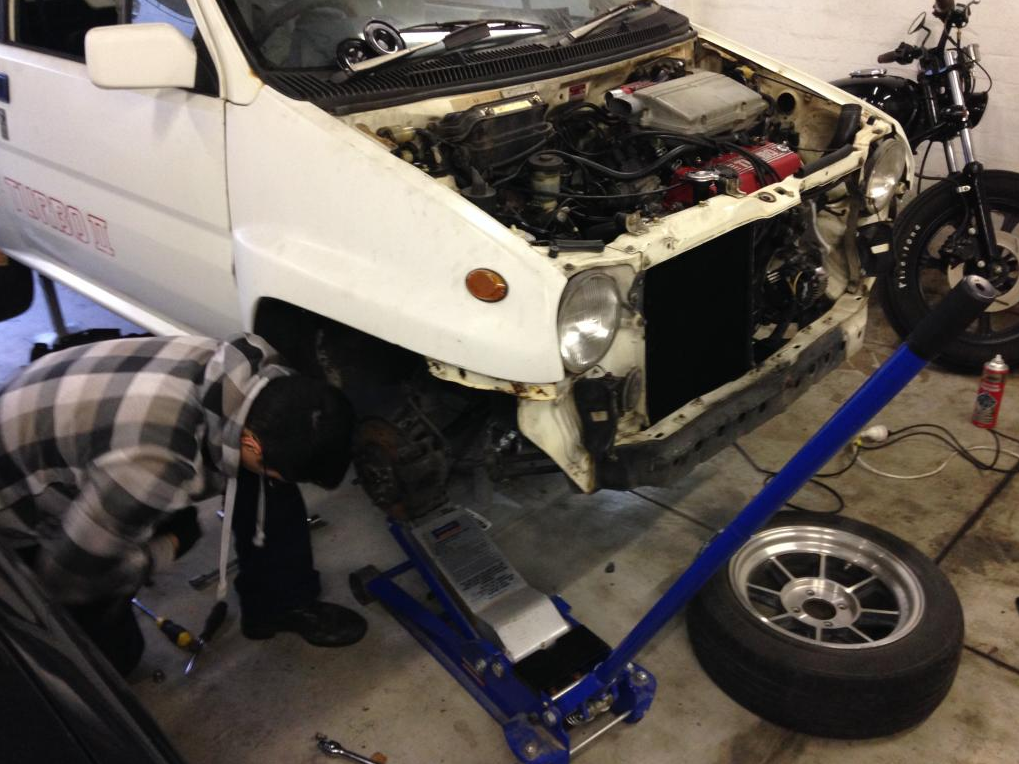
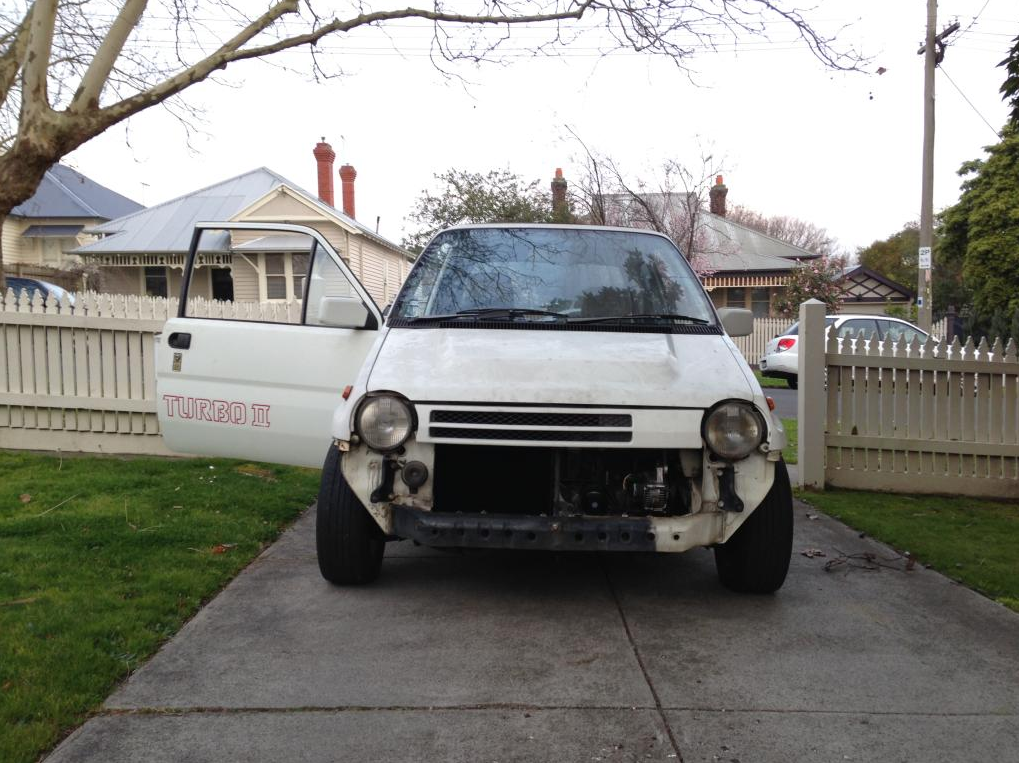
Wheels on! We dropped it back onto all fours and cranked as much torque as possible into the front axle nuts then pushed it out of the garage.
Tony took the wheel for the first drive but it didn’t quite go as planned. You can hear it start normally, but as soon as it’s in gear with a bit of load it starts to splutter and sound like a bridge port rotary. I suspect having no exhaust is causing a few problems. There’s what looks like an O2 sensor back near the firewall which has no home without an exhaust, so it’s bound to be having trouble fuelling it correctly.
After the video I started it again and drove it back down the driveway into the garage. It moves okay, gearbox obviously works but we didn’t find out much else about the condition of CVs, wheel bearings, brakes, etc. Next time.
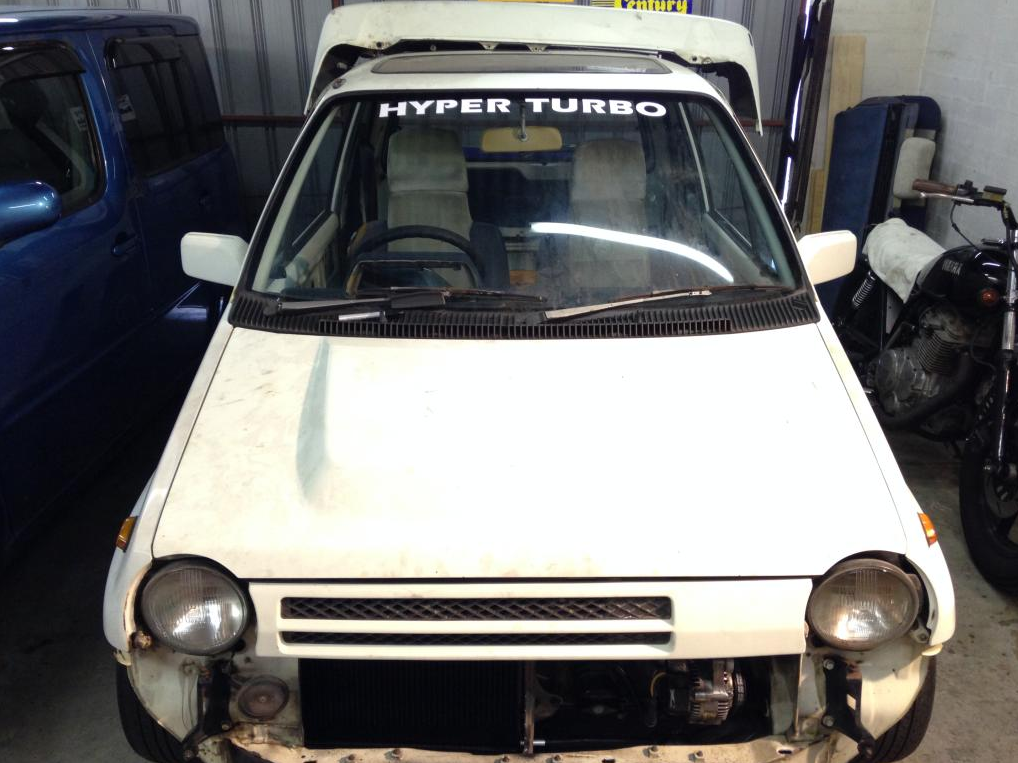
Added the first of the decals today. I’m not totally happy with it. It was made to measure for the back window, but there’s nowhere you can put it where it won’t be in the path of the windscreen wiper so I put it on the front instead. It probably won’t stay. I’ll see if I can get another one made up to put on the back and we just won’t use the wiper.
Last thing we did was pull the dashboard out to sort a few things. There’s a big sheet of carpet insulation which needs to come out along with the A/C evaporator, some useless wiring and things like that, then the dash will be dyed black and refitted.
Until next time…


It has been great to read the progress on this rebuild throughout your journey, and always good to see another micro car kept on the road.
Your problem with the engine missing under load will likely be an issue with the TPS or MAP/MAF sensors. Unless the o2 sensor is wideband it has very little influence on fuel mapping – it serves only to trim the fuel when cruising.
Also that bend in the fuel hose might cause problems when the hose gets warm, especially if it is on the pickup side of the pump. I’d suggest replacing the brass barb on the pump with an angle, and/or installing braided hoses and fittings.
Re: the decal, could you get one printed backward and stick it to the inside of the rear window?
gotta love these type of builds…
I’m in the UK !
Just sourced one of these little beauties !
Hope to start work soon it is tooooo cold right now !
Nice car for fixing and spending your free time.
Good luck 😊