In my last update on the Datsun, I mentioned my diff was playing up just after I installed my CV driveshaft conversion. One of the first things I did was drain the diff oil and inspect the drain plug. This is what I found…
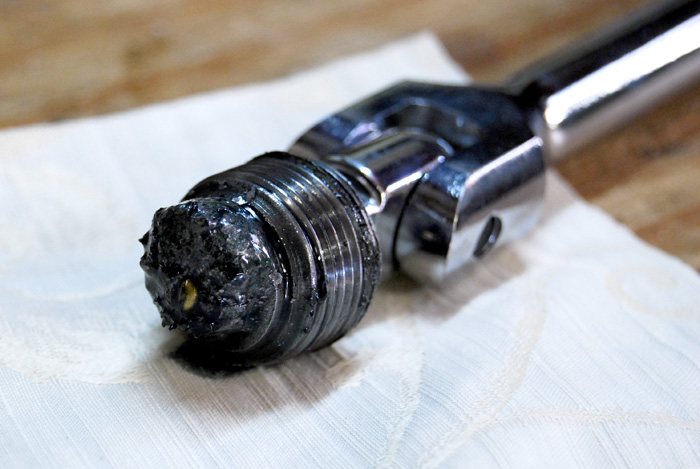
After smearing it around a little bit to dislodge the oil, you can really see the amount of metal stuck to it. Something wasn’t right.
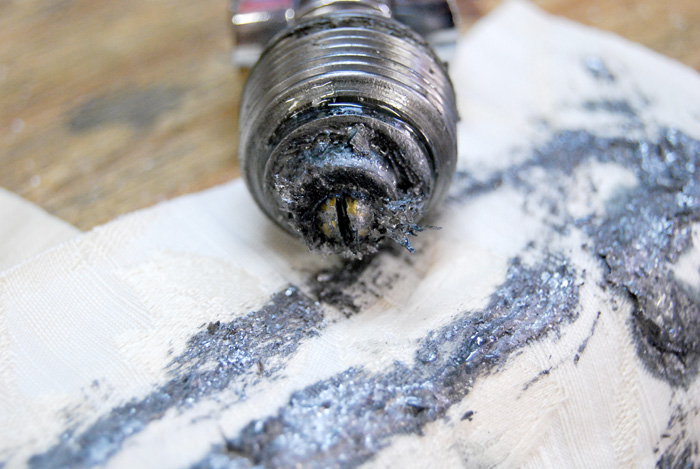
After doing a few more tests to make sure my problems weren’t driveshaft, tailshaft, or wheel bearing related, it was apparent that my troubles were in fact diff related. I decided to take the easy way out and have my diff removed by my workshop. The idea of dropping the whole rear subframe on my garage floor to get it out wasn’t appealing to me at all, especially after having been under the car installing the CV’s so recently. Add to that work has been really busy, yadda yadda yadda, I just paid someone to do it.
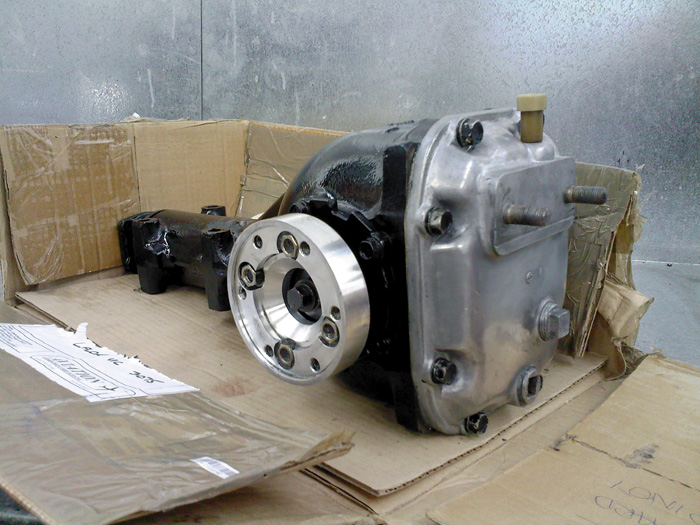
It’s my diff in a box!
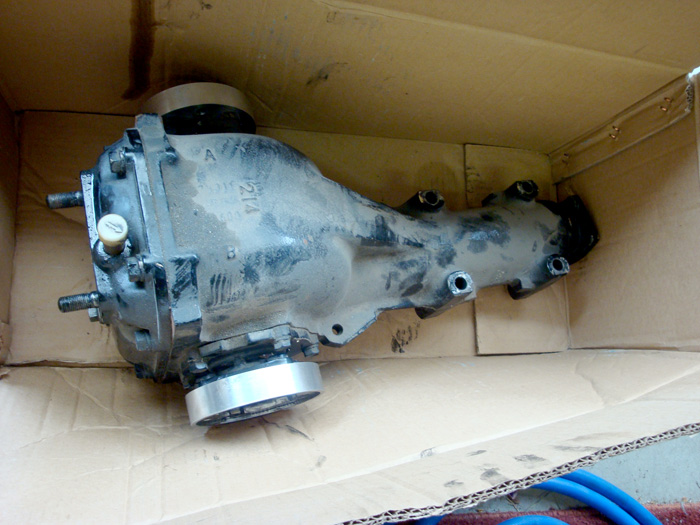
After having it removed I took it to local diff specialist Terry’s Diffs & Gears (0407 903 308) to be dismantled, inspected and hopefully repaired. I had to wait anxiously for the news, I was hoping it wasn’t the LSD as they’re getting expensive to source. After a couple of days I got the phone call telling me that my crown wheel & pinion needed to be replaced, but my LSD was fine. It was such a relief to hear that, but at the same time I was really hoping it was just going to be a simple bearing job. Win some, lose some. It could have been much worse.
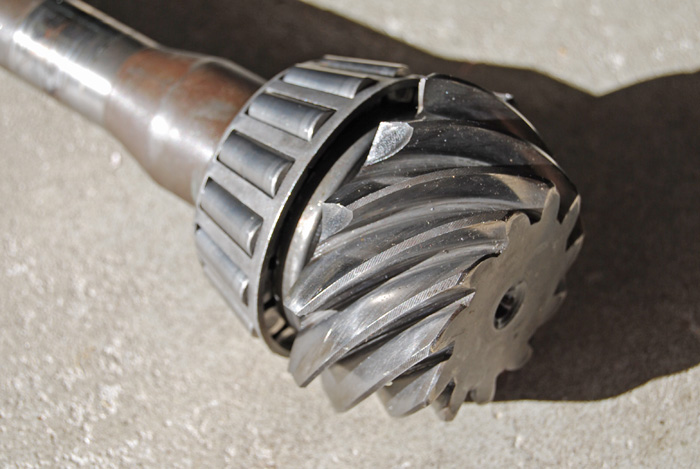
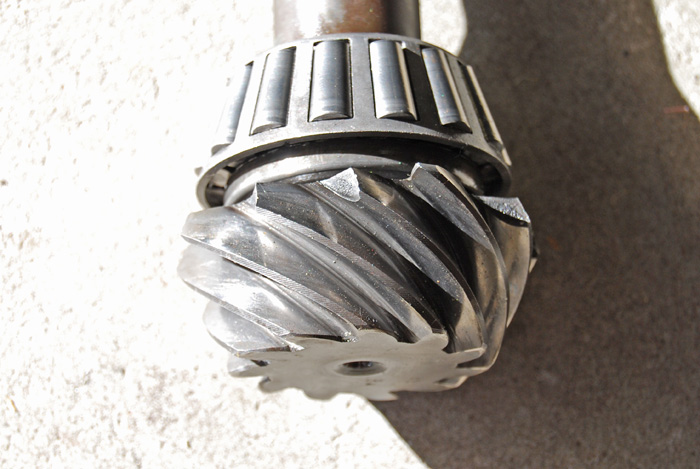
Here’s the damage to the pinion. All but one tooth had the very ends chipped off.
After chasing up a few leads, I ended up at The Z Shop, a huge Datsun/Z-car workshop in Melbourne’s eastern suburbs. The owner, Lindsay, is an oldschool guy who provides oldschool service. I sifted through a box full of crown wheels and a box full of pinions until I found a pair in good condition. I took them back to Terry who told me they were no good. Damnit! It wasn’t that the parts were of poor quality, it’s just that ideally the crown wheel & pinion should come from the same diff, whereas mine were two random parts from unknown origins. Otherwise when the diff is rebuilt it might be noisy from the get-go. So, back to The Z Shop I went to return the parts. Lindsay, along with one of my friends and myself then set about to find a complete R180 diff with a matching ratio to my own (3.55). We found a few candidates and took them back to the main workshop area to take the back cover off and inspect them, which involved Linsday wire-wheeling some of the gears to assess their condition. Out of the three diffs, we chose the best one and I was on my way again, back to Terry’s to see if he approved of my purchase.
Success! We were onto a winner, he told me the gears were in superb condition and the rebuild could start immediately. I left the parts diff at Terry’s and let him work his magic. Before I left, I took my diff cover home so I could polish it. Since I don’t have any pics of the actual rebuild, I’ll show you what I did with the cover.
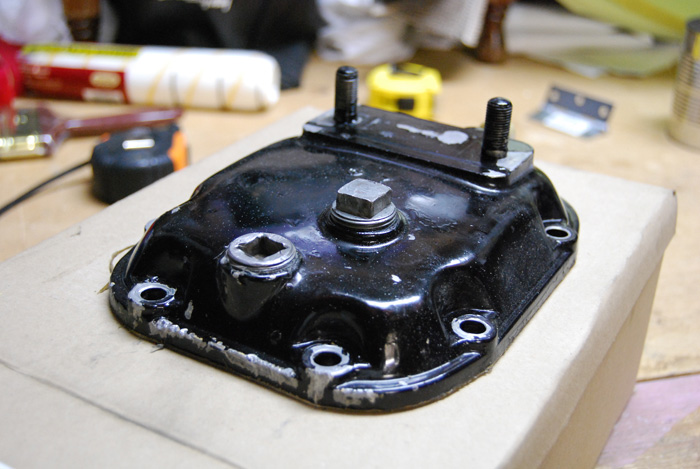
The stock cover, painted black in a previous life.
I had this tin of paint stripper left over from when I re-furbed my wheels. I poured a generous amount over the cover.

There must have been only one coat on it, because the paint came off incredibly easily. You can see the raw metal underneath and I haven’t even tried to wipe paint off yet.
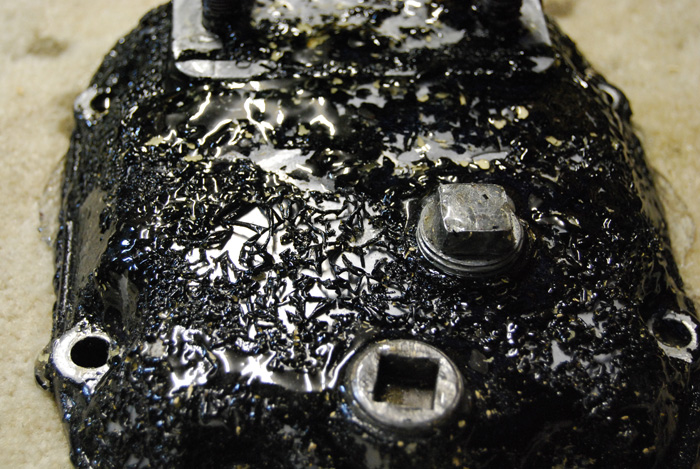
After a quick scrape, 90% of it was off.
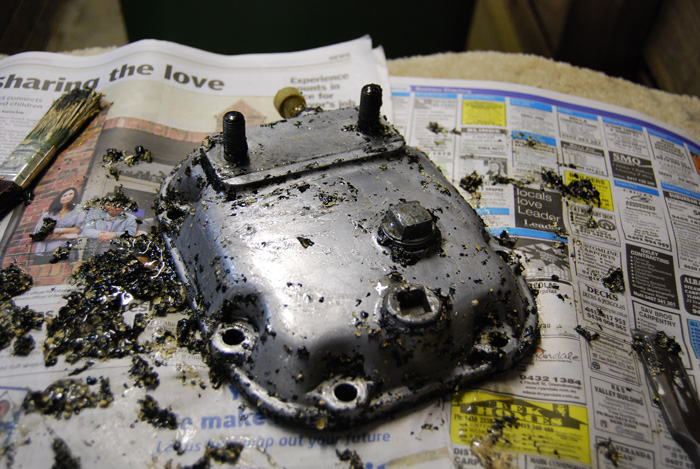
Then, after a wash, it was almost free of paint. The remainder was scraped and/or sanded off.
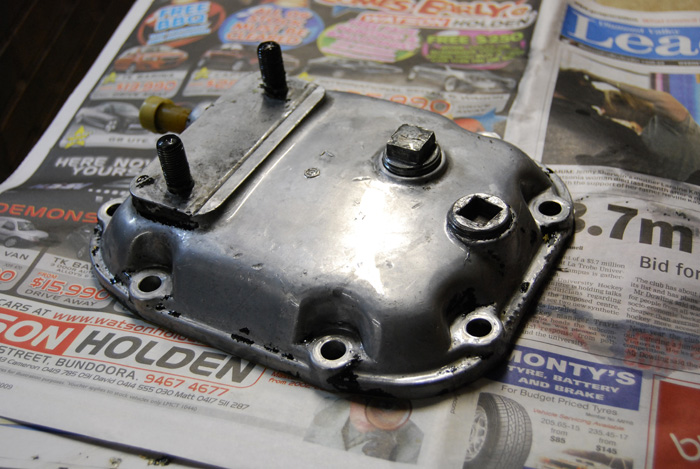
The trusty Mothers Powerball Mini was brought out again, along with some metal paste for a quick once-over.

The end result was a nice and clean cover with a little bit of shine. I wasn’t too pedantic about it as it’s going under the car, after all.
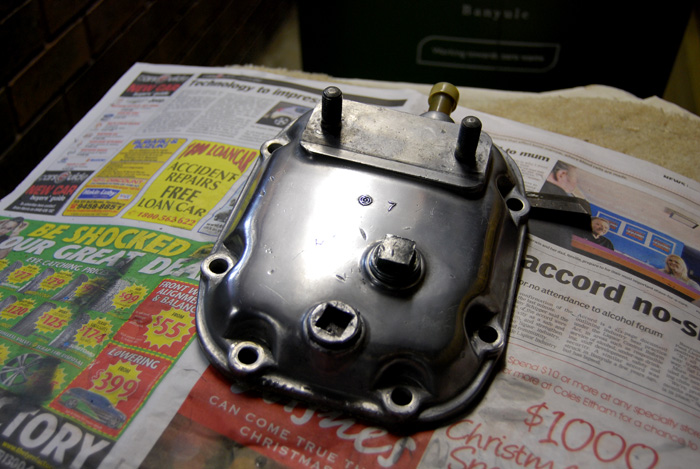
After only a couple of days, I got the call from Terry to pick my diff up, freshly rebuilt with all new bearings, the crown wheel & pinion that I sourced, and a fresh black paint job. Complete with my polished cover it looked the part.
While all this was happening, I got my hands on some exhaust heat wrap to put around the exhaust where it passes under the CV boot. This was applied to the exhaust and then sprayed black while the diff was being re-installed. I also had the exhaust heated up and hammered a bit on the closest section to the CV for extra clearance.
The finished rear end looks even better than before.
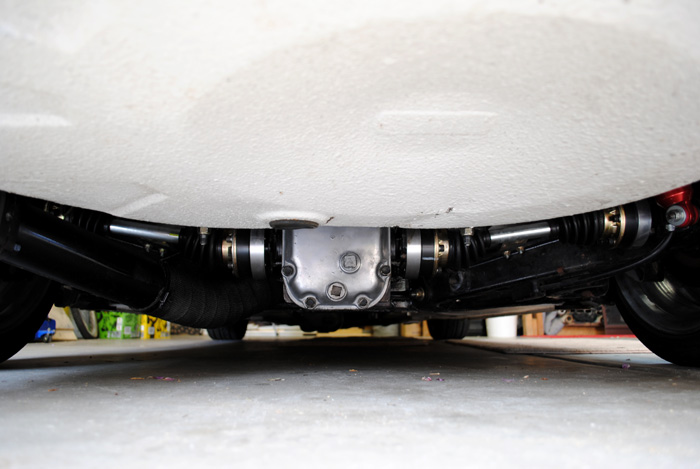
Now I have the tedious task of running the diff in. I’ve been told to keep it under 100km/h and to generally take it easy. Unfortunately the CV’s are still hitting on the exhaust under load, which is sort of a blessing because it means I can’t really give it any stick, aiding the run-in process. Once it’s run-in I’ll take it back to the workshop to have the exhaust clearanced further, it might need to be cut and re-welded, we’ll have to see. For now I’m just happy that its driving again and ready to be enjoyed over the summer months.
That should be about it as far as major mods are concerned for a while. For the next year I’m planning to just do small detail stuff such as cleaning up the engine bay and getting a nicer steering wheel, nothing too drastic as it s been a big year for this car. I should have some nice new photos up soon, too.

Great news Anth. Glad someone is making progress on their Datsun!
🙂
very nice stuff. i absolutely love the build on the car!